If you have ever watched cucumbers sprawl across a bed like they own the place, you already understand why I love a cattle panel trellis. It is sturdy, it holds serious weight, and it turns a regular raised bed into a vertical growing machine. My first one was born out of desperation after a particularly ambitious tromboncino squash tried to swallow my pepper plants. The trellis won. The squash behaved. Mostly.
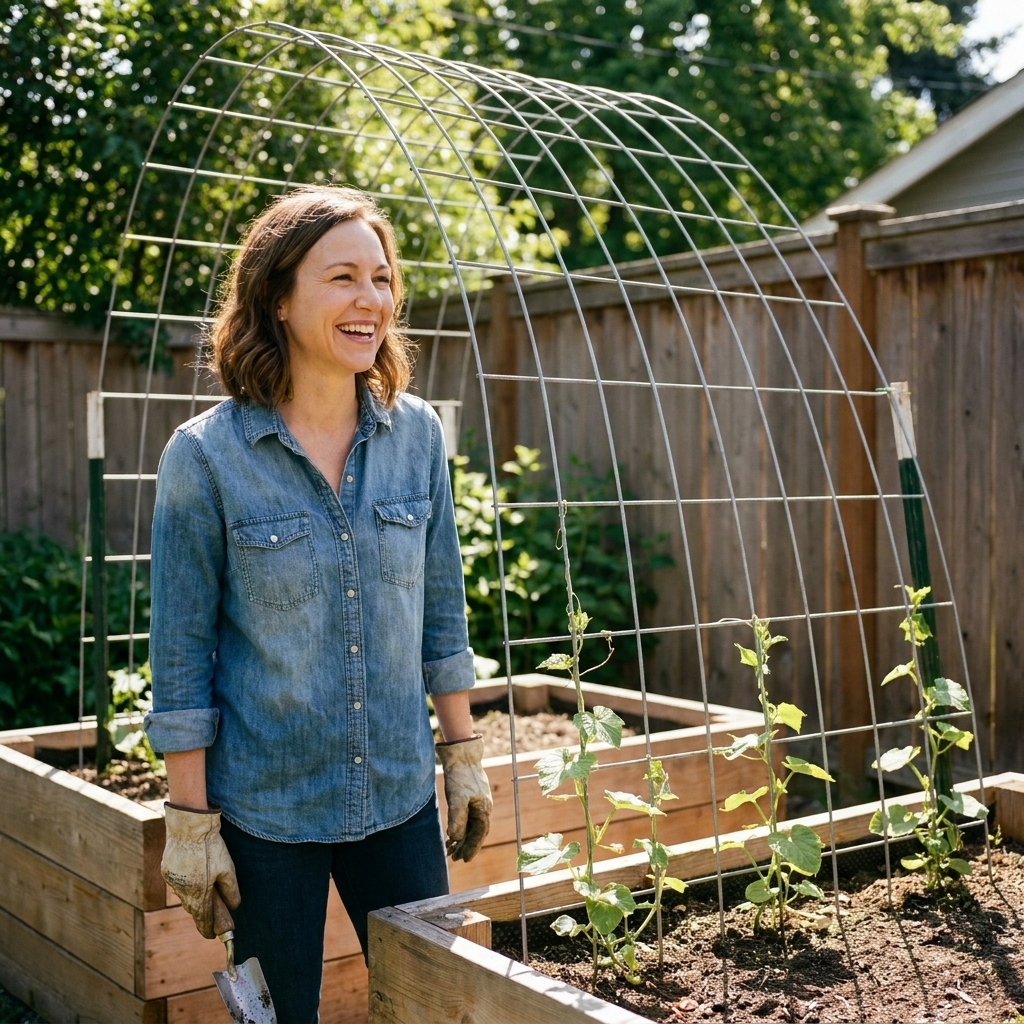
Below I will walk you through two dependable builds: the classic arch between beds and a single-bed vertical panel. I will also cover an angled lean-to option (with a quick build), plus the fastening methods I trust for heavy climbers like winter squash and indeterminate tomatoes.
Why cattle panels work so well
Cattle panels are welded wire livestock fencing. They are commonly sold in 16-foot lengths and about 50 to 52 inches tall, but sizes, wire gauge, and grid openings vary by brand and store. The good news is that most of the build logic stays the same.
- High strength-to-cost: One panel can trellis a surprising amount of food.
- Great airflow: Better airflow and faster drying can help reduce disease pressure (including powdery mildew) on cucurbits.
- Easy harvesting: Fruits hang where you can see them.
- More room in the bed: You reclaim soil surface for companions like lettuce, basil, or scallions.
Quick note on openings: Panel grid size varies. Larger openings are still fine for cucumbers and squash, but peas may need an assist to get started, and tomatoes almost always need clips or soft ties no matter what.
Choose your style
Option A: Arch between two beds
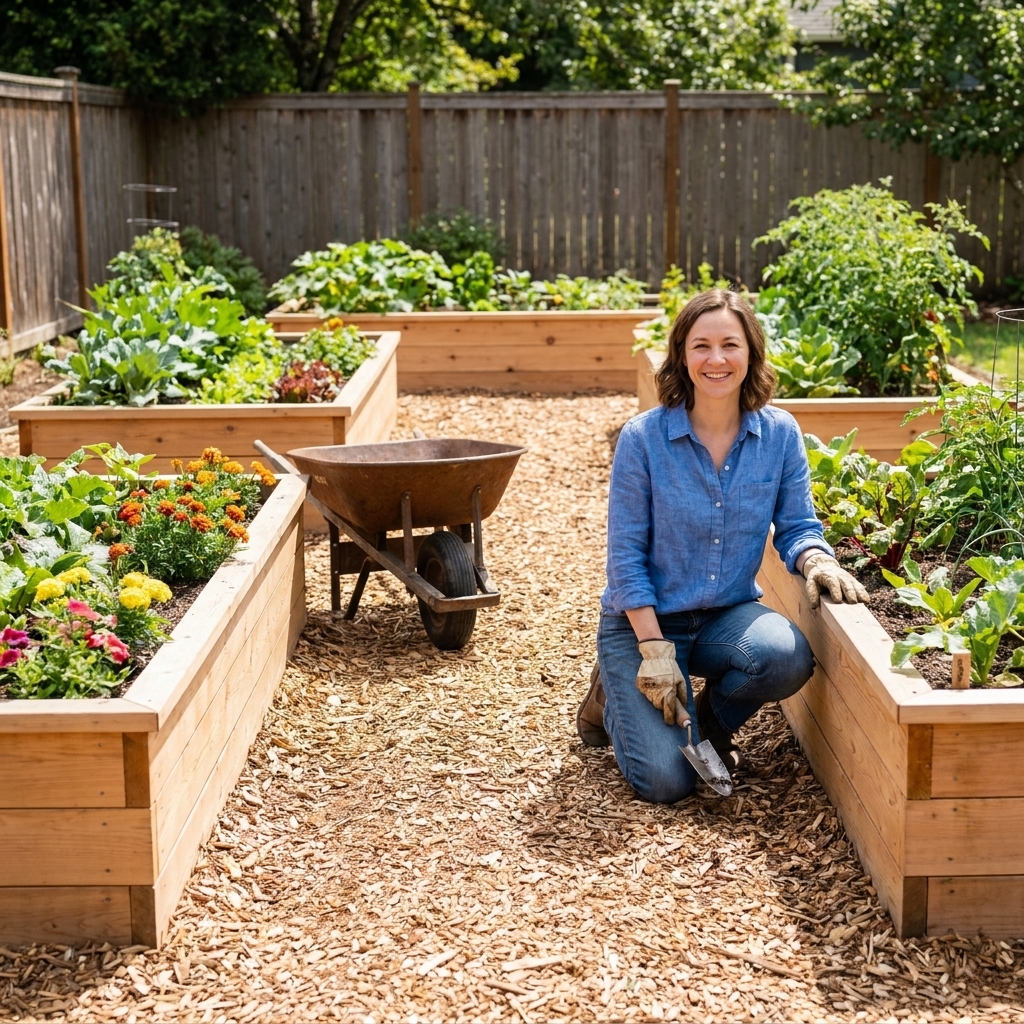
This is the showstopper. You place two beds parallel with a walkway between them, then bow the panel into an arch and fasten each side to posts and, if you want extra rigidity, to the beds too.
- Best for: cucumbers, pole beans, peas, gourds, small melons, and trained squash.
- Bonus: you can plant on both sides and train vines up and over.
Option B: Vertical panel on one bed
If you only have one bed or you cannot spare the walkway width for an arch, mount the panel upright along the north side of the bed (in the northern hemisphere) so it does not shade everything else. If you are in the southern hemisphere, flip that and place it on the south side. And if your trellis is short or you are trellising tall crops that will live on the “shade side” anyway, you have more flexibility.
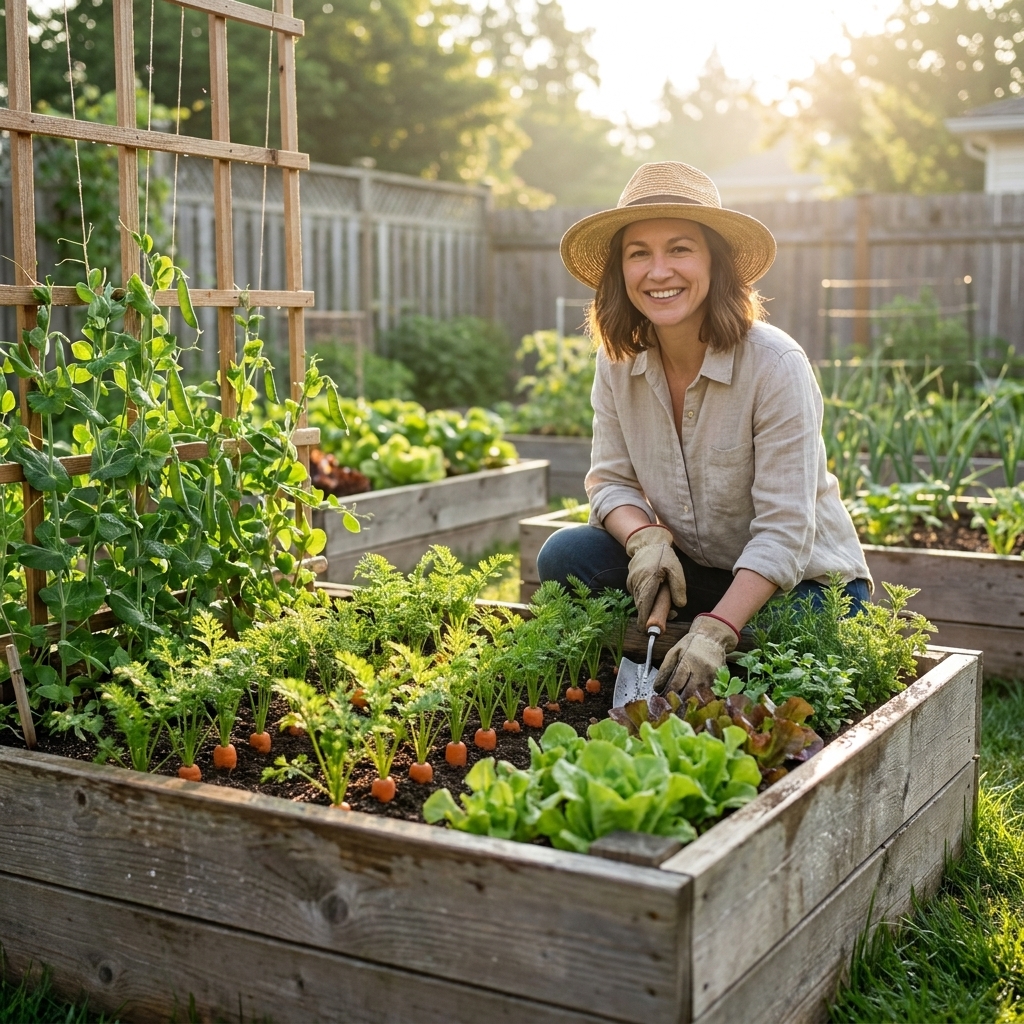
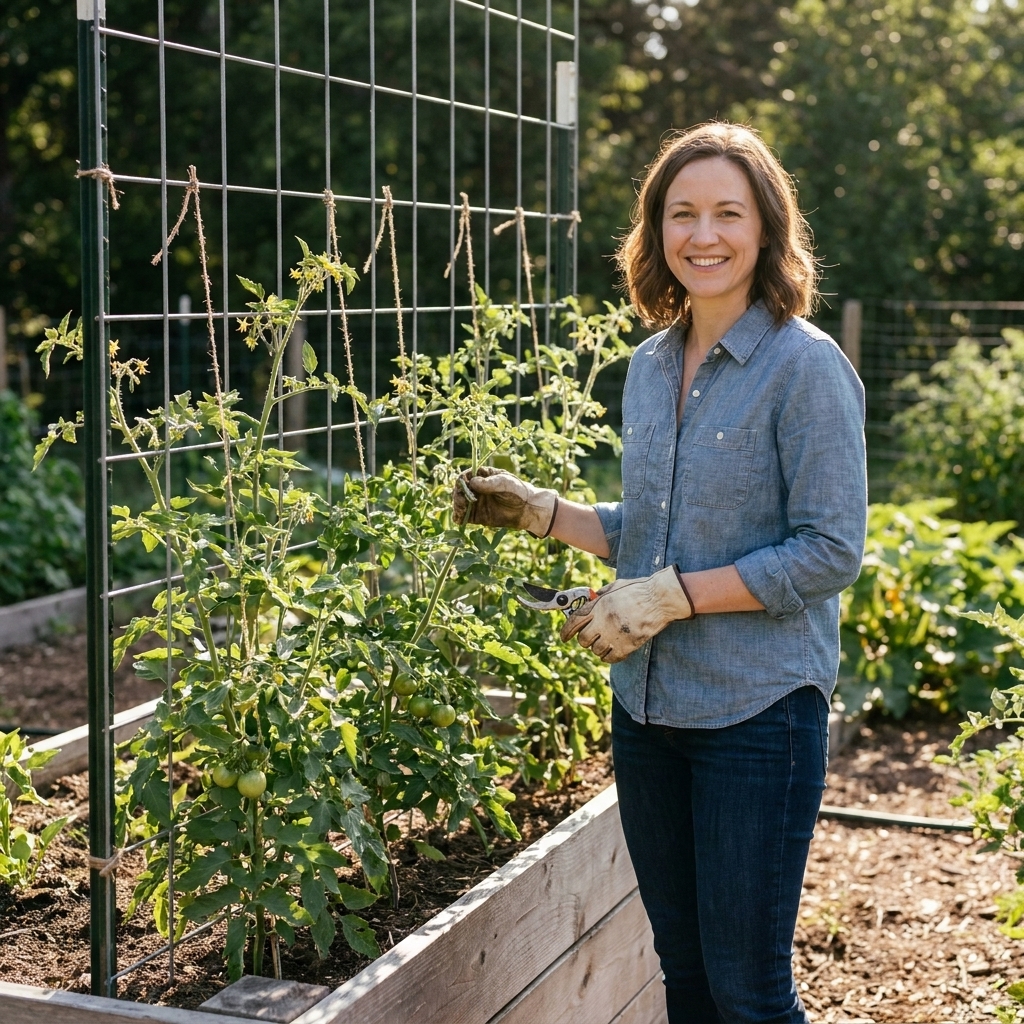
- Best for: tomatoes, cucumbers, peas, beans, and flowers like sweet peas.
- Bonus: easier to build in tight spaces.
Option C: Lean-to panel (angled)
This is a happy medium. You mount the panel with a slight lean, like a tall, sturdy ramp. It often puts less bending stress on the panel than a tight arch, and I find it easier to harvest than a straight vertical wall.
Materials and tools
Materials
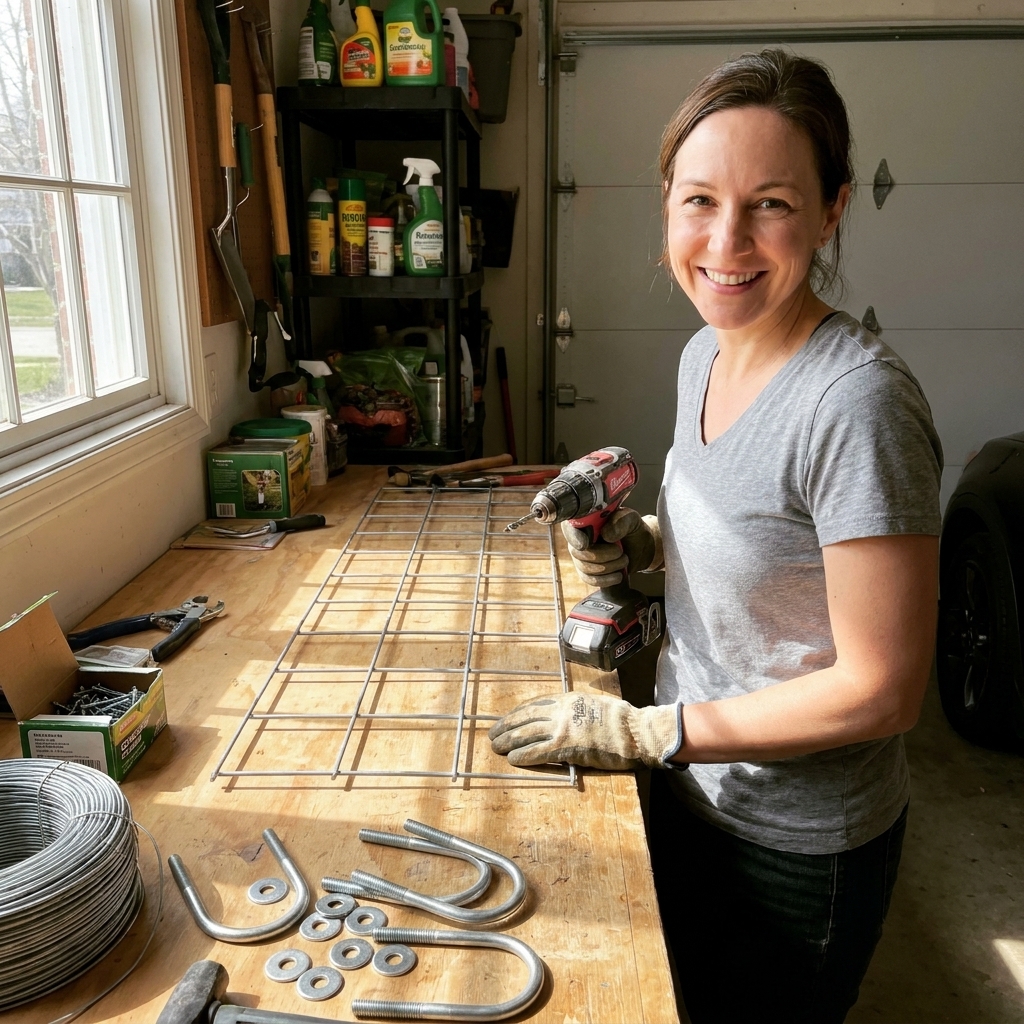
- 1 cattle panel (commonly 16 ft long x 50 to 52 in tall)
- Mounting posts: either 2 to 4 metal T-posts or 2 to 4 pieces of pressure-treated 2x4, 4x4, or EMT conduit (amount depends on style)
- Fasteners: one of the following sets works well
- U-bolts sized for your post material (very secure)
- Heavy-duty fence staples for wood posts (fast)
- Galvanized wire or high-tensile fence wire (budget friendly)
- Zip ties (only as temporary helpers, not the main support for heavy crops)
- Raised bed attachment hardware (choose what matches your bed):
- Exterior-grade screws and washers (for wooden beds)
- Bolts, washers, and lock nuts (for metal beds or where you want extra strength)
- Pipe straps or conduit clamps (great for conduit frames)
Tools
- Work gloves and eye protection
- Measuring tape
- Marker
- Drill and bits (and/or wrench for bolts)
- Angle grinder or bolt cutters (only if cutting the panel)
- Hammer (for staples or T-posts)
- Level (helpful for vertical installs)
Plan size and spacing
Arch spacing that works
Most panels are 16 feet long, but you might also find 8- or 12-foot panels. When you bend one into an arch, the distance between beds determines how tall and how walkable the arch feels.
- Comfortable walkway: aim for about 3 to 4 feet between beds.
- Taller arch: a narrower gap makes a higher arch.
- Wider gap: lower arch, easier to push a wheelbarrow through, but you may need more anchoring since the curve is gentler.
What about bed length versus panel length? Many raised beds are 8 feet long, which means a 16-foot panel often has “extra” length once it is arched. That is normal. You have three easy options: let the ends run down inside the beds a bit, let them run down outside the beds and tie off to posts, or trim the panel (and then deal with cut ends properly). Choose the approach that gives you solid attachment points and a comfortable walking height.
Single-bed layout
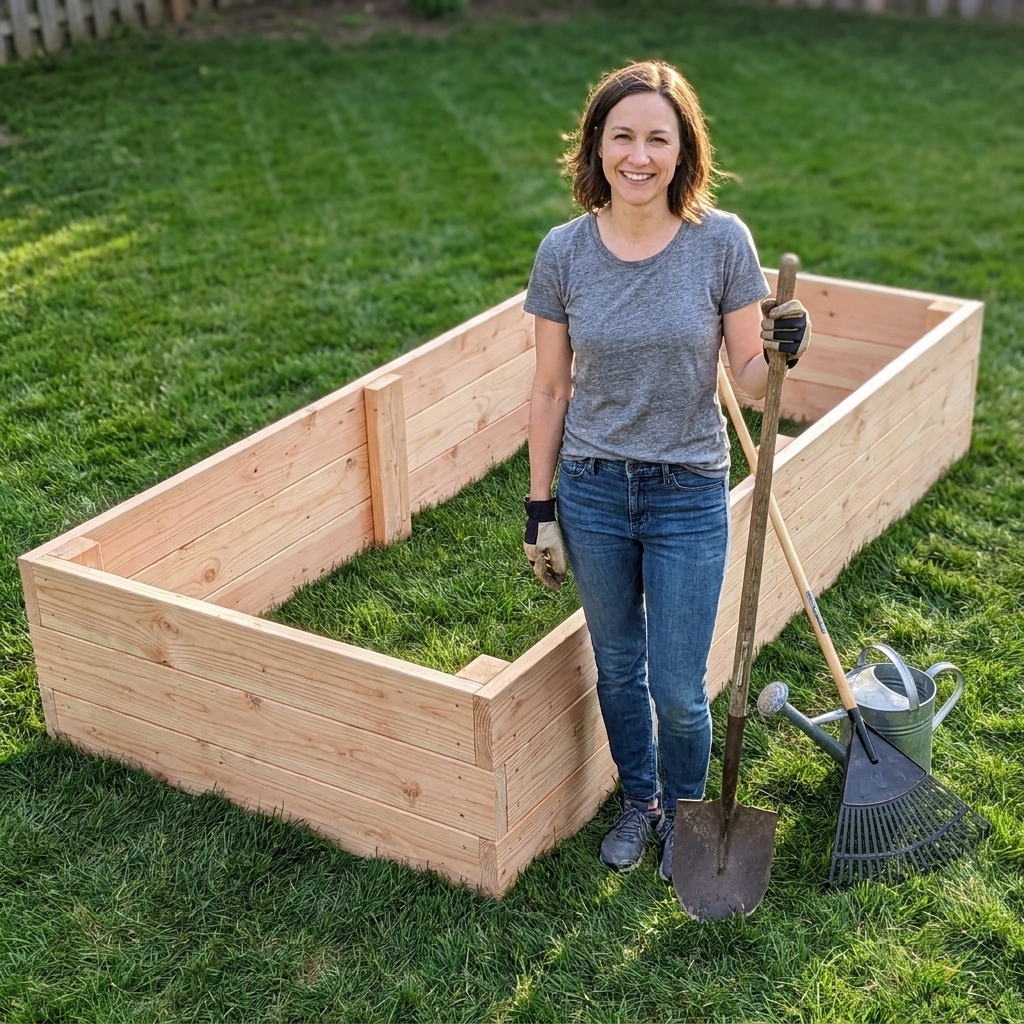
For a vertical or angled panel, decide whether the panel sits inside the bed (more stable, slightly reduces bed width) or outside the bed (keeps soil area, may need more bracing). For most wooden beds, I prefer mounting posts just outside the bed wall and fastening the panel to the posts.
Build an arch
Step 1: Set beds and mark posts
Set the two raised beds parallel, with your desired walkway between them. Mark where the panel ends will land on each bed. You want the ends to line up so the arch is symmetrical.
Step 2: Install posts
You have two common approaches:
- T-post method: Drive one T-post near each bed corner that faces the walkway, usually 2 to 6 inches from the bed edge so you have room to tie the panel on. For stability, aim to drive posts roughly 12 to 18 inches into the soil (more if your ground is soft). Keep them plumb.
- Wood post method: Screw or bolt 2x4s or 4x4s to the inside corners of each bed, extending up at least a foot above the bed. For heavy crops, use bolts with washers instead of only screws.
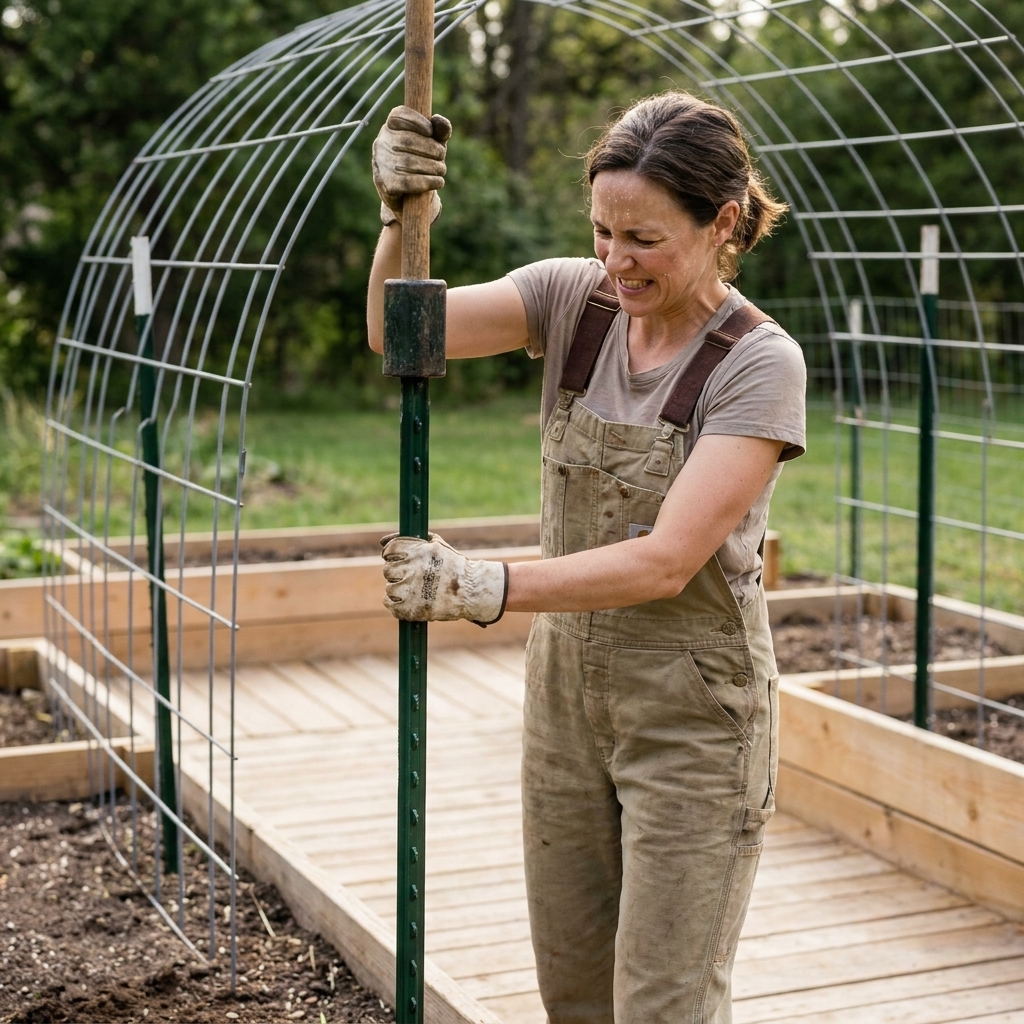
Step 3: Bend and set the panel
This is the only part that feels a bit like wrestling a friendly robot. Wear gloves.
- Stand the panel on its long edge in the walkway.
- Bring one end up to the posts on the first bed and loosely tie it in place with wire, clips, or a couple of U-bolts.
- Walk the other end toward the second bed, bending the panel into an arch as you go.
- Once the second end reaches the opposite posts, secure it loosely.
Step 4: Fasten it for real
Now switch from “temporary holds” to true fastening.
- To T-posts: Use heavy-gauge wire, T-post clips, or purpose-made panel clamps if you can find them. If you are using wire and the panel wants to slide, add a small spacer block (a short scrap of wood or a bit of conduit) between the panel and the post, then tie around both. That spacer gives the tie something to bite into so the panel is less likely to creep up or down over time.
- To wood posts: Use fence staples driven over the wire intersections, or use U-bolts and washers for a removable setup.
Step 5: Tie into the beds (optional but smart)
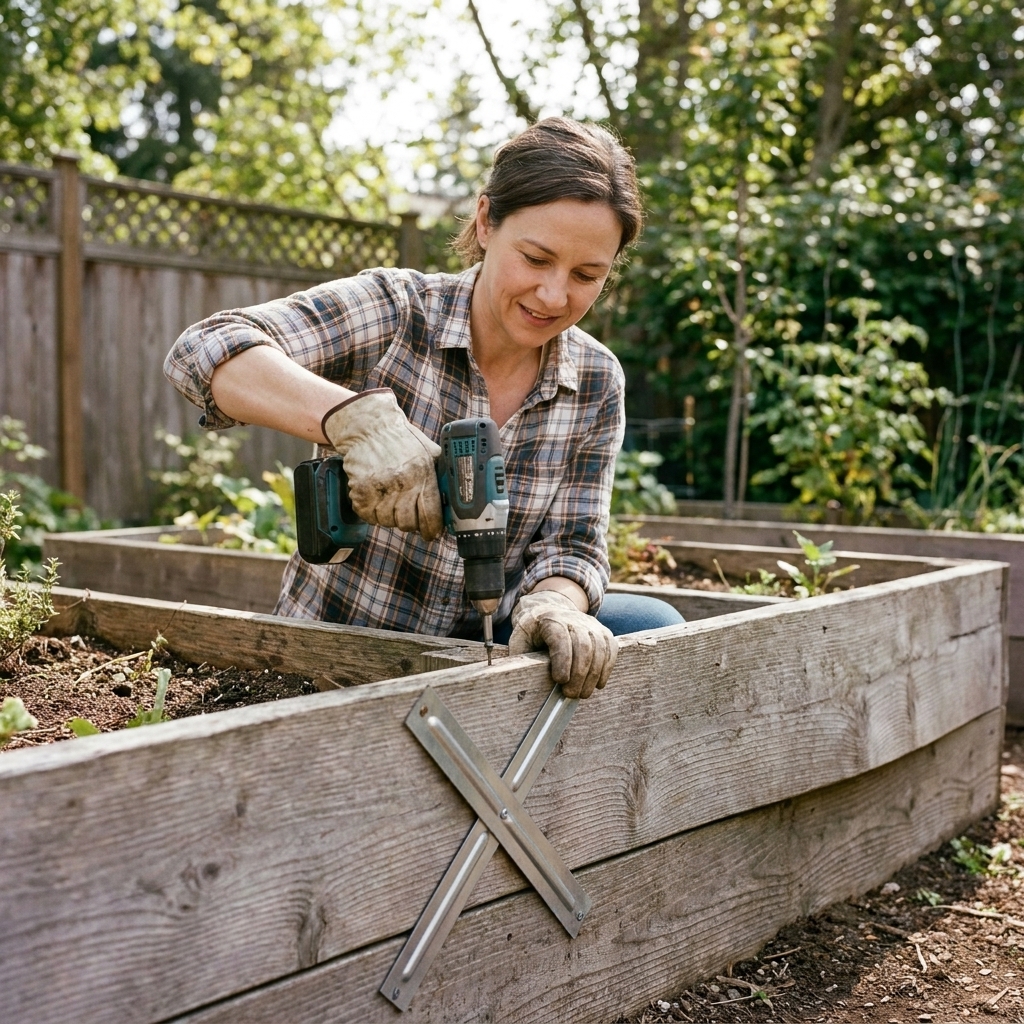
If your beds are wooden and sturdy, I like an extra connection point so the whole system acts as one unit in wind.
- Screw a wide washer into the bed rim and loop wire through a panel square to snug it down.
- Or use a small angle bracket and bolt it through the bed wall, then wire the bracket to the panel.
Step 6: Shake test
Give the arch a firm shake. You are not trying to flatten it, just testing for wobble. If it moves, add more ties or add a second post per side.
Build a vertical panel
Step 1: Choose inside or outside mount
Inside-mount is extremely solid, especially for tall tomatoes, but it steals a few inches of bed width. Outside-mount keeps the whole bed for plants, but you will rely more on posts and bracing.
Step 2: Install posts every 4 to 6 feet
For a full 16-foot panel, I like at least 3 posts. End posts matter most. If you grow heavy squash, go with 4 posts.
Step 3: Attach the panel to posts
- Wood posts: fence staples or U-bolts
- Metal posts or conduit: U-bolts, pipe straps, or wire ties
Step 4: Anchor posts to the bed
If your bed is wood, run two bolts per post through the bed wall with washers and lock nuts, or use structural screws rated for outdoor use. For metal beds, bolt through with wide washers so you do not tear the metal.
Build a lean-to
This is basically the vertical build, tilted. It takes very similar hardware, just a little different geometry.
Step 1: Set your angle
A slight lean is plenty. Think 10 to 20 degrees, just enough that the panel is not perfectly upright.
Step 2: Install posts and a top tie
Install posts every 4 to 6 feet like the vertical setup. Then add a top connection so the panel cannot kick out under load. That can be a simple cross brace (wood or conduit) from the top of a post back to the bed frame, or a second stake behind the trellis tied to the top edge.
Step 3: Fasten and shake test
Fasten the panel to posts with U-bolts, staples, or wire, then do the same firm shake test. If it feels springy, add another tie point or another post.
Fasteners that hold
My go-to: posts plus U-bolts
U-bolts with washers and lock nuts are boring in the best way. They do not loosen easily, they handle weight, and they make the trellis feel like permanent garden infrastructure.
Fast and solid: fence staples
Staples are excellent if you are attaching the panel to wood posts. Use plenty of them, and aim for the welded intersections in the panel.
Budget method: wire ties
Wire works, especially for T-post installs. Twist tight, then fold the sharp end back on itself. I learned this lesson the hard way the first time I reached in to harvest cukes without looking.
What I avoid for main support
- Standard zip ties as the primary connector for squash or melons
- Thin picture wire that snaps after weathering
- Attaching only to the bed wall without posts, unless it is a very short and lightly loaded trellis
Safety first
- Cut ends are sharp. If you cut the panel, cap the ends or bend them inward. At minimum, file burrs.
- Prevent snags. Cut nubs can snag sleeves, skin, and vines. If you trim a panel, orient cut ends down or cover them with a slit piece of old garden hose or an edge guard.
- Wear gloves and eye protection when cutting or bending.
- Watch bed walls. Lightweight beds can bow if you overtighten bolts. Use wide washers to spread the load.
- Mind the wind. A fully leafed trellis acts like a sail. More posts and more attachment points are your friend.
Planting and training
Best crops
- Cucumbers: my number one recommendation
- Pole beans: effortless climbers
- Snap peas: great for spring and fall
- Indeterminate tomatoes: use clips or soft ties and keep up with pruning
- Winter squash and pumpkins: possible, but choose varieties wisely and give extra support
Spacing
For cucumbers, I usually plant about 12 inches apart along the base. For tomatoes, I go wider, often 18 to 24 inches apart, depending on variety and how hard I prune.
Support heavy fruit
If you grow melons or hefty squash on an arch, plan to sling the fruit. Old t-shirts, stretchy fabric, or mesh produce bags tied to the panel work well. The vine still needs to be healthy, but the sling prevents a mid-season snap.

Problems and fixes
The arch shifts or wiggles
- Add a second attachment point on each side, higher up the post.
- Add another post per side, especially on longer spans.
- For T-posts, drive them deeper and ensure they are vertical.
Bed sides bow
- Do not rely on the bed wall alone for support.
- Use posts that transfer load to the ground.
- Add interior corner bracing to wooden beds if needed.
Vines will not grab
Some plants need a little coaching at the start. Use soft plant ties or tomato clips for the first couple of feet, then they usually take over.
Rust worries
Most cattle panels are galvanized, but they still weather over time. I consider surface rust normal and not an immediate problem. If you want the longest life, store extra panels off the ground and avoid cutting unless necessary.
Quick FAQ
Can I attach a panel directly to the bed without posts?
You can for light crops, but I do not recommend it for squash, melons, or full-season tomatoes. Posts make the difference between “cute” and “rock solid.”
Do I need two beds for an arch?
No, but it is the easiest way. You can also arch between a bed and ground-mounted posts, or between two post sets in the ground next to beds.
How tall will the arch be?
It depends on panel length and the spacing between beds. A tighter walkway makes a taller arch. A wider walkway makes a lower, broader arch.
What side is best for a vertical trellis?
Usually the north side (in the northern hemisphere) so your trellis does not shade sun-loving plants in the rest of the bed. In the southern hemisphere, use the south side.
Final advice
Build it sturdier than you think you need. Vines start innocent, then suddenly it is August, your cucumbers are throwing a party, and the trellis is doing real engineering work. A few extra bolts and a couple more ties now will save you from propping things up with random sticks later.
If you build one, take a photo when it is brand new and then again at peak season. That glow-up is one of my favorite little garden joys.