The day I finally built my garden “like I meant it” was the day I stopped squeezing beds into every spare inch and started designing the paths first. Beds are the stars, sure, but paths are the plumbing. If you cannot roll a wheelbarrow through your garden without bumping corners, spilling compost, or doing a three-point turn with a full load, the layout will wear you out fast.
This is how I plan raised bed spacing and pathways so a wheelbarrow fits, your body feels good while working, and everything stays tidy through muddy seasons.
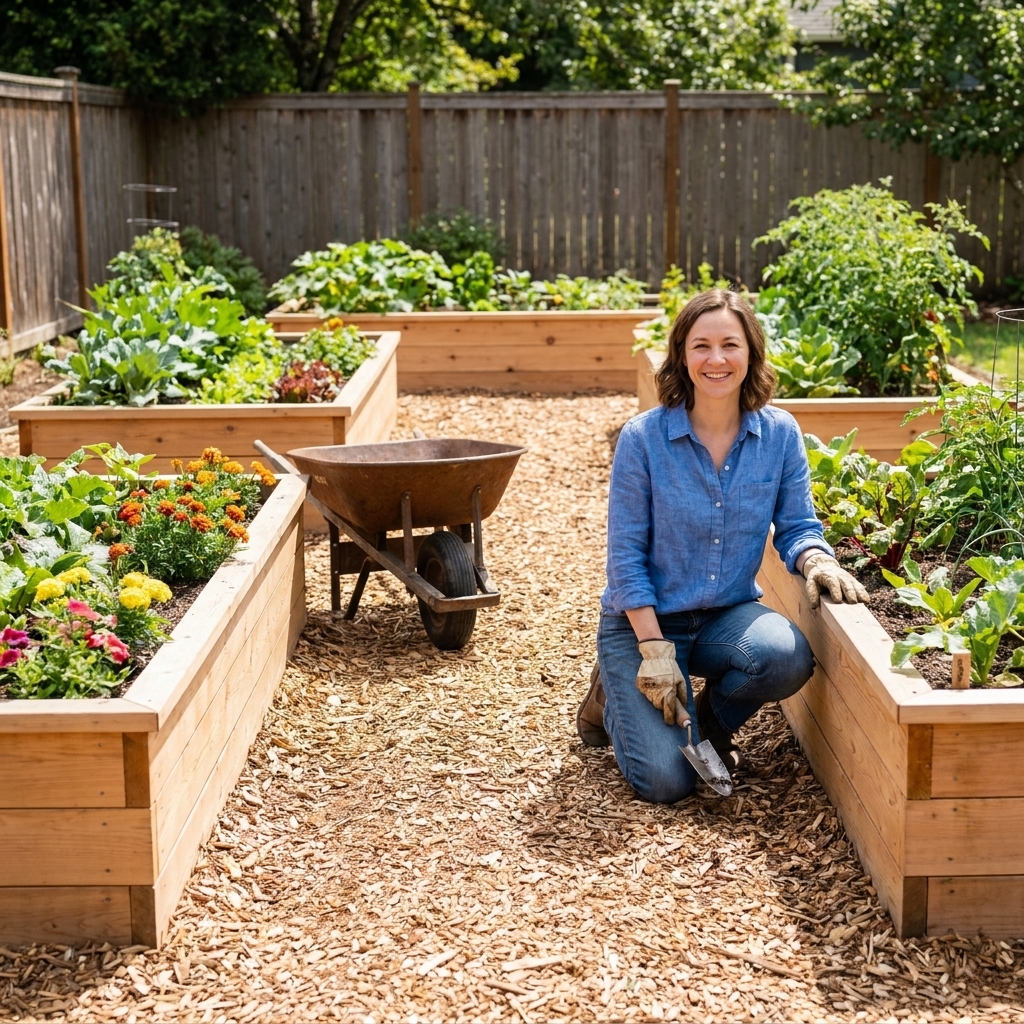
Start with your wheelbarrow
Wheelbarrows are awkward little beasts because the front wheel tracks narrow but the handles and your elbows need room. Before you mark bed locations, measure your wheelbarrow (or cart) at its widest point, then add a little breathing room. Handles, gloves, bulky coats, and a full load all make a tight path feel tighter.
If you or someone in your household uses a mobility aid, or you want truly easy passing and turning, plan wider than the minimums below. A 36-inch route is often cited as a baseline for accessibility, but 42 to 48 inches is noticeably easier for turning.
My go-to pathway widths
- Minimum working path: 24 inches (fine for foot traffic, not fun for a wheelbarrow)
- Usable wheelbarrow path: 30 to 32 inches (works in many gardens if you do not mind occasional handle bumps)
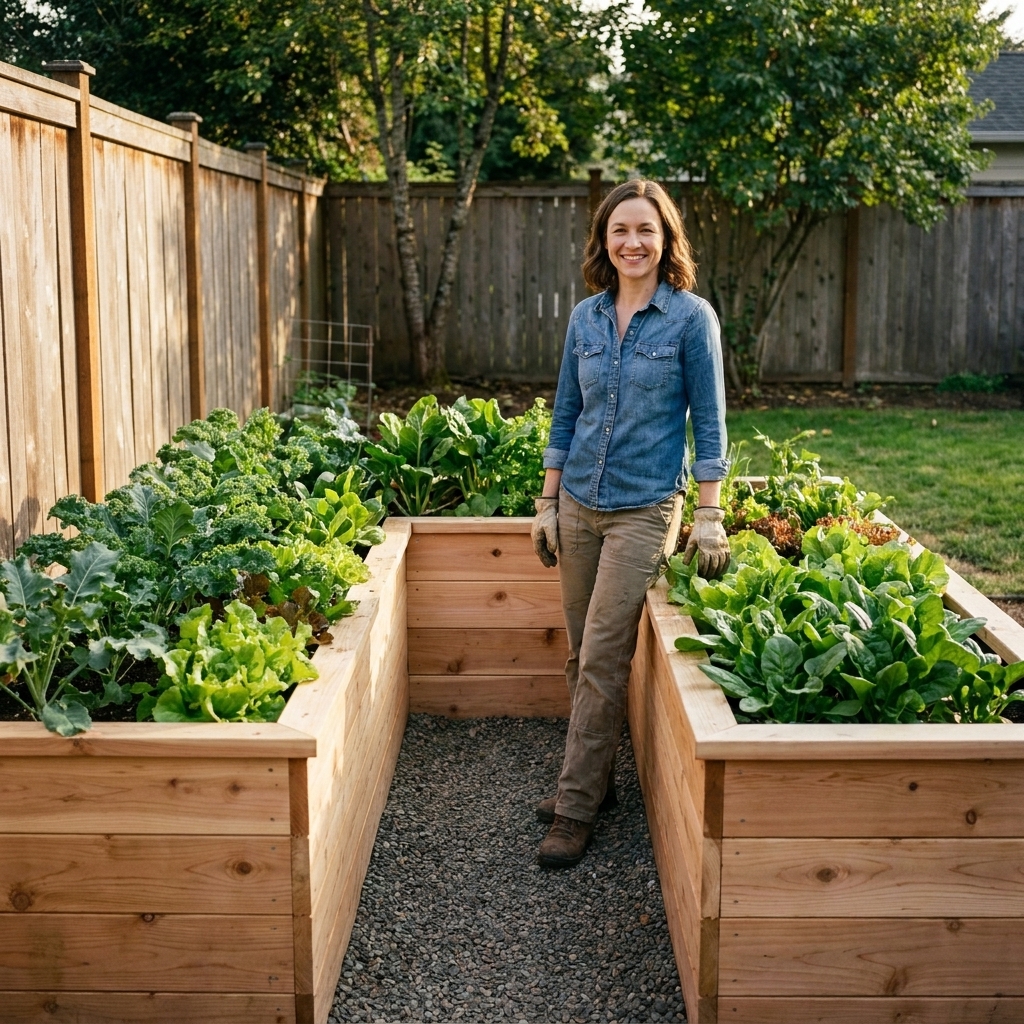
- Comfortable wheelbarrow path: 36 inches (my sweet spot for most backyards)
- Two-person or side-by-side working path: 42 to 48 inches (great near compost bins, potting benches, or high-traffic routes)
If you are building a “main lane” from the gate to compost, water source, or shed, treat it like a tiny service road. Make that one at least 36 inches, and do not feel guilty about 48 inches if you have the space. You will appreciate it when you are hauling wet soil or mulch.
Plan for turns and dump zones
Most pathway advice stops at straight-line width, but the real struggle is turning. A wheelbarrow needs extra clearance to pivot, especially at bed corners and at the end of rows.
What to build in on purpose
- End-of-row turnaround: Aim for a 4 ft by 4 ft open pad at the end of long bed runs. If you can manage 5 ft by 5 ft, turning with a loaded barrow becomes easy.
- Compost and soil drop zone: Leave a wider bay near compost, leaf mold, or soil storage. A 4 to 6 ft wide work area keeps you from dumping in the path.
- Gate pinch points: If your garden entrance is tight, widen the first 6 to 10 feet inside the gate so you can straighten out before choosing a lane.
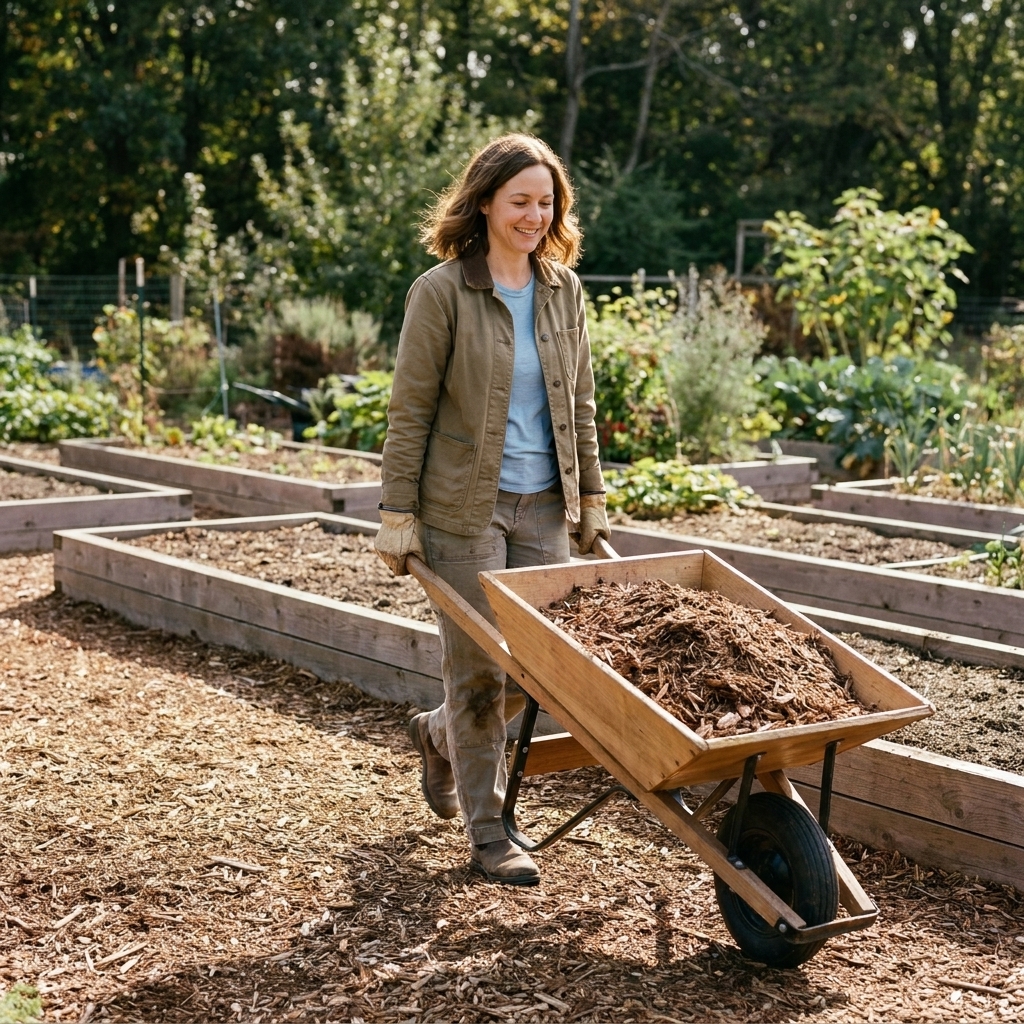
Make reach easy
Spacing is not only about moving through the garden. It is also about how your body moves while you plant, weed, and harvest. If you have to step into a bed because you cannot reach the middle, the soil compacts and your back complains.
Bed widths that work
- Access from both sides: 3 to 4 ft wide beds are ideal. Most gardeners can comfortably reach 18 to 24 inches into a bed without leaning too far.
- Access from one side (against a fence): 2 to 2.5 ft wide. Anything wider becomes a stretch fest.
If you already have beds wider than 4 feet, you can still make them workable by adding stepping stones inside the bed for careful access, but if you are building fresh, keep it simple and keep it reachable.
Bed height changes path needs
Taller beds are easier on the back, but you tend to stand closer and work over the edge more. That can mean your elbows and tools spill into the path. If you are building beds 18 inches tall or higher, lean toward 36-inch paths so you have room to kneel or set a harvest basket without blocking the lane.
Layouts that flow
You can have perfect path widths and still end up with annoying dead ends. Here are the patterns that consistently work well in real backyards. (If you want a quick recap of sizes, skip down to the cheat sheet.)
1) The main loop
Create a loop that connects the entrance, water, and compost, then branch smaller paths off it. A loop means you do not have to reverse out with a loaded barrow.
- Main loop: 36 to 48 inches
- Branch paths: 30 to 36 inches
2) Central aisle with pockets
If you have a rectangular garden area, a central aisle can be very efficient. Add a wider pocket every so often where you can set down a wheelbarrow, kneel, or stage plants.
- Central aisle: 42 inches is dreamy
- Pocket size: about 5 ft wide for 4 to 6 ft length
3) U-shape around a work zone
Place beds on three sides of a central area where you can turn, mix amendments, and stage seedlings. This is fantastic if you do lots of succession planting.
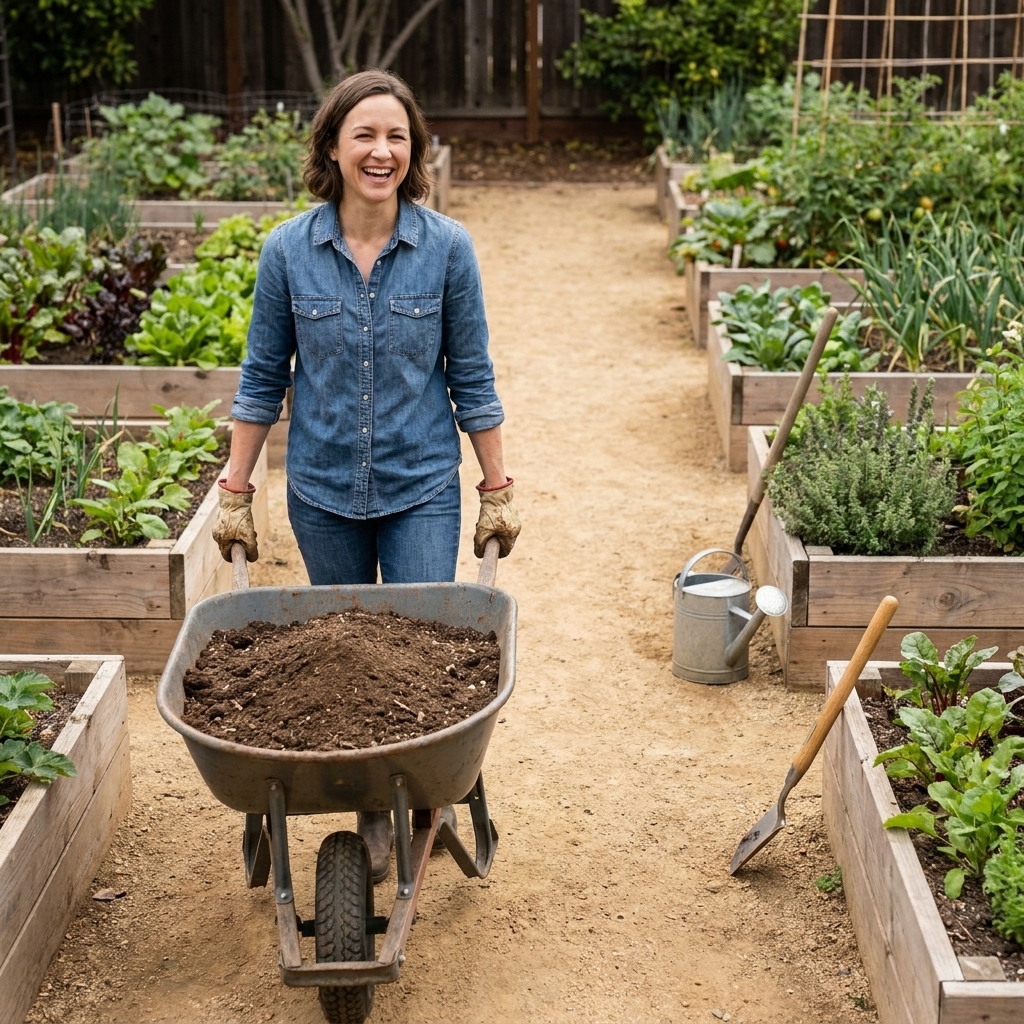
Path surfaces
The “best” ground cover depends on your climate, budget, and how tidy you want things to look. For wheelbarrow access, you are aiming for three things: firm underfoot, good drainage, and weed control.
Wood chips (my top pick in many gardens)
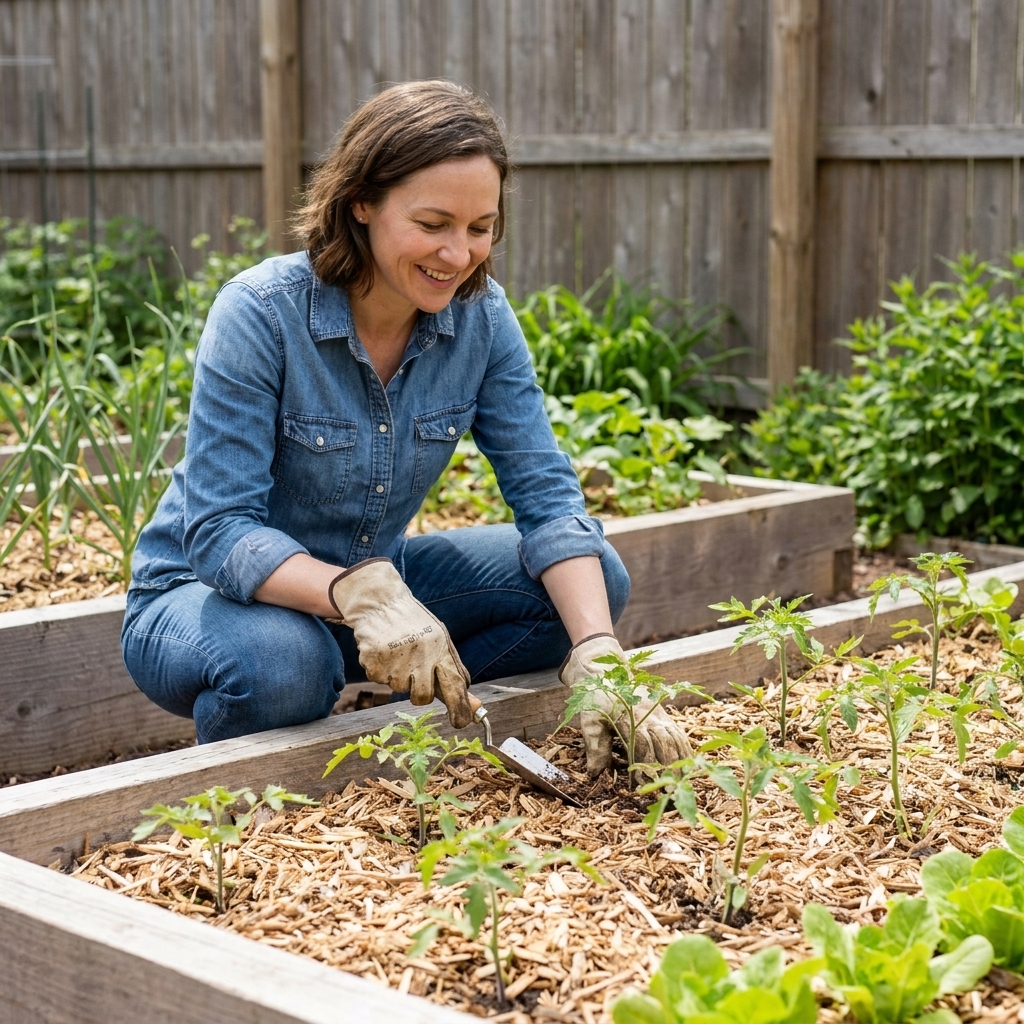
Arborist wood chips are my favorite because they suppress weeds, feel kinder on knees than gravel, and get better over time as they break down. Drainage is usually good, but like anything, it depends on what is underneath. If your base is already compacted clay with nowhere for water to go, chips alone cannot solve that. In that case, focus on shaping the path (a slight slope) and avoiding compaction.
- Depth: 3 to 5 inches after settling
- Maintenance: Top up once or twice a year, especially after heavy rain seasons
- Pro tip: Cardboard underneath can help when converting lawn or fighting perennial weeds, but use it with judgment. In some soils it can slow water infiltration for a while, and in some regions it can attract pests. If you use it, overlap well, keep it wet while installing, and do not run it right up against wooden bed walls.
If termites or ants are a concern where you live, keep chips a few inches back from wooden bed sides and inspect occasionally. It is a simple precaution that can save worry.
Gravel or decomposed granite
These can create a very stable path for wheelbarrows, especially in wet climates. The tradeoff is cost, edging needs, and base prep. Without edging, gravel migrates into beds like it owns the place.
- Best for: Permanent paths, high-traffic lanes, very wet sites
- Base basics: For most home gardens, plan on 3 to 4 inches of compacted road base (or similar) under your top layer, plus edging to hold it all in place. Decomposed granite performance varies by product and rainfall, so ask locally what holds up.
- Avoid: Very small pea gravel if you hate rolling resistance
Living paths (clover, thyme, or grass)
Living paths look charming and stay cooler in summer, but they are the least wheelbarrow-friendly when wet. Maintenance also varies wildly by climate. In some places, living paths are easy, while gravel still grows weeds if it gets irrigated or collects windblown soil. If you love the look, use living paths on low-traffic routes and keep a firm main lane.
- Best for: Dry climates, light foot traffic
- Reality check: You will be trimming and occasionally patching bare spots
Straw
Straw can be a good temporary solution when you are still tweaking your layout, but it breaks down quickly, blows around, and can sprout grain if you buy the wrong bale. I use it as a seasonal mud fix, not a forever path.
Landscape fabric
I am not anti-fabric, but I am picky. Under wood chips, it can help for a year or two, then soil and debris often collect on top and weeds root into that layer anyway. If you use fabric, choose a permeable woven type and plan to refresh the system rather than expecting it to be permanent.

Details that matter
These are the small design choices that keep paths from becoming a constant chore.
Edge loose materials
Wood chips and gravel behave best with a boundary. Simple metal edging, bricks, or thick wooden boards can keep the path material where it belongs and make mowing nearby easier.
Prevent corner snags
Sharp corners plus narrow paths equals bruised hips. If you are tight on space, consider slightly rounding bed corners or widening the corner area where paths intersect.
Drainage and slope
If water pools in paths, wheelbarrow access becomes a mud sport. Even a gentle slope helps. I aim for roughly 1 to 2 percent slope along a path (about 1 to 2 inches of drop per 8 feet), or a slight cross-slope so water sheds off instead of sitting between beds.
Plan hose and irrigation routes
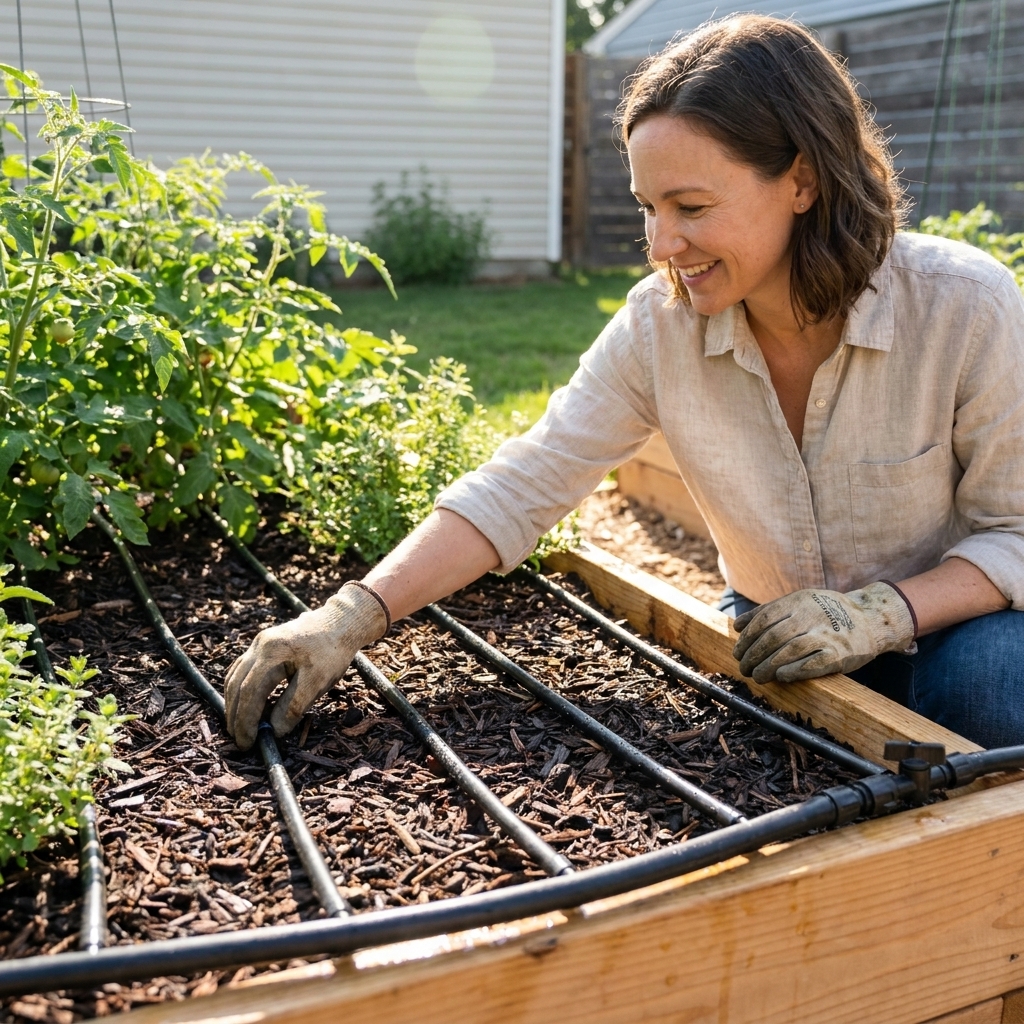
A hose draped across the main lane is a trip hazard and a wheelbarrow stopper. If possible, run hoses along bed edges or use drip irrigation with a clean, predictable route.
Test it with stakes
If you want a simple way to test a layout before committing, do this:
- Mark your main route first from entrance to compost and water. Stake it at your chosen width (36 to 48 inches is a great range).
- Set bed rectangles with stakes using your preferred bed width (3 to 4 ft for two-sided access).
- Walk it with your wheelbarrow, empty at first, then loaded with something heavy like a bag of soil or mulch.
- Simulate real tasks: turning at the end of rows, parking to harvest, and dumping into a bed.
- Adjust before building. It is much easier to move stakes than to move lumber.
I have auditioned layouts this way for a full week, and it saved me from at least one path that looked great on paper but felt cramped in real life.
Spacing cheat sheet
| Design element | Recommended size | Why it helps |
|---|---|---|
| Main wheelbarrow path | 36 to 48 inches | Easy hauling, passing, and less corner clipping |
| Secondary path | 30 to 36 inches | Good access without wasting space |
| Foot-traffic only path | 24 inches | Works for walking, tight gardens |
| End-of-row turnaround | 4x4 ft minimum, 5x5 ft ideal | Comfortable turning with a loaded wheelbarrow |
| Bed width (two-sided access) | 3 to 4 ft | Reach the center without stepping into soil |
| Bed width (one-sided access) | 2 to 2.5 ft | No overreaching against a fence or wall |
FAQ
Is 24 inches wide enough between raised beds?
For walking, yes. For wheelbarrows, it is usually frustrating unless you have a very narrow cart. If wheelbarrow access matters, I would treat 30 inches as the practical minimum and 36 inches as the comfortable target, then adjust based on your specific wheelbarrow and how much turning you do.
How wide should paths be for a garden cart?
Many two-wheeled garden carts need a similar width but turn differently. Measure the cart’s widest point and add at least 6 inches. In most cases, 32 to 36 inches works well, with more width helping in corners.
What is the easiest low-maintenance path material?
For most home gardens, a thick layer of wood chips is the best mix of low maintenance, comfort, and weed suppression. If you want the cleanest, most permanent option and do not mind the upfront work, a well-edged gravel path over a compacted base can be very durable.
Should raised beds touch each other?
I do not recommend it. Even a narrow gap becomes a weed trap and a slug hotel, and you lose access for maintenance. Give yourself a real path, even if it is a slim one.
My bottom line
If you take one thing from this, let it be this: build at least one generous main path that your wheelbarrow can cruise through without gymnastics. From there, you can tighten secondary paths if you need to. A raised bed garden should feel like an invitation, not an obstacle course. Your future self, hauling compost in the middle of July, will be very grateful.