A 4x8 raised bed is my forever favorite: big enough to grow a serious amount of food, small enough to manage, and reachable for most people from both sides so you are not stepping on your soil. I have built (and rebuilt) enough beds to learn what matters: straight boards, solid corners, and a layout that stays square when the soil gets heavy and wet.
Below is the exact, beginner-friendly plan I recommend for a classic 4x8 wooden raised bed: a straightforward rectangle, strong corner bracing, and hardware that will not make you regret your choices next spring.
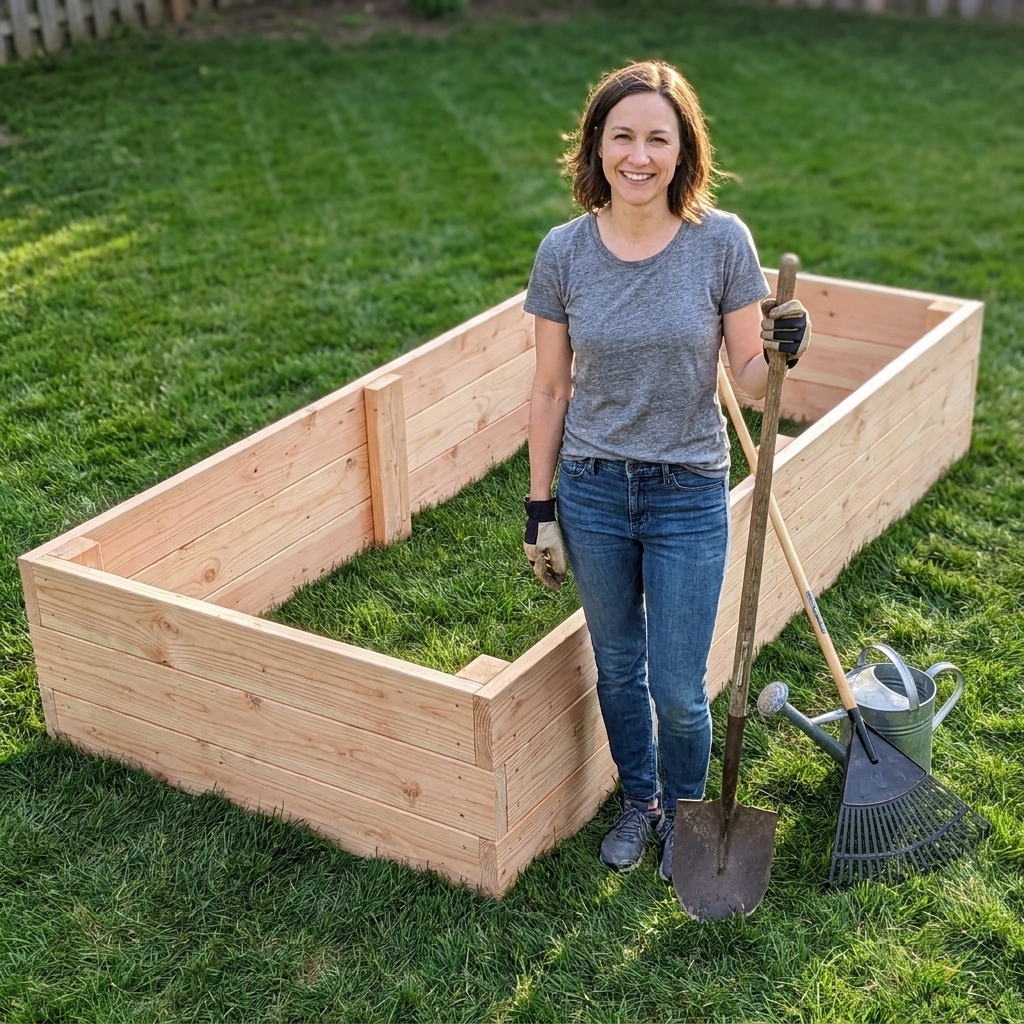
Quick plan overview
- Finished size: 4 ft x 8 ft (outside dimensions)
- Recommended height: 11 in (one board tall) for a classic bed, or 22 in (two boards tall) if you want more root depth and less bending
- Recommended lumber size: 2x12 boards for the bed walls
- Build time: 60 to 120 minutes
- Skill level: beginner, as long as you measure twice and pre-drill
Materials: lumber and hardware shopping list
Lumber (classic 11-inch-tall bed)
- (2) 2x12x8 boards (these are your long sides, 8 ft each)
- (2) 2x12x4 boards (these are your short sides, 4 ft each)
- (4) 4x4 posts for corner bracing (buy 18 inches long and cut to fit)
My practical note: Those 4x4 corner posts are what keep the bed from bowing once it is full of wet soil. You can use 2x4 corner braces instead, but 4x4s are more forgiving and sturdier long-term. I like buying them a little longer so I can trim them perfectly flush to the actual board height on site.
Hardware
- Exterior-grade screws: 3 inch deck screws or structural wood screws (about 32 to 48 total)
- Optional: galvanized corner brackets (not required, but nice if your boards are a little imperfect)
- Optional for stacking to 22 inches: (4) extra 2x12x8 and (4) extra 2x12x4, plus longer screws or 3 inch screws with good corner bracing
Liner and site supplies (highly recommended)
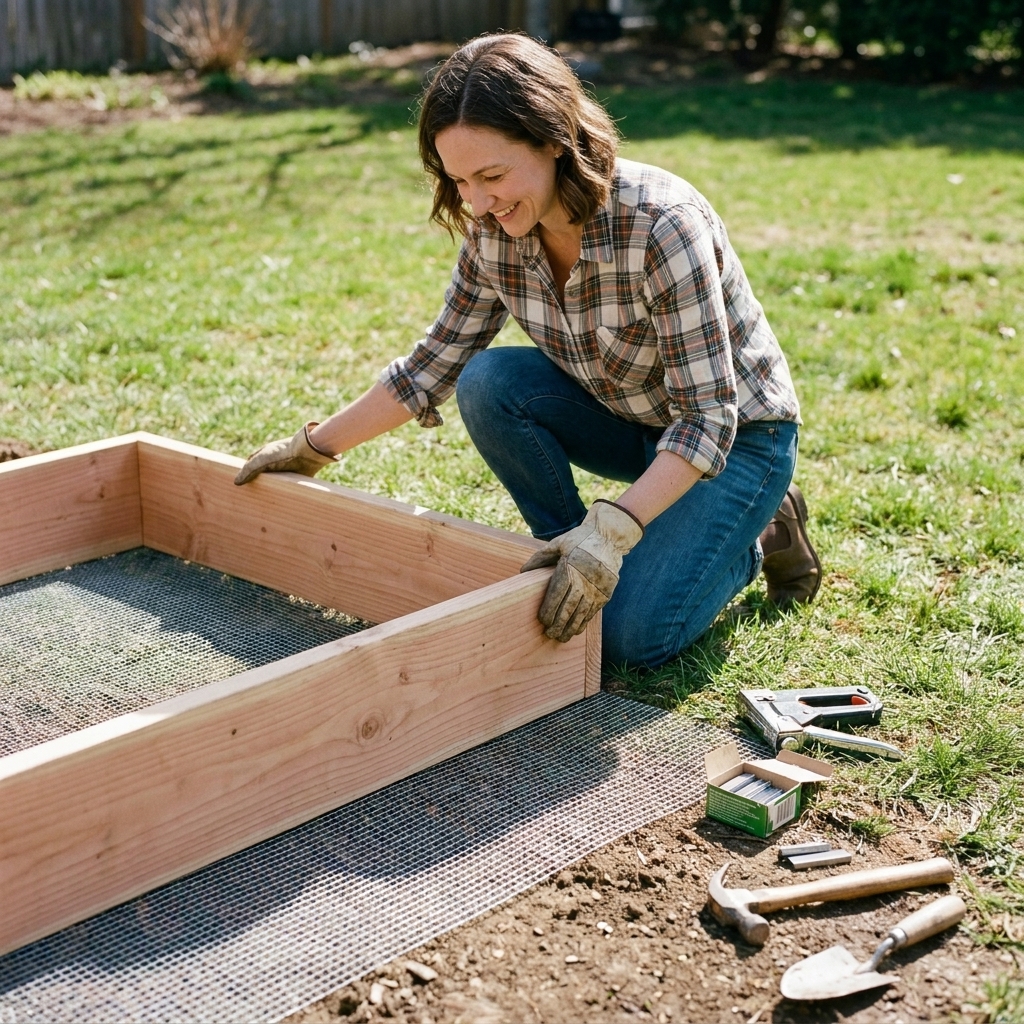
- Hardware cloth (1/2 inch mesh): for gopher, vole, or mole protection under the bed
- Landscape fabric or cardboard: to smother grass and weeds under the bed
- Leveling material: a few bags of paver base, decomposed granite, or simple topsoil to fine-tune level
What wood should you buy?
If you want food-safe and long-lasting, look for cedar or redwood. They cost more, but they resist rot naturally. A budget-friendly choice is untreated pine or fir, which can still give you several good seasons if your drainage is decent and you avoid constantly soaking the wood.
I usually skip pressure-treated lumber for beds when I can, mostly because I do not like the uncertainty. That said, modern pressure-treated wood (the newer formulations, not the old stuff) is widely used for raised beds, and many gardeners are comfortable with it. If that is what fits your budget and you want the longer life, it is a common choice.
Cut list (exact dimensions)
If you buy boards in the exact lengths listed above, you may not need any cuts for a one-board-tall bed. The main cutting is trimming corner posts to match the real board height, which can vary a bit.
Classic 11-inch-tall bed
- Long sides: (2) boards at 96 inches
- Short sides: (2) boards at 48 inches
- Corner posts: (4) posts cut to match the board height (typically 11 to 12 inches)
Taller 22-inch bed (two boards tall)
- Long sides: (4) boards at 96 inches
- Short sides: (4) boards at 48 inches
- Corner posts: (4) posts cut to 22 to 24 inches
- Mid-span bracing: (2) 2x4 stakes cut to 24 to 30 inches (one for the midpoint of each 8-foot side)
Cut accuracy tip: If the store offers a free cut or two, have them cut your corner posts to rough length. A square cut makes assembly easier and helps the bed sit flat, but I still like to do the final trim at home so everything ends up perfectly flush.
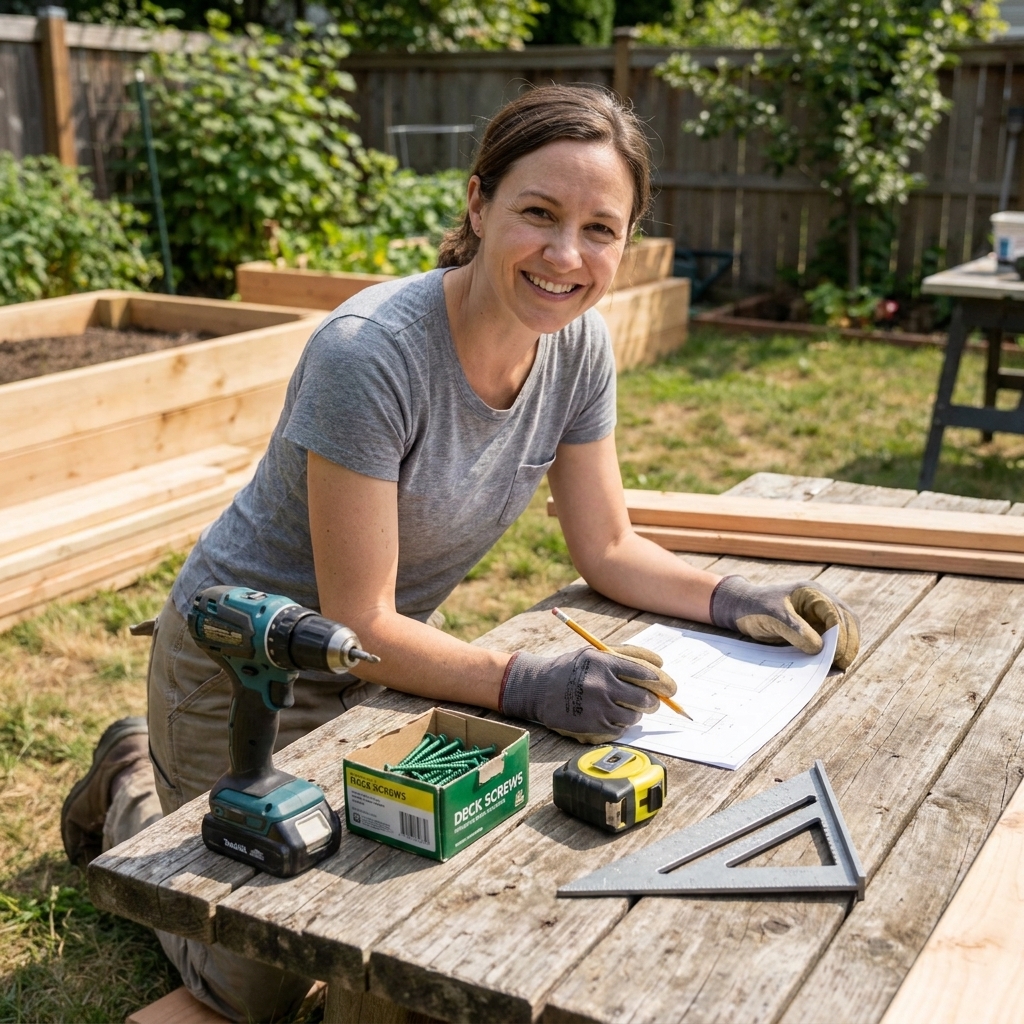
Tools you will need
- Drill or impact driver
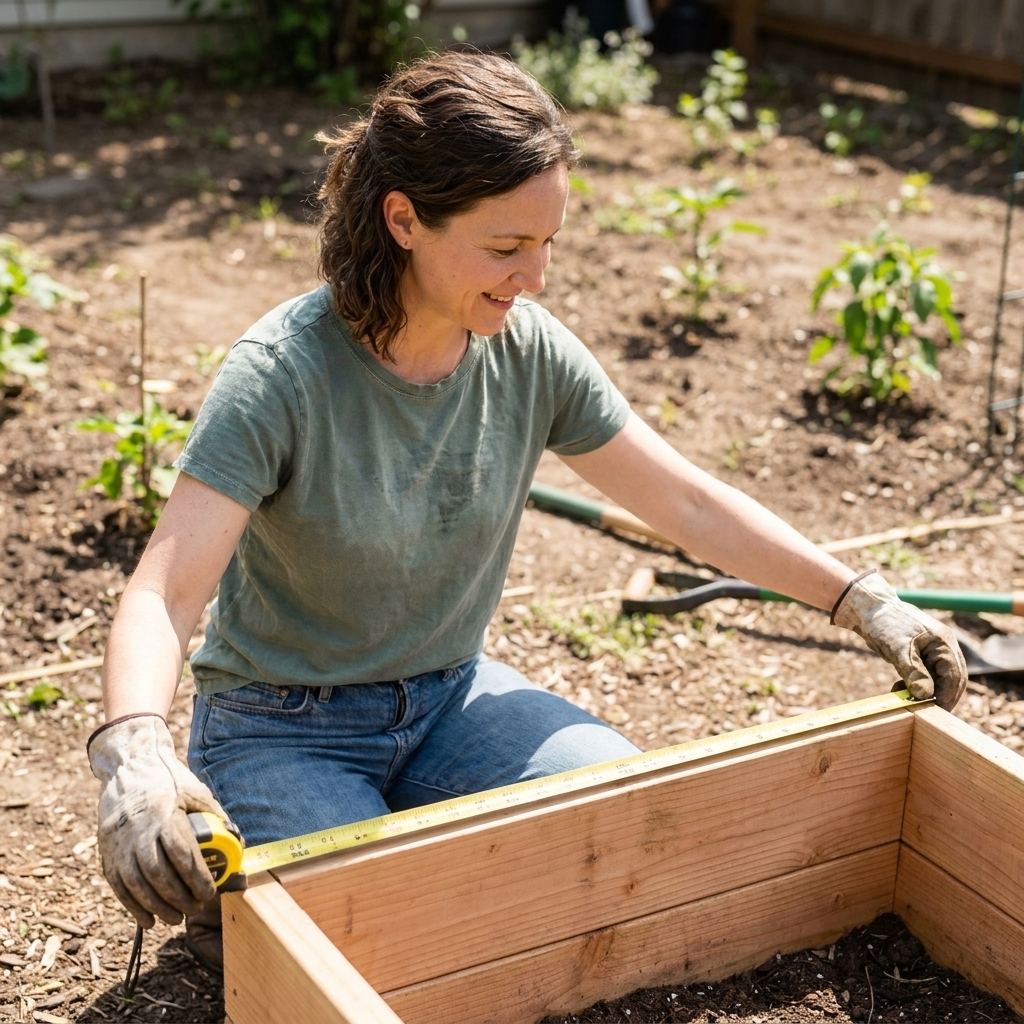
- Measuring tape
- Speed square or carpenter’s square
- Clamps (helpful but optional)
- Level (2 ft level is perfect)
- Shovel and rake for site prep
- Staple gun (if adding hardware cloth)
- Safety glasses and gloves
Step 1: Pick the right spot
Before you build, decide where the bed will live. Moving a filled 4x8 bed is not a thing you will want to do twice.
- Sun: aim for 6 to 8 hours of direct sun for most vegetables.
- Water access: close to a spigot or where you can comfortably run a hose.
- Drainage: avoid the lowest spot in your yard where water puddles after rain.
- Reach: keep at least 2 feet of walking space around the bed, more if you plan to use a wheelbarrow.
My “wish I had listened sooner” tip: If you have flexibility, placing the 8-foot side running east to west often makes crop planning easier, since you can put taller plants on the north side (in the Northern Hemisphere) to reduce shading. If your yard has fences, trees, or one obvious sunny spot, let the sun win and work with what you have.
Step 2: Prep and level the base
A raised bed is only as nice as the ground under it. If the bed is twisted or rocking, it will slowly pull itself out of square over time.
- Mark the footprint: measure a rectangle roughly 4 ft x 8 ft.
- Remove sod: scrape away grass in the footprint area.
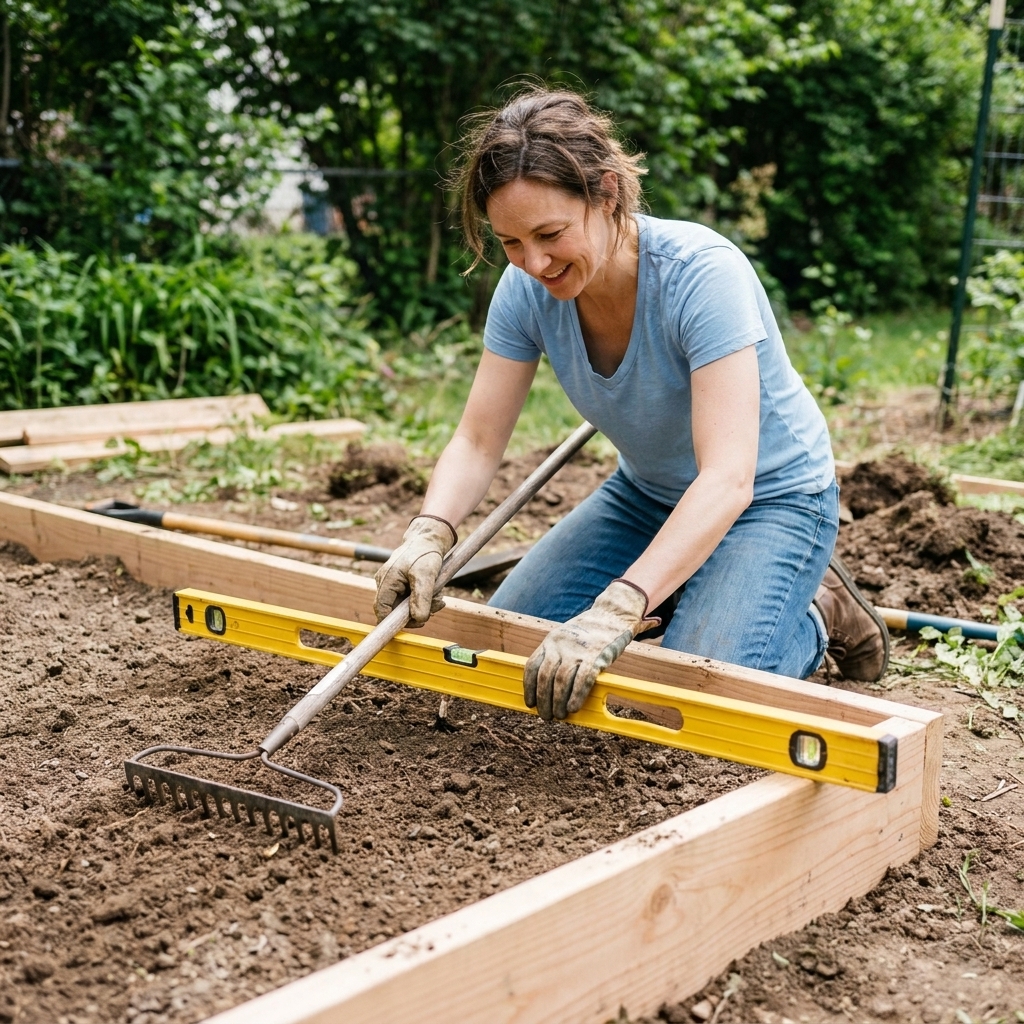
- Level the area: use a rake and shovel to remove high spots. Check level in both directions.
- Optional but helpful: lightly tamp the soil so you are building on a firm base.
Step 3: Assemble the first corner
We are going to attach the boards to the inside faces of the 4x4 corner posts. This gives you a strong joint and keeps your outer dimensions true.
- Stand one 4x4 corner post upright.
- Place a 4-foot board against the inside face of the post and line up the top edges so they are flush.
- Pre-drill two holes through the board into the post to prevent splitting.
- Drive (2) 3-inch screws into the post.
Screw placement: keep screws about 1.5 to 2 inches from board edges, and stagger them vertically if you are using more than two.
Step 4: Build the rectangle
- Attach a long 8-foot board to the same corner post (pre-drill, then screw).
- Move to the free ends of those boards and add the remaining corner posts one at a time.
- Finish by attaching the last two boards to close the rectangle.
At this stage, I like to set just one screw per board end so I can nudge the frame into perfect square. Once it is square, go back and add the rest of your screws.
Square it
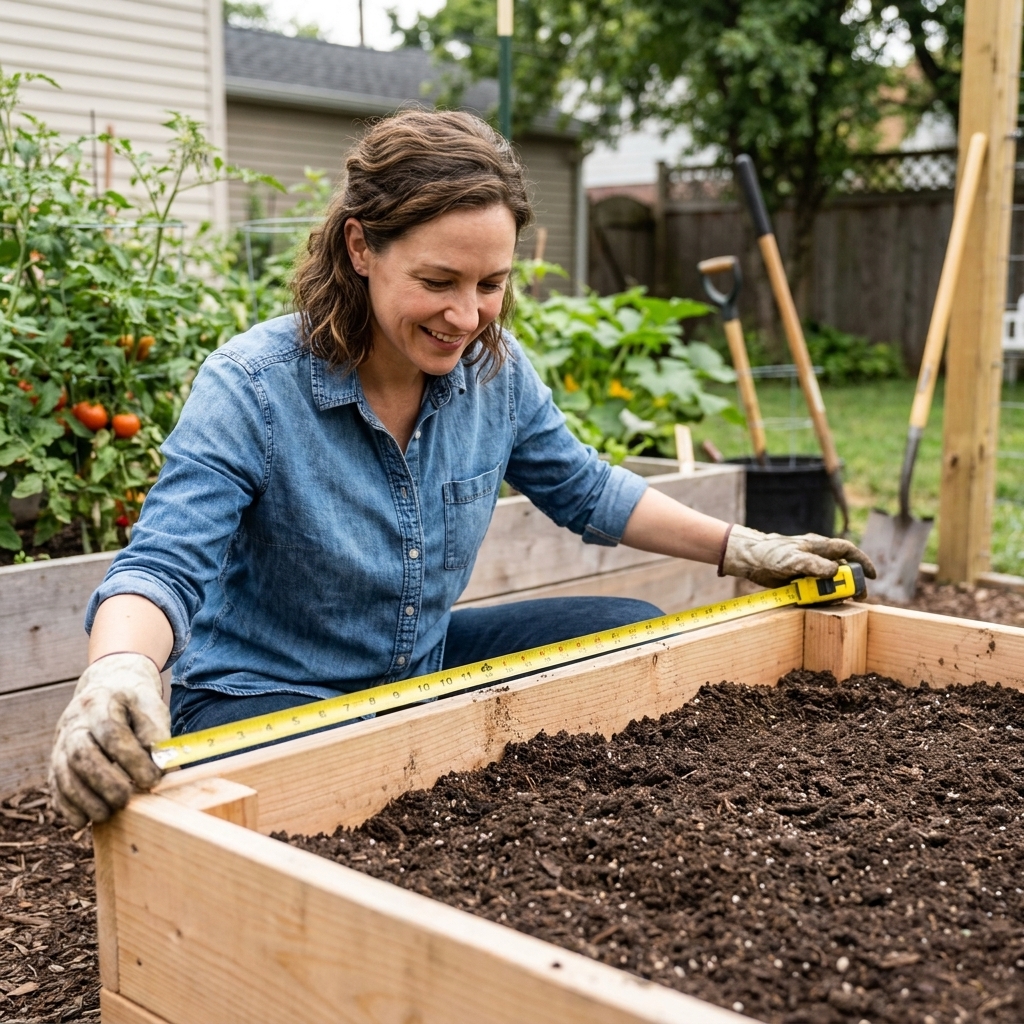
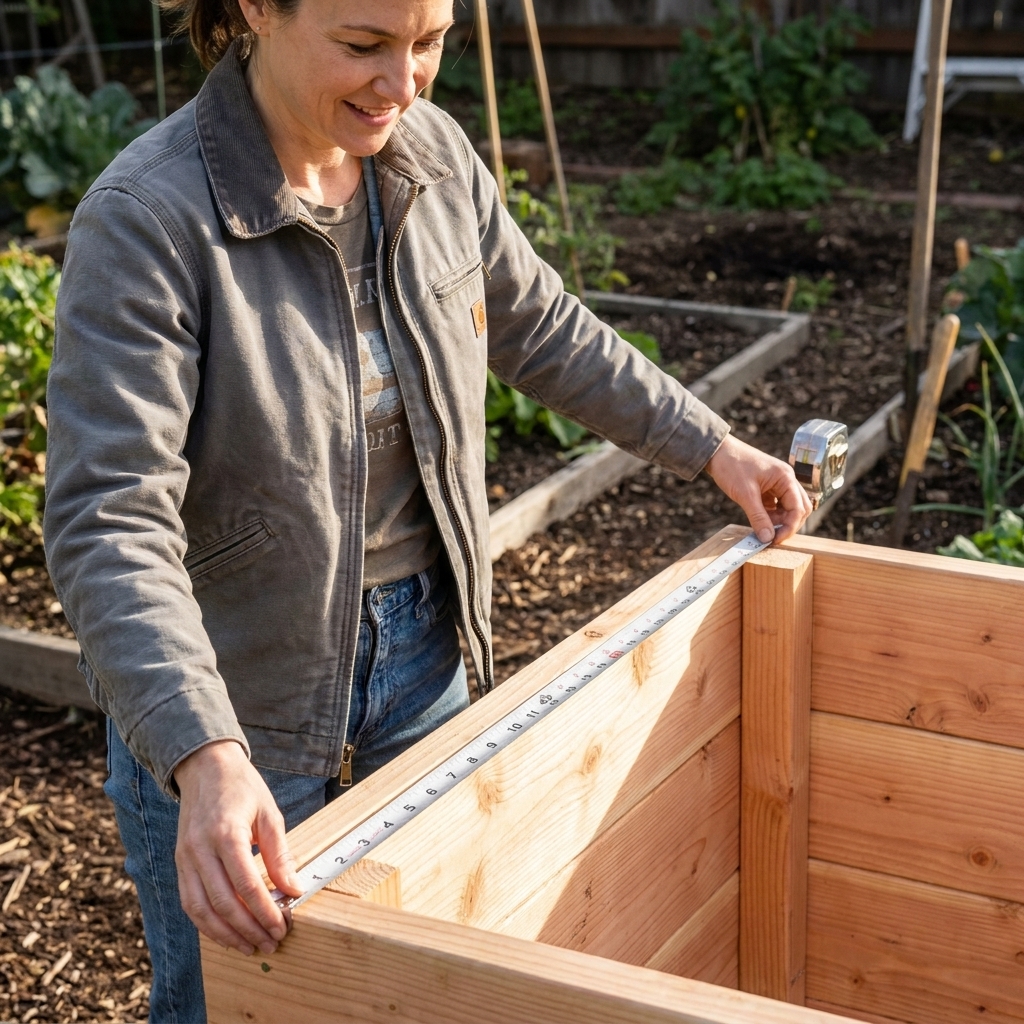
Measure corner to corner diagonally in both directions. When the two diagonal measurements match, your rectangle is square.
Step 5: Add strength
A filled bed pushes outward with surprising force, especially after a heavy rain. Here is how to keep your sides from bowing.
- Add two more screws per board end: I like 3 to 4 screws total per board end into each post for a rock-solid corner.
- For taller beds: add a screw pattern on both the lower and upper boards into the post.
- Add mid-span bracing on tall beds: for a 22-inch bed, add a stake at the midpoint of each 8-foot side.
How I do the mid-span brace: Cut a 2x4 stake long enough to reach from the top edge down into the ground a few inches. With the bed in position, set the stake on the inside of the long wall at the midpoint, tap it down so it bites into the soil, then screw through the bed wall into the stake. This turns that long board into two shorter spans, which is exactly what you want.
Plant nerd confession: The first tall bed I built had no mid-span bracing, and by midsummer it looked like it was trying to become an oval. Soil is strong. Add the brace.
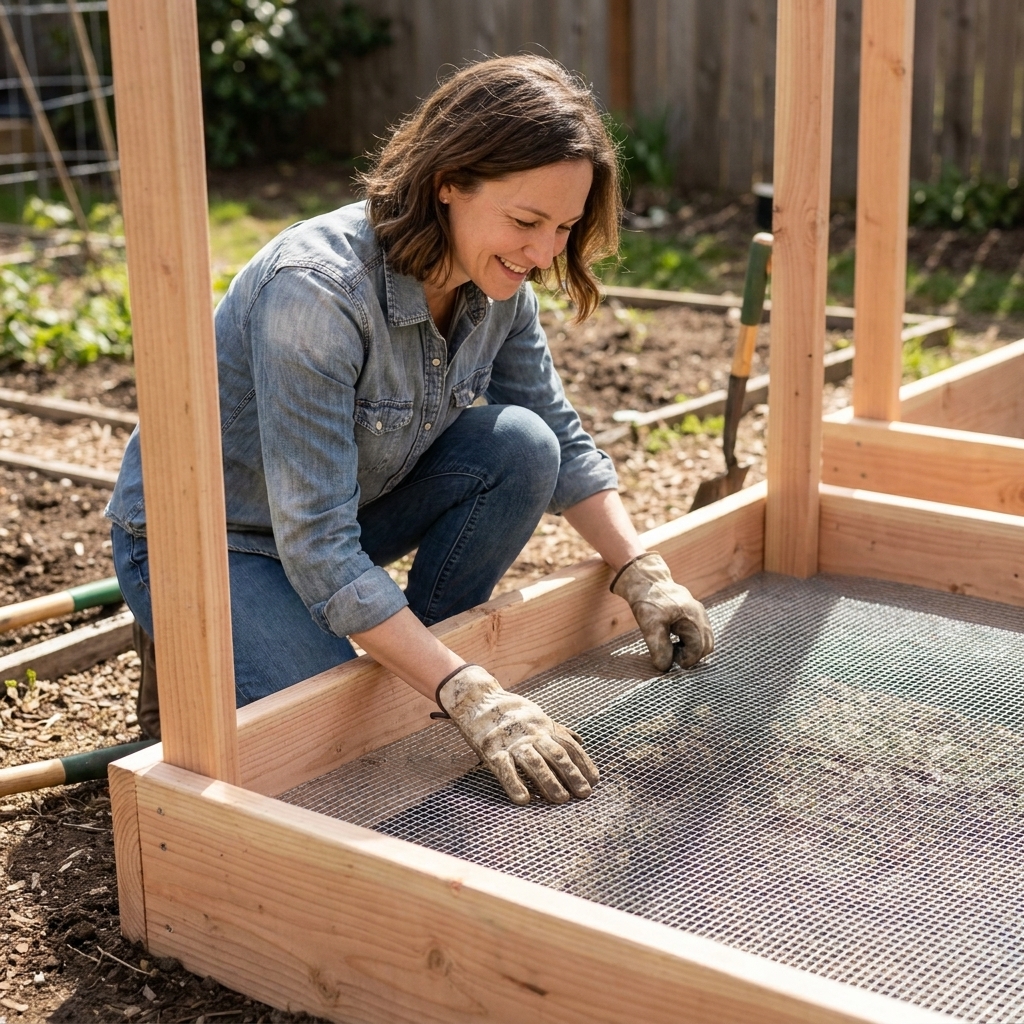
Step 6: Add hardware cloth
If you have burrowers, do this now. Once the bed is full, it is too late.
- Lay hardware cloth over the leveled footprint.
- Overlap seams by a few inches if using multiple pieces.
- Set the bed frame on top.
- Staple the hardware cloth to the inside lower edge of the bed frame.
Step 7: Block weeds
I usually do a simple, effective combo: plain cardboard directly on the soil, then fill the bed. Remove any plastic tape from boxes.
- Cardboard: overlap seams so light cannot reach the grass.
- Landscape fabric: works too, and it makes sense under gravel paths, or if you need a longer-lasting barrier around the bed. In the bed itself, I prefer cardboard because it breaks down and plays nicer with soil life.
If your bed is on a patio or driveway, skip the smother layer and use a geotextile fabric only if you need to keep soil from washing out.
Step 8: Level and fill
Set the frame exactly where you want it and check level one last time. If one corner is low, lift that side and tuck a little soil or paver base underneath until it sits solidly.
How much soil do you need?
Soil math depends on what height you actually fill to. These estimates use the outside 4 ft x 8 ft footprint and a rough fill height. Interior volume is slightly less because of board thickness, so consider these planning numbers.
- 11 inches tall: about 29 to 30 cubic feet (roughly 1.1 cubic yards)
- 12 inches tall: about 32 cubic feet (roughly 1.2 cubic yards)
- 22 inches tall: about 59 cubic feet (roughly 2.2 cubic yards)
Reality check: Soil settles. I plan for 10 to 20 percent extra volume, especially if I am mixing in compost that breaks down over the season.
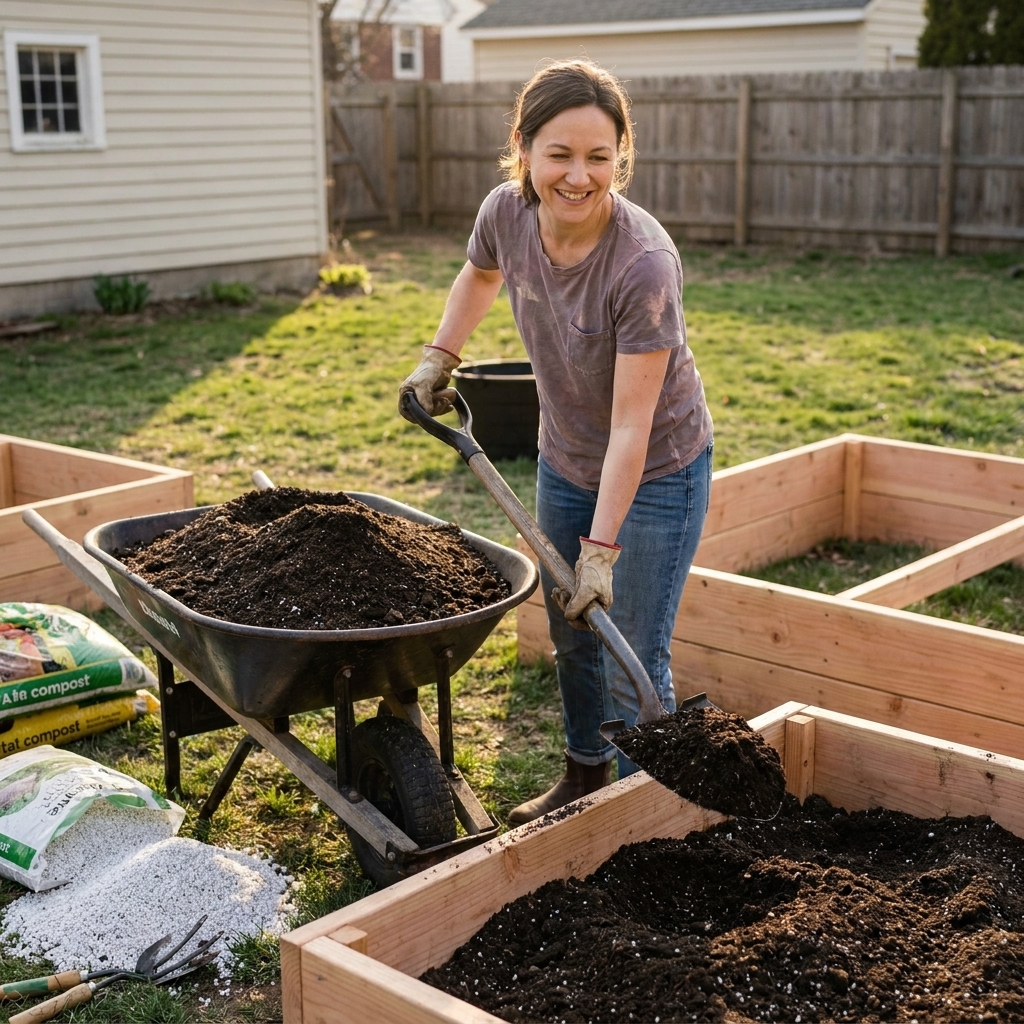
What to fill it with
If you want an easy, dependable starting mix, here is what works for me:
- Base: about 60 percent screened topsoil (or a decent raised bed blend)
- Nutrition: about 30 to 40 percent compost
- Optional texture boost: a few shovels of perlite, pumice, or leaf mold if your soil tends to compact
I avoid filling a bed with straight compost (it can shrink a lot) and I am picky about cheap bagged “garden soil” that turns into a soggy brick. Mix it, water it in, top it up after it settles, and you are in business.
Optional upgrades
Top cap
A 1x4 or 2x4 cap around the top edge gives you a comfy place to kneel or rest your hands while you plant. It also stiffens the frame slightly.
Pre-finish the wood
If you want to protect the outside faces, choose a product labeled safe for garden use once cured, and focus on the exterior only. I leave interior faces unfinished most of the time and rely on good drainage and decent wood choice.
Drip irrigation
A 4x8 bed is a perfect candidate for a basic drip line or soaker hose. Your future self will thank you in July.
Common mistakes
- Not pre-drilling: split boards make weak corners. Pre-drill, always.
- Building on a slope: a twisted frame never feels done. Spend the extra 15 minutes leveling.
- Using tiny screws: 1-5/8 inch screws are not enough for thick lumber and posts. Go 3 inch.
- Skipping corner posts: butt-jointing boards with screws alone looks fine until the soil pushes back.
- Filling with poor soil: the bed is only as good as the soil you put in it. If your mix compacts, plants struggle.
FAQ
Should my 4x8 bed be exactly 48 by 96 inches?
Outside dimensions, yes, if you use 4-foot and 8-foot boards. Inside dimensions will be slightly smaller because of board thickness. That is totally normal and does not change how you garden in it.
Is a 2x12 too tall for a classic bed?
Nope. It is the sweet spot. You get enough soil depth for most vegetables, the sides are sturdy, and it still looks clean and simple.
Do I need a bottom?
Usually, no. Open-bottom beds drain better and let roots reach down if they want to. If pests are an issue, add hardware cloth as a bottom barrier.
How long will a wooden raised bed last?
It depends on your wood, climate, and drainage. Cedar and redwood tend to last longest. Even budget lumber can last several seasons if the bed is not constantly waterlogged.
Final pep talk
If you can measure, pre-drill, and drive screws, you can build this bed. And once it is in place, it becomes the easiest garden space you will ever manage. The first time you pull carrots from fluffy, uncompacted raised bed soil, you will understand why I am so stubbornly devoted to this setup.
Build it square, brace the corners, and do not skimp on leveling. Your plants will do the rest.