If you have ever filled a raised bed with a clean, bagged “garden mix” and wondered why plants still seem a little meh, you are not alone. Those blends are convenient, but many arrive low in active biology and without much of the fungal networking that helps roots feed efficiently.
Mycorrhizae are one of my favorite ways to kickstart that underground teamwork. Done right, inoculating a raised bed is simple and the payoff can be real: plants can build stronger root systems, access water more efficiently, and improve nutrient uptake (especially phosphorus) in exchange for sugars and carbon from the plant.
What mycorrhizae do
Mycorrhizae are beneficial fungi that form a relationship with plant roots. Once they connect, the fungi grow threadlike hyphae that act like an extension of the root system, exploring tiny soil spaces roots cannot reach.
- They can expand the plant’s reach for water. This can smooth out the ups and downs between waterings, especially in raised beds that dry faster.
- They can boost nutrient uptake. The big one is phosphorus, but you can also see improved access to micronutrients depending on the soil.
- They can improve root resilience. Better-fed roots often handle transplant shock and heat stress more calmly.
- They can support soil structure over time. Fungal networks and root activity contribute to aggregation, which means fluffier, more crumbly soil as seasons pass.
Important nuance: mycorrhizae are not fertilizer. Think of them as a delivery network that can help plants use what is already there more efficiently.
When inoculation matters most
Inoculating is most helpful when you are starting with a mix that has low biological activity, which is common in:
- Freshly filled raised beds using mostly bagged soil products that are screened, aged, or sometimes pasteurized
- Soilless blends heavy on coco coir or peat plus perlite or vermiculite
- Brand new beds where native soil was not mixed in at all
- Containers and grow bags (similar dynamics to raised beds)
If your bed has been running for years with homemade compost, leaf mold, and minimal disturbance, you may already have plenty of fungi present. You can still inoculate, but the change is often less dramatic.
Timing matters too. Colonization tends to move faster when soil is warm enough for active root growth. In very cold early spring soil, expect everything, including fungi, to take longer to get rolling.
Choosing an inoculant
Walk into a garden center and you will see powders, granules, liquids, and products bundled with “beneficial bacteria.” All can work, but here is what I look for for raised bed veggies and herbs.
Pick endomycorrhizae for vegetables
Most vegetables, herbs, and flowers partner with endomycorrhizal fungi (often listed as arbuscular mycorrhizae or AMF, commonly in the genus Rhizophagus or Glomus).
If a product only contains ectomycorrhizae, it is aimed more at trees like pines and oaks and generally will not colonize or benefit tomatoes and other common garden vegetables.
Choose a form that matches how you plant
- Powder: Great for dusting roots at transplant time. My go-to for seedlings.
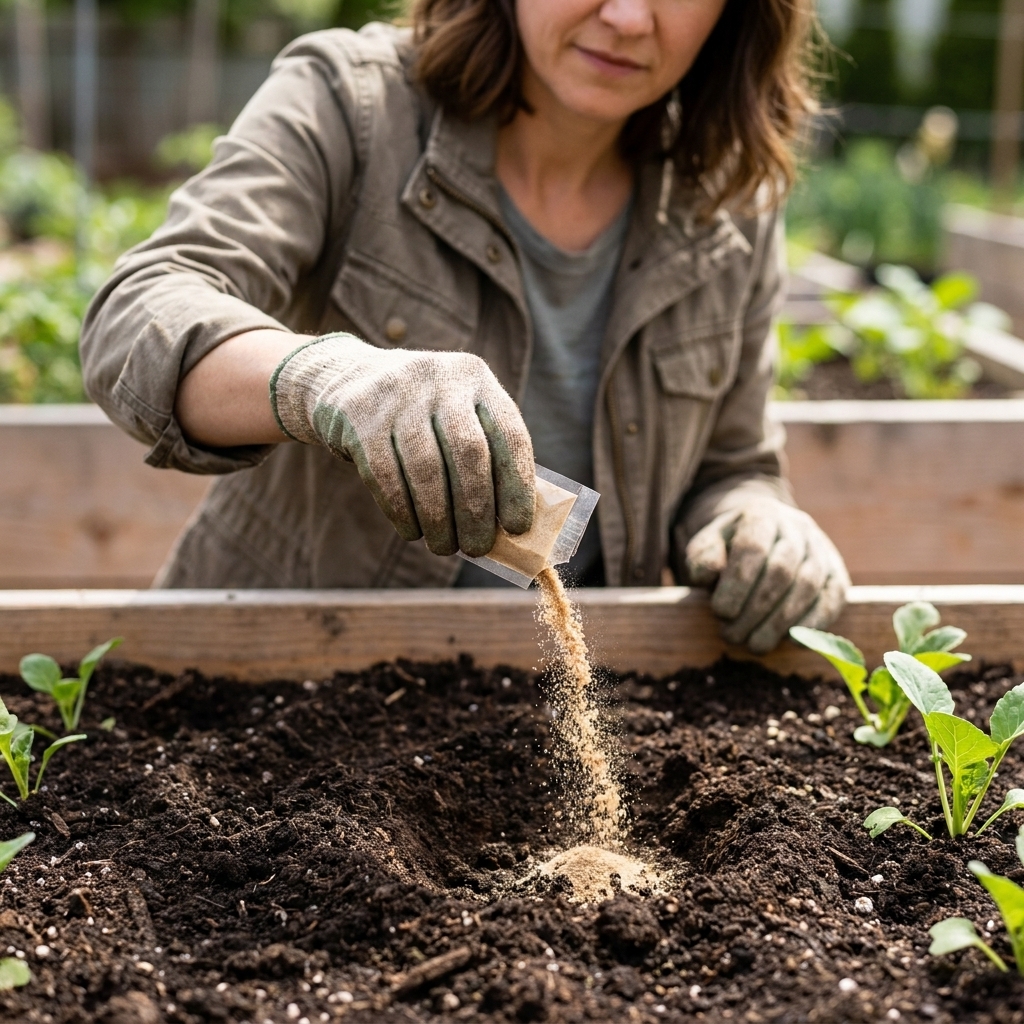
- Granules: Easy to sprinkle into furrows or planting holes. Nice for direct sowing.
- Liquid: Convenient as a drench, but fungi need physical contact with roots. Drenches work best when applied right at planting and watered in around the root zone.
Freshness matters
Mycorrhizae are living organisms in a dormant state. Buy from a reputable brand, check the expiration date, and store cool and dry. A bag left baking in a shed for two summers is not the bargain it looks like.
Before you inoculate
Most “it didn’t work” stories come down to two things: the fungi never touched the roots, or something in the system knocked them back.
Rule 1: root contact is everything
Mixing inoculant randomly through the top few inches can help a little, but it is inefficient and expensive. You want inoculant in the planting hole, on the root ball, or in the seed furrow so the first roots hit it quickly.
Rule 2: go easy on high-phosphorus starters
Plants are less likely to “invite” mycorrhizae when phosphorus is abundant. If you are using a starter fertilizer with a very high middle number (P), it can reduce colonization. You do not need to avoid phosphorus forever, just skip the heavy-handed approach right at inoculation.
Rule 3: avoid fungicides in the root zone
Many fungicides are broad-spectrum, and some biofungicides or sterilizing soil treatments can also interfere. If you must treat a disease issue, target as precisely as possible, read labels, and understand it may set back the symbiosis.
Rule 4: disturb less
Once fungi connect, frequent deep digging can break networks. In raised beds, this is a perfect excuse to switch to gentler practices like a broadfork, a stirrup hoe, and top-dressing compost.
Inoculating a new raised bed
If you are filling a bed from scratch with a low-biology mix, inoculate as you plant. That is when you can guarantee root contact.
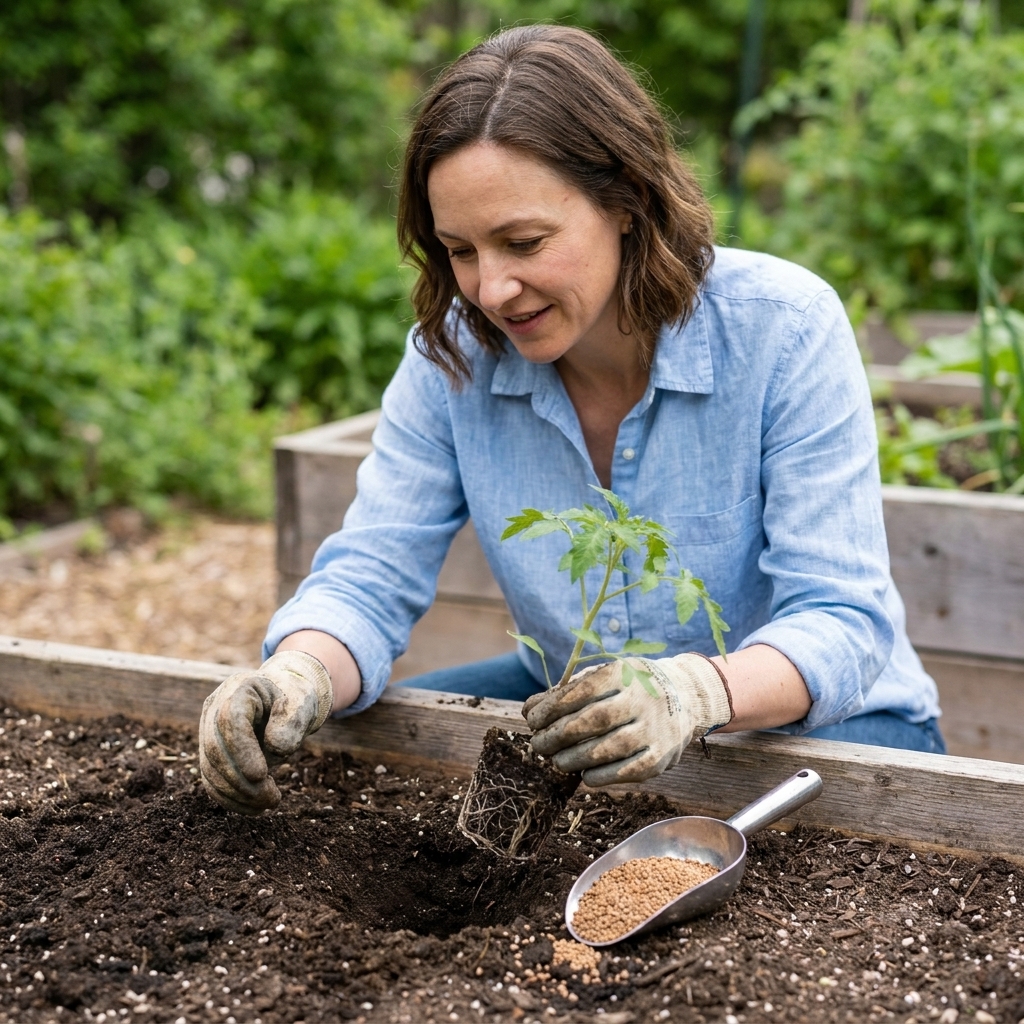
Option A: planting hole (transplants)
- Dig your hole and set the transplant nearby.
- Sprinkle inoculant into the hole so it will touch the root ball. Follow label rates. More is not always better.
- Dust the root ball lightly if using powder, especially on the sides where new roots will grow.
- Plant and water in thoroughly to settle soil against roots.
This is my favorite method because it is targeted, economical, and reliable.
Option B: furrow (direct sowing)
- Open your seed furrow to the correct depth.
- Sprinkle a thin line of inoculant in the furrow.
- Sow seeds and cover as usual.
- Water gently so you do not wash everything into one corner.
Works well for beans, peas, carrots, salad greens, and anything else you sow in rows.
Option C: root dip slurry (many seedlings)
If you are planting a flat of seedlings, a slurry saves time.
- Mix inoculant with non-chlorinated water to make a thin, muddy slurry (follow product directions).
- Dip each root ball quickly so the outside is coated.
- Transplant immediately and water in.
Inoculating an existing bed
If plants are already growing, you can still add mycorrhizae, but your approach changes because you are trying to reach active roots.
For small plants: scratch and water in
- Pull mulch back from the stem area.
- Scratch the surface 1 to 2 inches deep in a ring around the plant, staying a few inches away from the stem.
- Sprinkle inoculant into the loosened soil.
- Water in well.
This works best early in the season when roots are still expanding into new territory.
For larger plants: probe holes near the drip line
For peppers, tomatoes, cucumbers on trellises, and big herbs, I like a targeted approach.
- Use a dibber, stake, or thick pencil to make 3 to 6 small holes around the plant near the drip line.
- Drop a pinch of granules into each hole.
- Backfill and water.
The goal is to place inoculant where fine feeder roots are active.
Chlorinated water
This is one of those topics that makes gardeners argue, but here is my practical take: occasional chlorinated tap water usually is not catastrophic, especially outdoors where it dissipates. That said, if you are trying to establish microbial life in a brand new, bagged mix, it is worth being gentle for the first couple of waterings.
- Easy upgrade: fill watering cans and let them sit uncovered for 24 hours (works for chlorine, not always for chloramine).
- If your city uses chloramine: use collected rainwater when you can, or choose a hose filter that is specifically rated for chloramine (many basic filters mainly handle chlorine).
Once plants are established and the bed has more organic matter, I worry far less about it.
Plants that do not benefit
Not every crop partners with mycorrhizae, so do not waste inoculant where it is unlikely to help.
- Usually non-mycorrhizal: cabbage, broccoli, cauliflower, kale, collards, Brussels sprouts, kohlrabi, mustard greens, radishes, turnips, arugula
- Often weak or variable: beets, chard, spinach (responses vary by species and conditions, and they do not consistently benefit the way tomatoes or beans do)
- Usually mycorrhizal: tomatoes, peppers, eggplant, beans, peas, corn, squash, cucumbers, melons, onions, leeks, garlic, carrots, strawberries, most herbs and flowers
If you are rotating beds, it still can make sense to inoculate when you plant a mycorrhizal crop, even if the previous crop was a brassica.
Helping fungi stick around
Mycorrhizae need living roots, gentle soil handling, and a steady supply of organic matter. You do not have to be perfect, just consistent.
Mycorrhizae-friendly habits
- Top-dress compost instead of deep mixing it in.
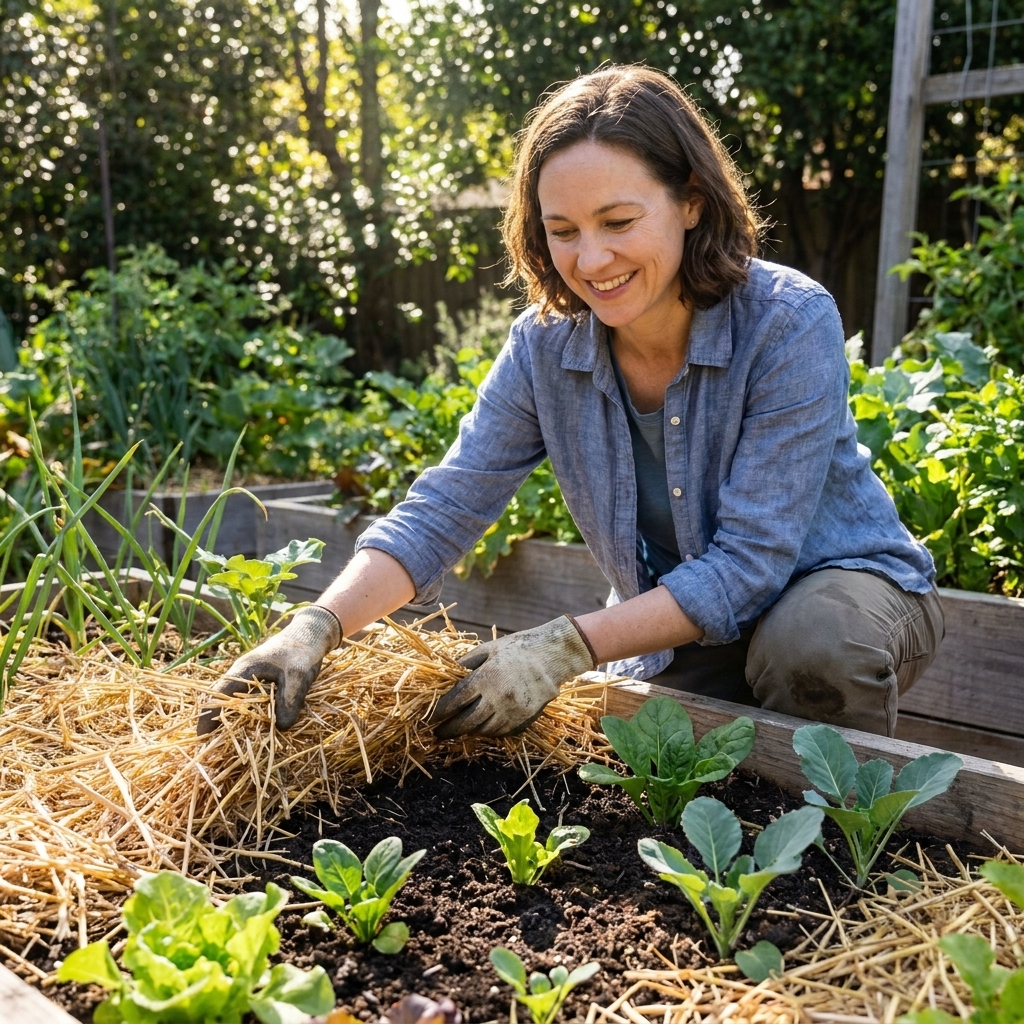
- Mulch to moderate temperature swings and moisture loss.
- Grow something most of the year, even a simple cover crop in the shoulder seasons.
- Use balanced fertilizers and avoid overdoing phosphorus.
- Keep soil moist, not soggy. Extremes stress both roots and fungi.
When you will notice results
Mycorrhizal colonization can begin quickly when the fungi contact young roots, but the most noticeable benefits usually show up over weeks, not days. In raised beds, I tend to notice the difference most during:
- Heat spells when plants can stay perkier between waterings
- Fast growth phases when crops are demanding more nutrients
- Transplant recovery when seedlings settle in faster
Keep expectations realistic. Mycorrhizae are a multiplier, not a miracle. If the soil is severely compacted, waterlogged, or lacking organic matter, you will still need to address those basics.
Quick routine for low-biology mixes
If you just want the simplest approach that works for most raised bed vegetables, this is it:
- Fill bed with your mix and moisten it evenly.
- At planting time, sprinkle mycorrhizae directly into each planting hole or seed furrow.
- Make sure inoculant touches the root ball or the zone where the first roots will grow.
- Water in thoroughly.
- Mulch and avoid heavy phosphorus fertilizers for the first few weeks.
Troubleshooting
“I mixed it into the whole bed and nothing changed.”
Most likely, too little inoculant actually contacted roots, or the amount was spread too thin. Next time, concentrate it in planting holes or furrows, using the rate meant for that method.
“Can I add mycorrhizae with compost?”
Yes, but compost may not reliably contain viable AMF in useful amounts. Use compost for food and habitat, and inoculant for a targeted introduction. Apply inoculant at the root zone, then top-dress compost.
“Will mycorrhizae fix yellow leaves?”
Sometimes it helps if yellowing is tied to weak roots or poor nutrient uptake. But yellow leaves can also come from overwatering, underwatering, nitrogen deficiency, cold soil, pests, or root damage. Treat mycorrhizae as part of an overall soil and watering tune-up.
“Can I use it with synthetic fertilizer?”
Generally yes. Keep rates moderate, avoid very high phosphorus starters at inoculation, and focus on steady fertility rather than big spikes.
My biggest lesson
The first time I tried mycorrhizae, I sprinkled it on top of the bed, watered, and waited for magic. Nothing happened. The second time, I treated it like what it is, a root partner that needs an introduction. Getting it into the planting hole so it actually touched roots changed the outcome.
If you are building soil from the ground up, inoculating with mycorrhizae is one of the easiest biology upgrades you can give a low-biology mix. Pair it with compost, mulch, and gentle soil handling, and a raised bed can start behaving more like a living ecosystem instead of a pot of dirt.