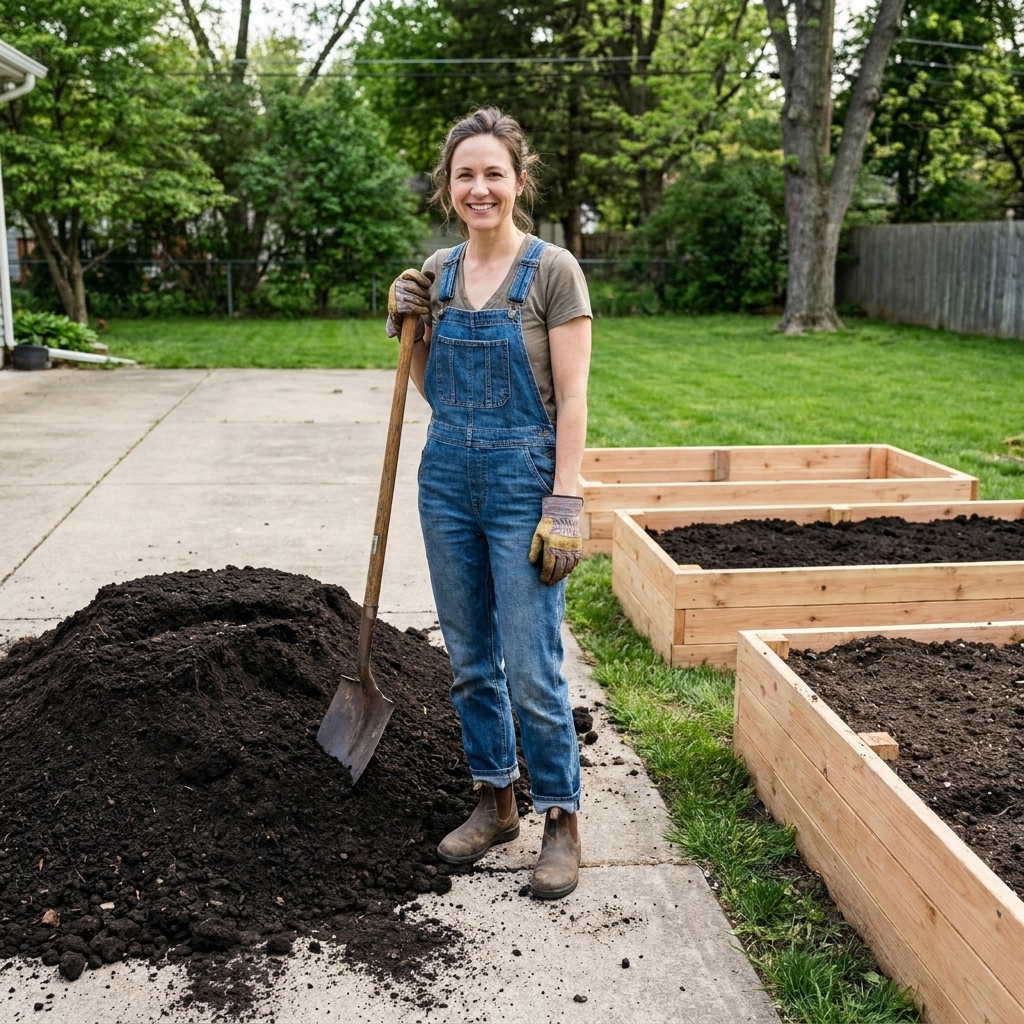
If you have ever filled a raised bed with “bagged garden soil” and wondered why your plants looked… politely unimpressed, you are not alone. Raised beds are amazing, but they are also unforgiving: the soil is the whole system. The good news is you can mix a high-performing raised bed soil at home with a few ingredients, a simple ratio, and a couple of sanity checks.
This is the mix I keep coming back to in my own beds because it hits the sweet spot: nutrient-dense, fluffy enough for roots, and stable enough that it does not compact into a brick or turn swampy by midsummer.
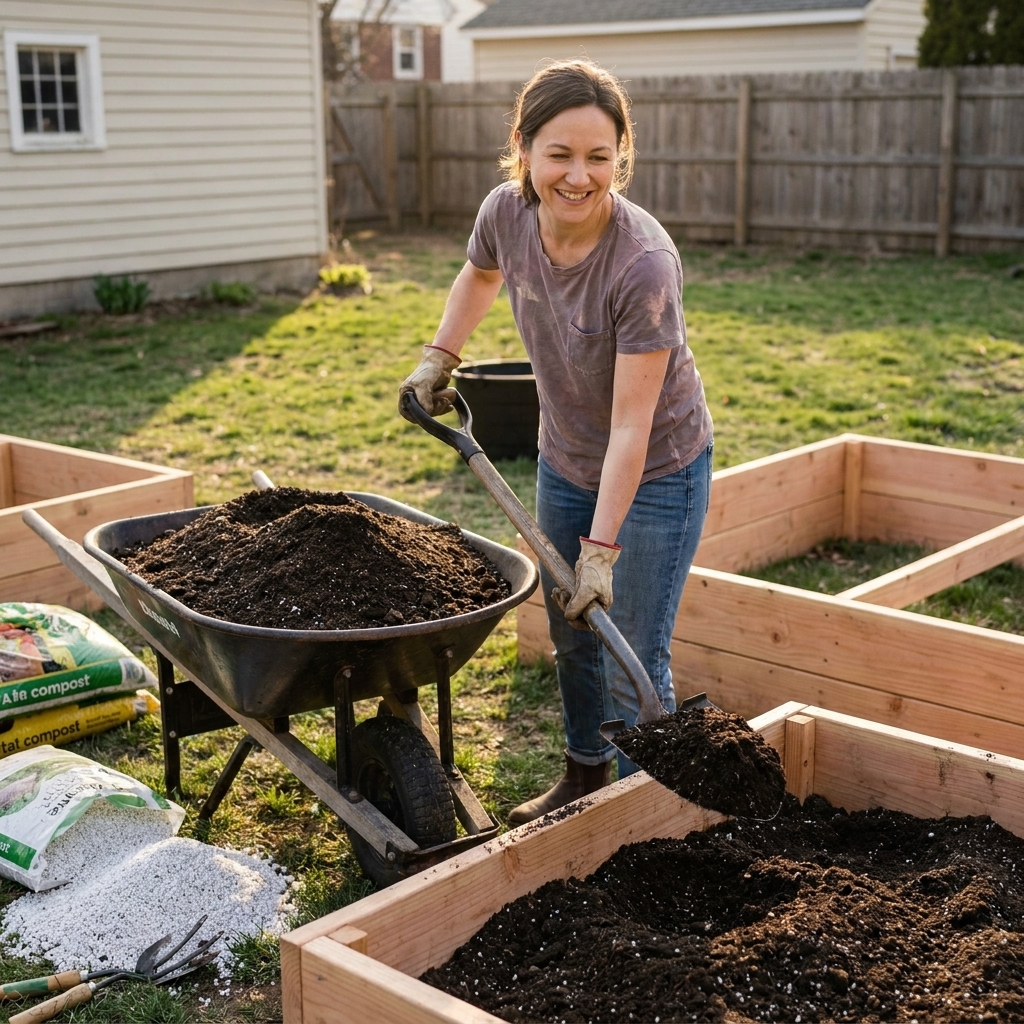
What a good mix does
Vegetables need three things from raised bed soil: nutrients, air, and consistent moisture. Miss one and yields suffer.
- Nutrients come mostly from compost and slow-release organic matter.
- Aeration keeps roots oxygenated and prevents waterlogging after heavy rain or overwatering.
- Moisture balance is about holding water without turning your bed into pudding.
A raised bed mix should feel springy when you squeeze it. It should clump lightly, then break apart with a poke. If it smears like cake frosting, it is too fine and too wet. If it falls apart like dry sand, it needs more compost and moisture-holding fiber.
A reliable soil ratio
Here is my all-purpose starting point for most vegetable raised beds:
- 40% compost
- 40% base fiber (coco coir or peat moss, plus optional aged bark fines)
- 20% aeration (pumice, perlite, or rice hulls)
This is similar in spirit to popular “square foot” style blends, but it is less compost-heavy than some recipes. That helps the mix resist fast settling and compaction, and it can reduce the odds of the bed getting overly “hot” or high in soluble salts if your compost source runs rich. Compost varies a lot, so treat this ratio as a strong baseline, then adjust based on what you observe in your beds and your climate.
If you have had issues with poor germination, leaf burn, or crusty white residue on the surface, consider switching compost sources and doing a quick soil test or a simple EC (salinity) check. Compost is wonderful, but it is not all created equal.
Why not all compost or topsoil?
I have tried both so you do not have to.
- Mostly compost can settle, hold too much water, and, depending on feedstocks (especially manure-based or some municipal blends), sometimes runs high in soluble salts.
- Bagged topsoil is frequently too fine, too inconsistent, and can compact like crazy in a bed.
Compost is essential, but it works best as the engine inside a mix, not the entire vehicle.
Ingredient options and swaps
1) Compost (nutrition)
Aim for compost that smells earthy, not sour or ammonia-like. The best raised bed mixes use more than one compost source for a broader nutrient profile.
- Great options: finished backyard compost, municipal compost (if trusted), worm castings (as a small portion), well-finished manure compost.
- My rule: if you can, blend 2 to 4 compost types.
Quick caution: fresh manure and “hot” compost can burn plants. If it is still heating up, it is not ready for your bed.
Contaminant reality check: if you use manure compost, straw-based mulch, or some municipal composts, keep an eye out for persistent herbicide contamination (often associated with products like aminopyralid and similar). If you are unsure about a source, do a simple bean bioassay: plant a few beans or peas in a small pot of the compost blend and compare them to a control pot of known clean mix. Twisted, cupped growth is a red flag.
2) Base fiber (structure)
This is what gives your soil structure and moisture-holding ability without turning it into sludge.
- Coco coir: my favorite for raised beds. It rewets easily and is typically closer to neutral than peat.
- Coir caution: buy horticultural coir that is washed and ideally buffered, because low-quality coir can carry soluble salts. If your coir is suspiciously salty, rinse it well before mixing.
- Peat moss: works well, but it can be hard to rewet once dry. If you use peat, pre-moisten it thoroughly.
- Aged pine bark fines (optional): adds long-lasting structure and helps prevent compaction. If you can find aged bark fines, I love using them as part of the base fiber.
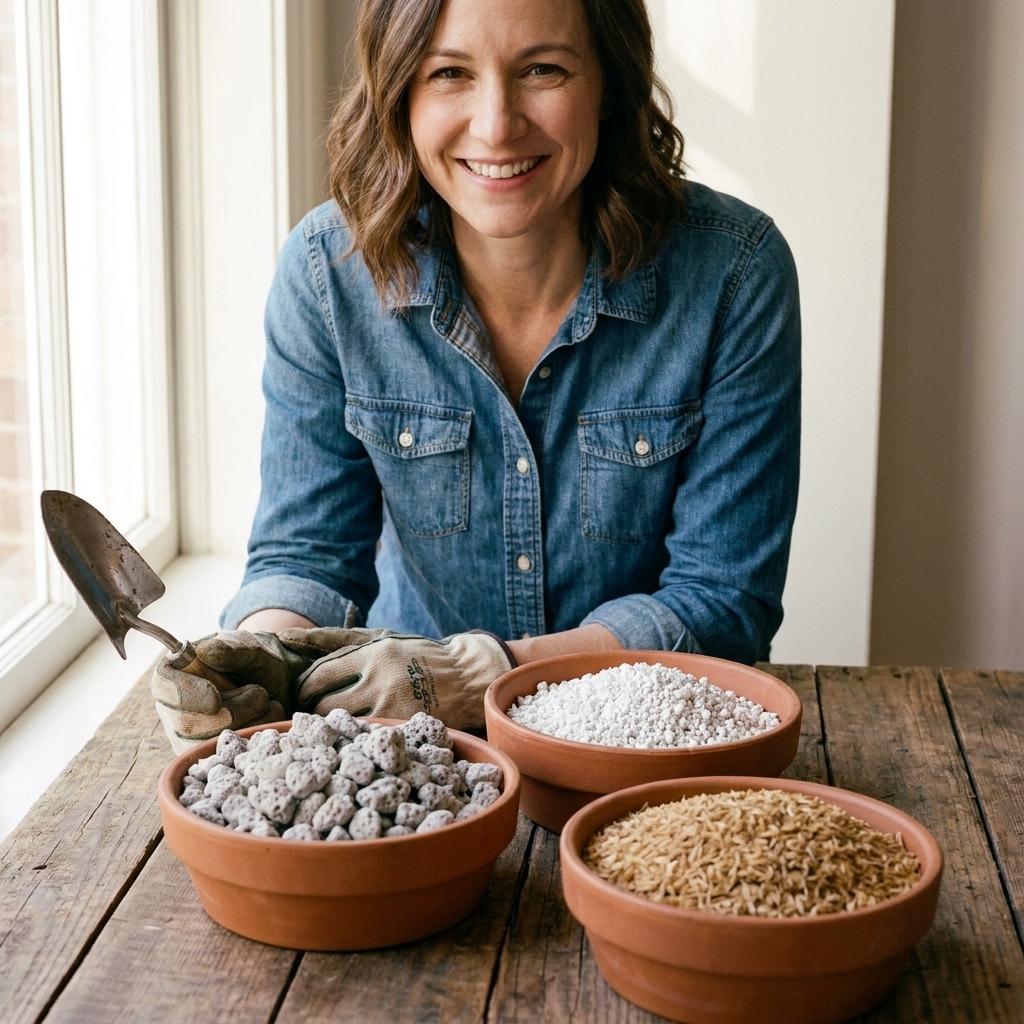
3) Aeration (breathing room)
Aeration material keeps pore spaces open so water drains and roots get oxygen.
- Pumice: my top pick if you can get it. It does not float and lasts a long time.
- Perlite: widely available and effective, but it can float up over time.
- Rice hulls: renewable and light, breaks down faster than pumice or perlite.
How much to mix
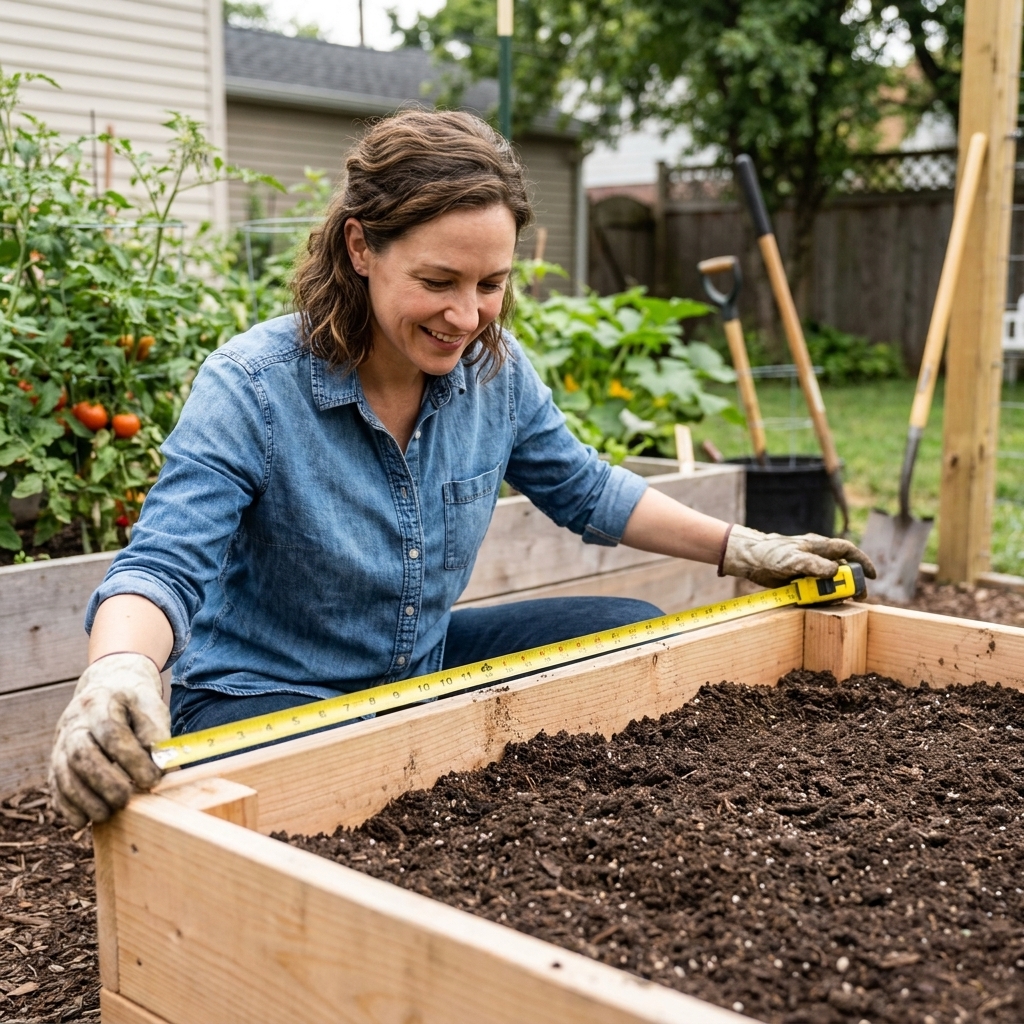
Raised bed soil is easiest to plan in cubic feet. Here are common bed volumes:
- 4x4 bed, 12 inches deep: about 16 cubic feet
- 4x8 bed, 12 inches deep: about 32 cubic feet
- 2x8 bed, 12 inches deep: about 16 cubic feet
Using the 40/40/20 ratio, a 4x8 bed at 12 inches (32 cubic feet) looks like this:
- Compost: ~13 cubic feet
- Base fiber: ~13 cubic feet
- Aeration: ~6 cubic feet
Small-batch shortcut: For every 10 gallons of finished mix, use 4 gallons compost, 4 gallons base fiber, and 2 gallons aeration.
Mix it step by step
Tools
- Wheelbarrow, tarp, or mixing tub
- Shovel or garden fork
- A 5-gallon bucket for measuring
- Hose with a gentle spray nozzle
- Gloves and a dust mask (especially with perlite or dry coir)
Step 1: Pre-moisten the fiber
Dry coir and peat can repel water at first. I like to hydrate it separately until it is evenly damp, like a wrung-out sponge. This one step prevents dry pockets that refuse to wet later.
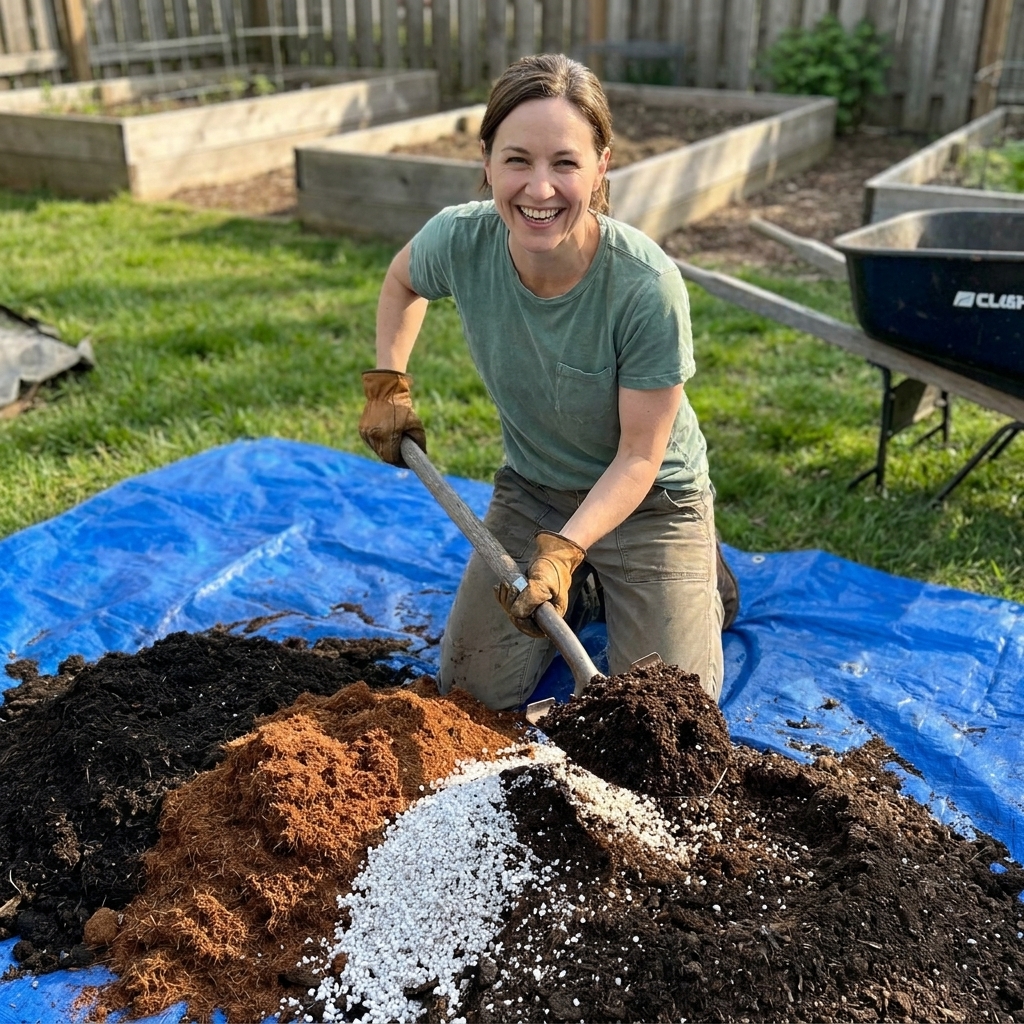
Step 2: Layer on a tarp
Spread compost, then base fiber, then aeration. If you are adding any amendments (next section), sprinkle them in now.
Step 3: Fold, do not pulverize
Use a shovel to lift from the edges and fold toward the center. Rotate around the pile. You are aiming for even distribution without beating all the structure out of the mix. Do this until color and texture look consistent.
Step 4: Do the squeeze test
Grab a handful and squeeze:
- If it drips water, it is too wet. Add more fiber or aeration and mix again.
- If it won’t hold a loose clump, mist it and keep mixing.
- If it clumps lightly then crumbles, you nailed it.
Step 5: Fill and water in
Do not compact it like you are setting fence posts. Just rake it level, then water thoroughly to settle. Expect the level to drop a little after the first deep watering. Top off if needed.
Optional amendments
If your compost is high-quality, you can grow plenty of vegetables with the base mix alone. That said, I often add a few “long-haul” amendments, especially for heavy feeders like tomatoes, peppers, squash, brassicas, and corn.
My simple amendment set for 32 cubic feet
- Balanced organic fertilizer: follow label rate for raised beds
- Worm castings: 5 to 10% of the compost portion (optional, not the whole compost portion)
- Azomite or rock dust: light application for trace minerals (optional)
- Crushed oyster shell: a slow calcium source that can raise pH over time, best if your soil tends acidic
- Gypsum: calcium (and sulfur) that does not meaningfully raise pH, useful if you need calcium but do not want to push pH upward
Plant-nerd note: I avoid overdoing rock dust and “miracle” powders. More is not better. Compost and consistent watering beat a cabinet full of additives every time.
pH basics (quick and useful)
Most vegetables are happiest around pH 6.0 to 7.0. Peat tends to pull pH down, compost can land anywhere depending on inputs, and some manures and irrigation water can push things higher. If you are using a lot of peat, or your compost source is new to you, a simple pH test is worth doing. It is much easier to adjust early than to troubleshoot mysterious nutrient lockouts later.
Climate tweaks
- Hot or windy, fast-drying gardens: bump base fiber a bit (up to ~45%) and mulch consistently.
- Wet or humid gardens: bump aeration (up to ~25%) and use bark fines if you can for longer-lasting structure.
- New beds in extreme heat: consider shade cloth for the first week after planting while the mix settles and roots establish.
Save money without wrecking the mix
- Buy compost in bulk if you can. A local landscape yard is often cheaper than bags.
- Use coir bricks for base fiber. They are compact to store and usually a better deal per cubic foot once hydrated.
- Choose one aeration ingredient and stick with it. Pumice is fantastic, but perlite works if that is what is available.
- Make your own compost steadily. Even replacing 10 to 20% of store-bought compost each year adds up.
Adjust for what you grow
Tomatoes, peppers, eggplant
They love a fertile mix, but they hate soggy roots. Keep the 20% aeration minimum, and do not skimp on it. Add a slow-release organic fertilizer at planting.
Carrots, beets, radishes
Root crops want even texture and no big woody chunks. Screen your compost if it is lumpy. If your mix feels heavy, bump aeration up to 25% and reduce base fiber slightly.
Leafy greens
Greens grow fast in compost-rich soil, but bolting is usually triggered by a mix of heat, day length, and stress. Dry swings do not help, so keep moisture steady with mulching. If your compost is mellow and well-finished, you can go up to 45% compost for greens-heavy beds.
Squash and cucumbers
Big plants, big thirst. Focus on water-holding fiber and mulch. This is where coir shines.
Common mistakes and fixes
“My bed soil shrank a lot after a few weeks.”
Totally normal to see some settling. If it shrank dramatically, the mix likely had too much compost or too much fine material. Top off with a blend heavier on base fiber and aeration.
“Water puddles on top and drains slowly.”
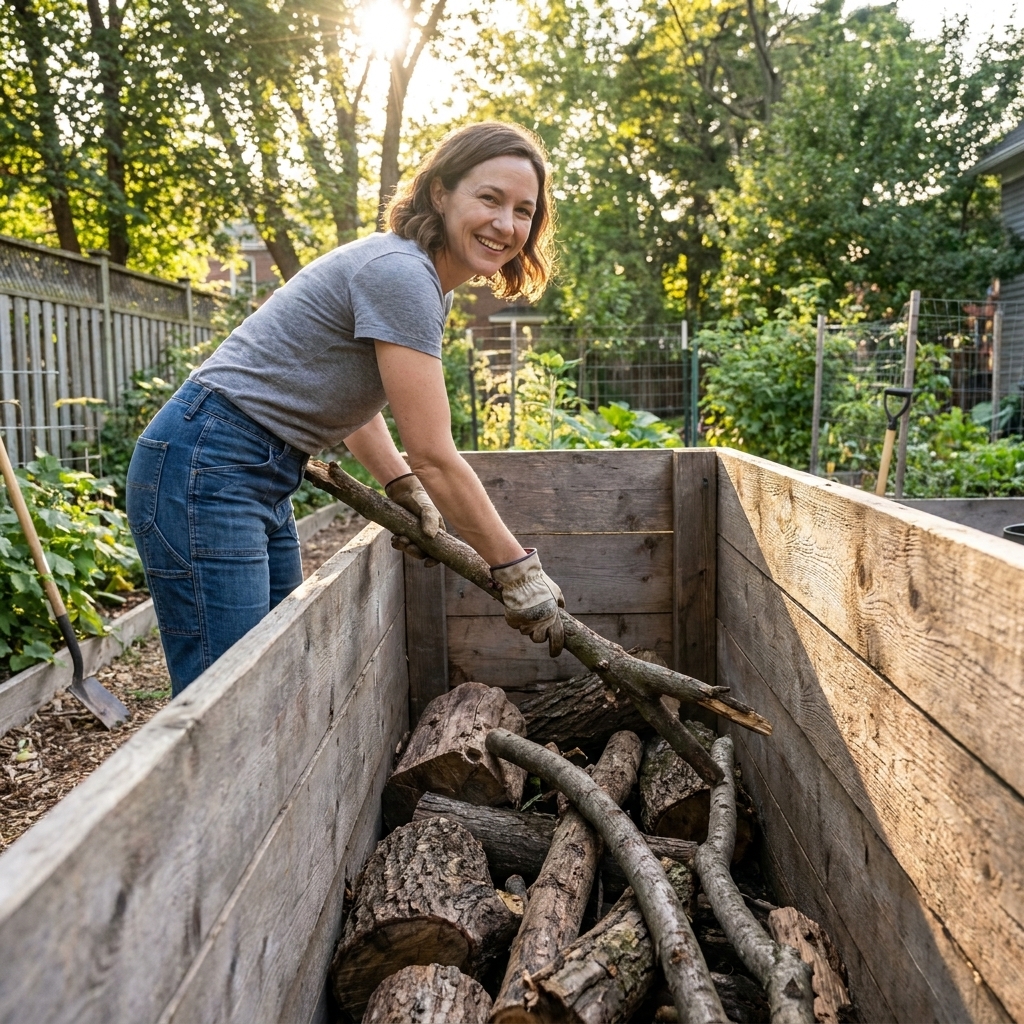
That is compaction or a too-fine mix. Work in more aeration material and a bit of coarse fiber like bark fines. Also check that your bed has drainage at the bottom and is not sitting on an impermeable surface.
“Plants look pale, even though I used compost.”
Compost is not a guaranteed fertilizer. Some compost is finished but low in nitrogen. Use a balanced organic fertilizer, then re-check in two weeks. Also confirm watering is consistent, since dry soil can mimic nutrient deficiency.
“My seedlings damped off or my starts struggled.”
Raised bed mix can be too rich for tiny seedlings. Start seeds in a seed-starting mix, then transplant into the raised bed once they have a few true leaves.
Keep it productive
The biggest secret to “maximum yields” is not a one-time perfect recipe. It is the refresh routine.
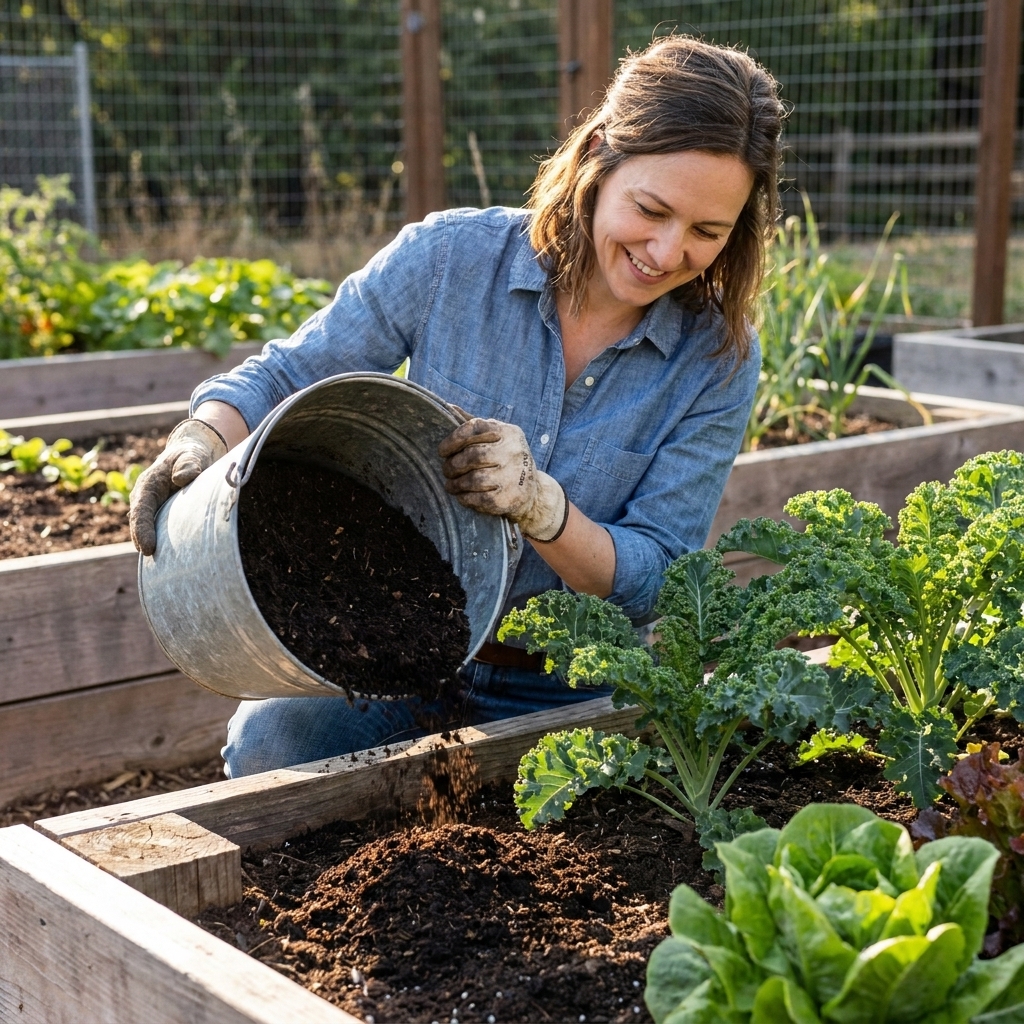
- Each season: add 1 to 2 inches of compost on top and lightly rake it in.
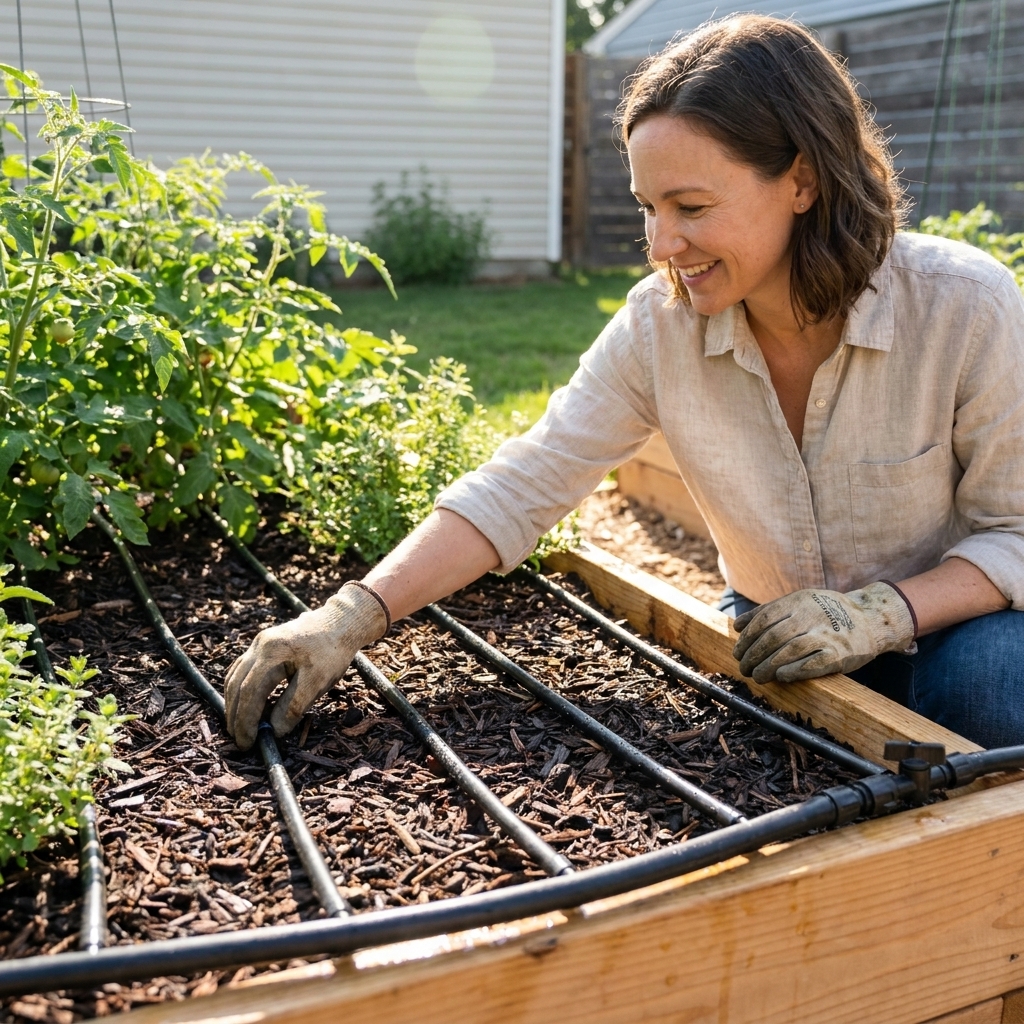
- Midseason: mulch to stabilize moisture and protect soil life.
- End of season: pull plants, leave roots when possible, and top with compost again.
- Every 2 to 3 years: if drainage is slowing, mix in a little more aeration when you replant or turn a bed over.
Quick FAQ
Can I use garden soil from my yard?
You can, but I rarely recommend it for raised beds unless you know it is light and well-structured. Many native soils are clay-heavy and will compact in a bed. If you want to stretch your mix, keep native soil to 10 to 20% and add extra aeration.
Is peat moss okay?
Yes. It works. Just pre-moisten it thoroughly and consider adding a little composted bark or extra aeration to keep the mix from getting too tight over time. If peat is a big part of your mix, do a simple pH test so you know where you are starting.
How deep should the soil be?
For most vegetables, 10 to 12 inches is a sweet spot. Deeper beds give you more buffering against heat and drought, but they cost more to fill.
Do I need to sterilize compost or soil?
No. A living soil is the goal. If you are worried about weeds, use well-finished compost, mulch your bed, and stay on top of tiny seedlings early.
Final note
If you only remember one thing, make it this: raised bed success is mostly texture. Compost brings the nutrition, but aeration and fiber are what keep roots happy in July when everything is hot and thirsty.
Mix a batch, do the squeeze test, and then pay attention for a couple of weeks. Your plants will tell you fast if the soil is too wet, too dense, or too lean. And once you get your mix dialed in for your yard, you will stop fighting the bed and start harvesting like you meant it.