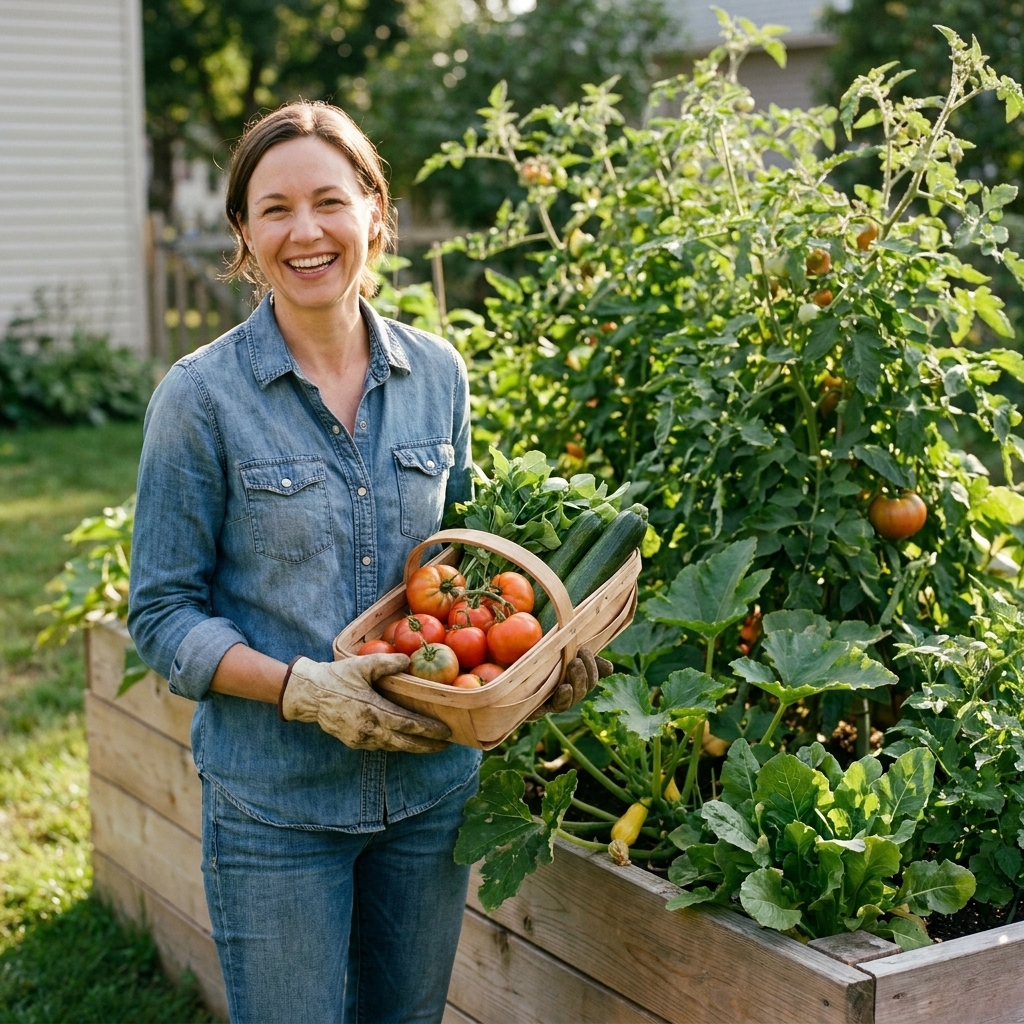
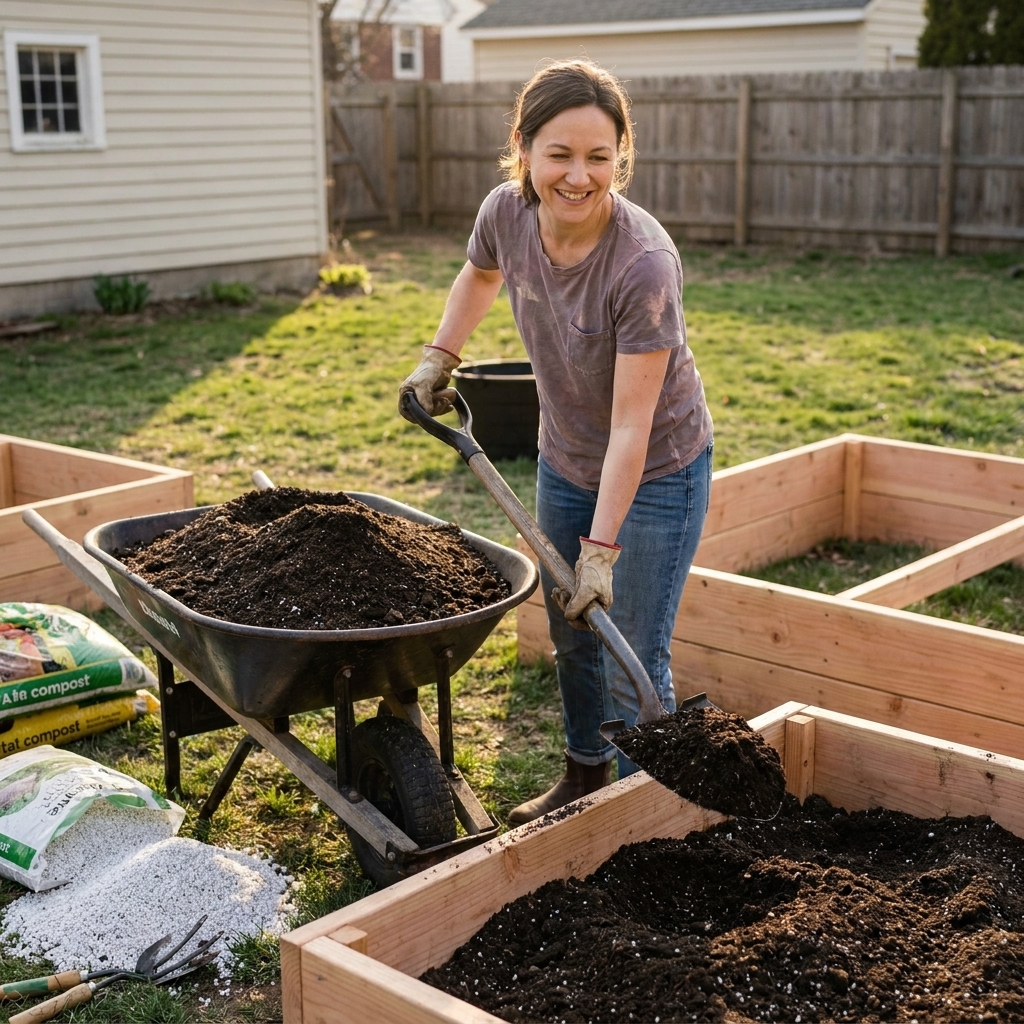
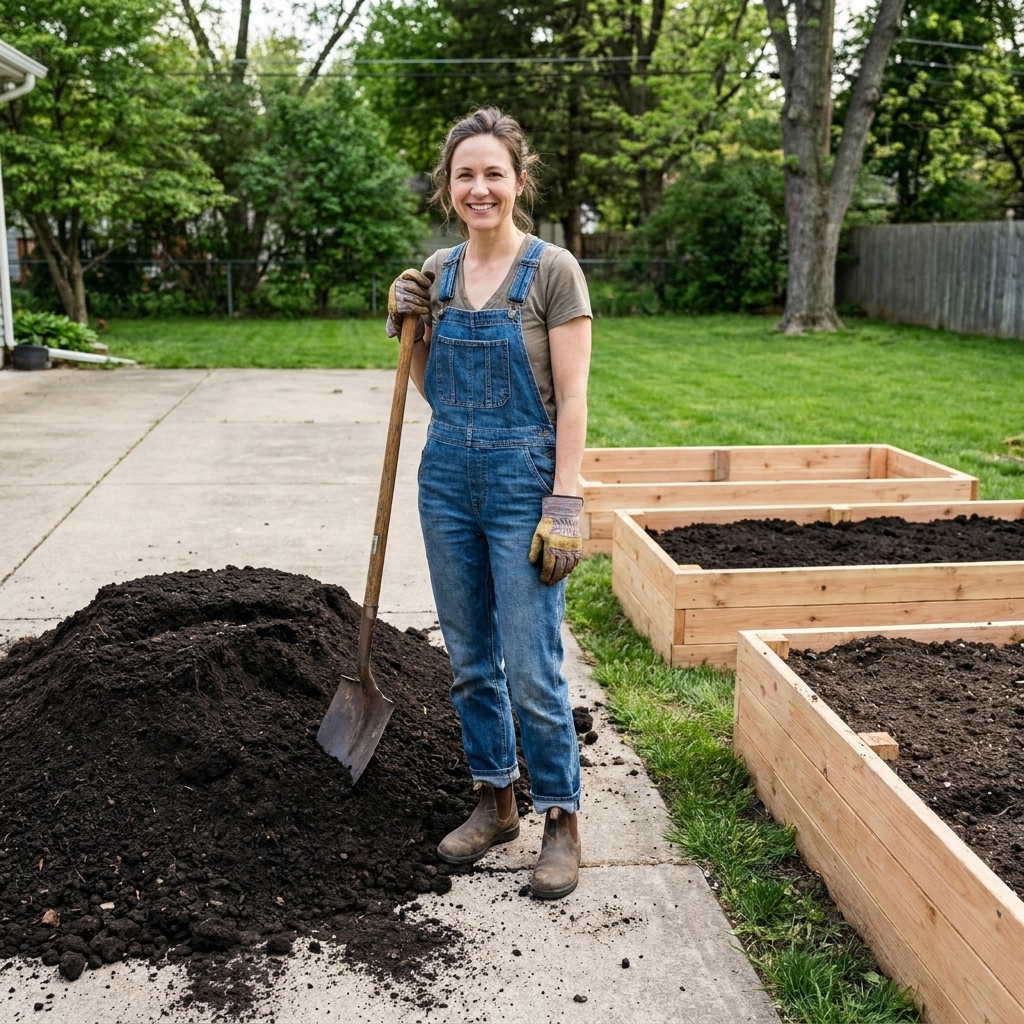
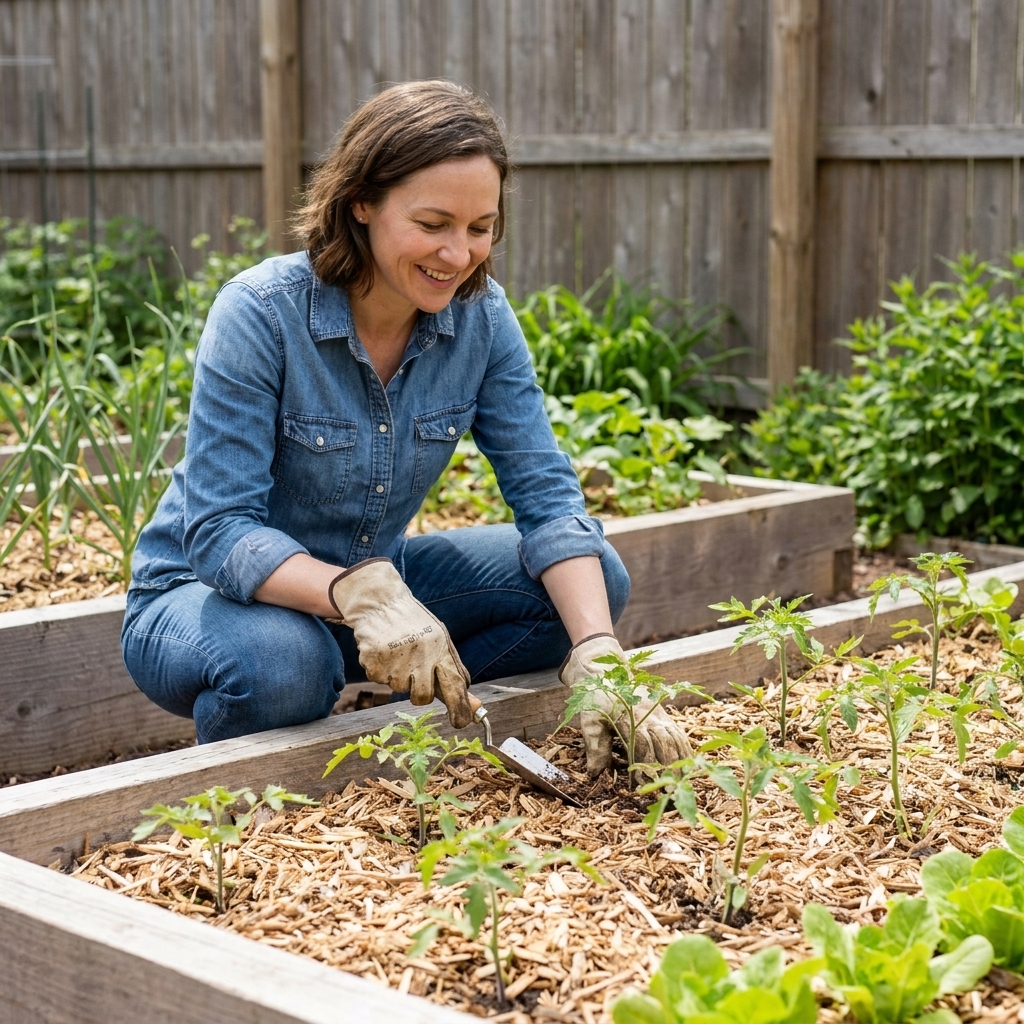
When you fill a brand-new raised bed, the soil can look perfect and still be nutritionally "empty." Many bagged mixes are built to be light and fluffy, not to sustain heavy-feeding vegetables for a full season. I learned this the hard way on my first patio boxes: gorgeous soil, sad tomatoes by mid-summer.
The fix is not dumping in a mystery fertilizer and hoping for the best. The goal is to build a balanced pantry of nutrients plus a living soil that can cycle them steadily. Below is my go-to lineup of essential organic fertilizers and amendments for new raised beds, what they do, and how to use them without overdoing it.
Before you add anything: start with a good base
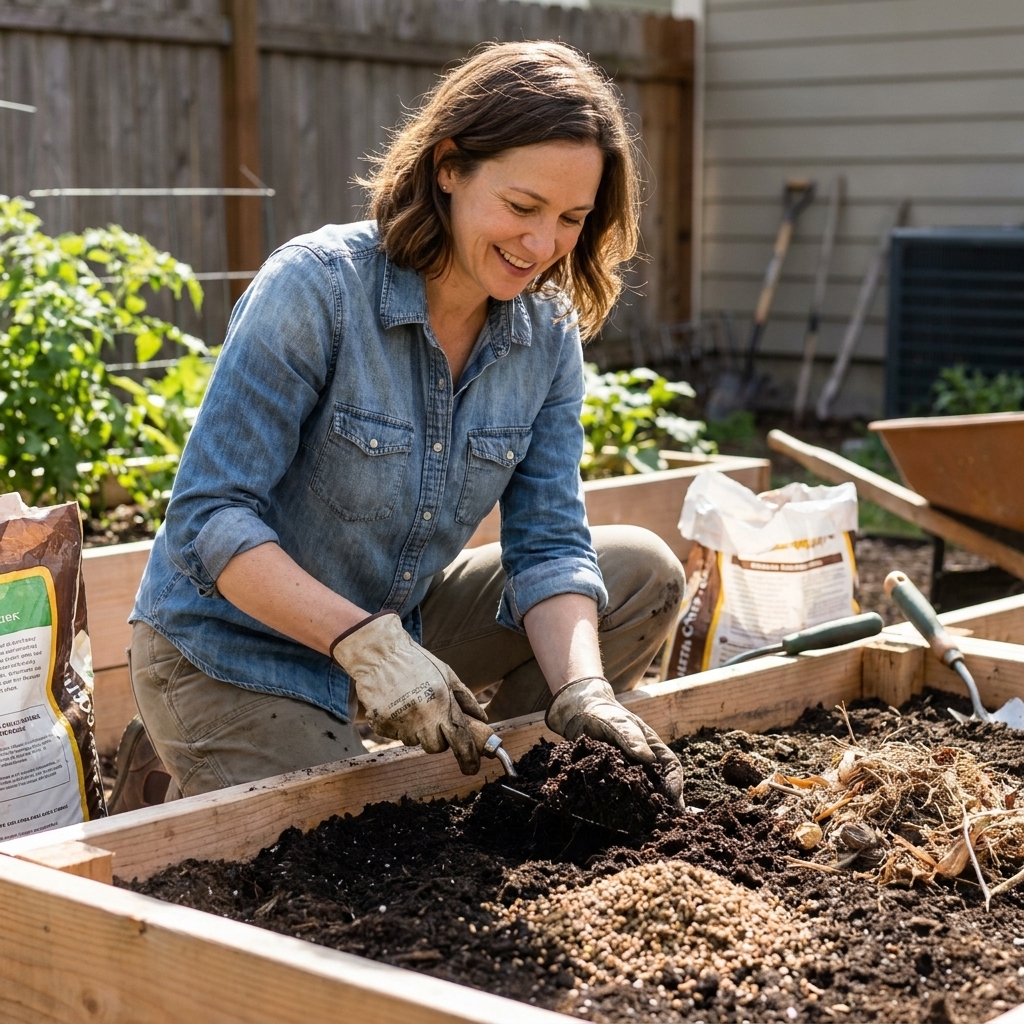
Organic amendments work best when the base soil already has structure and moisture-holding ability. For most new raised beds, a dependable starting point is:
- About 25% to 50% quality compost (blended, not a single hot manure compost)
- About 50% to 75% bulk topsoil or a screened garden soil
That compost range is intentional. In some beds, especially smaller raised beds or beds filled with manure-based compost, pushing compost too high can mean excess salts, phosphorus buildup, or a soggy mix that settles hard.
If your bed is deeper than 12 inches, you can be a little more flexible, but I still like the top 8 to 12 inches to be your best soil since that is where most vegetable roots and soil life will be most active.
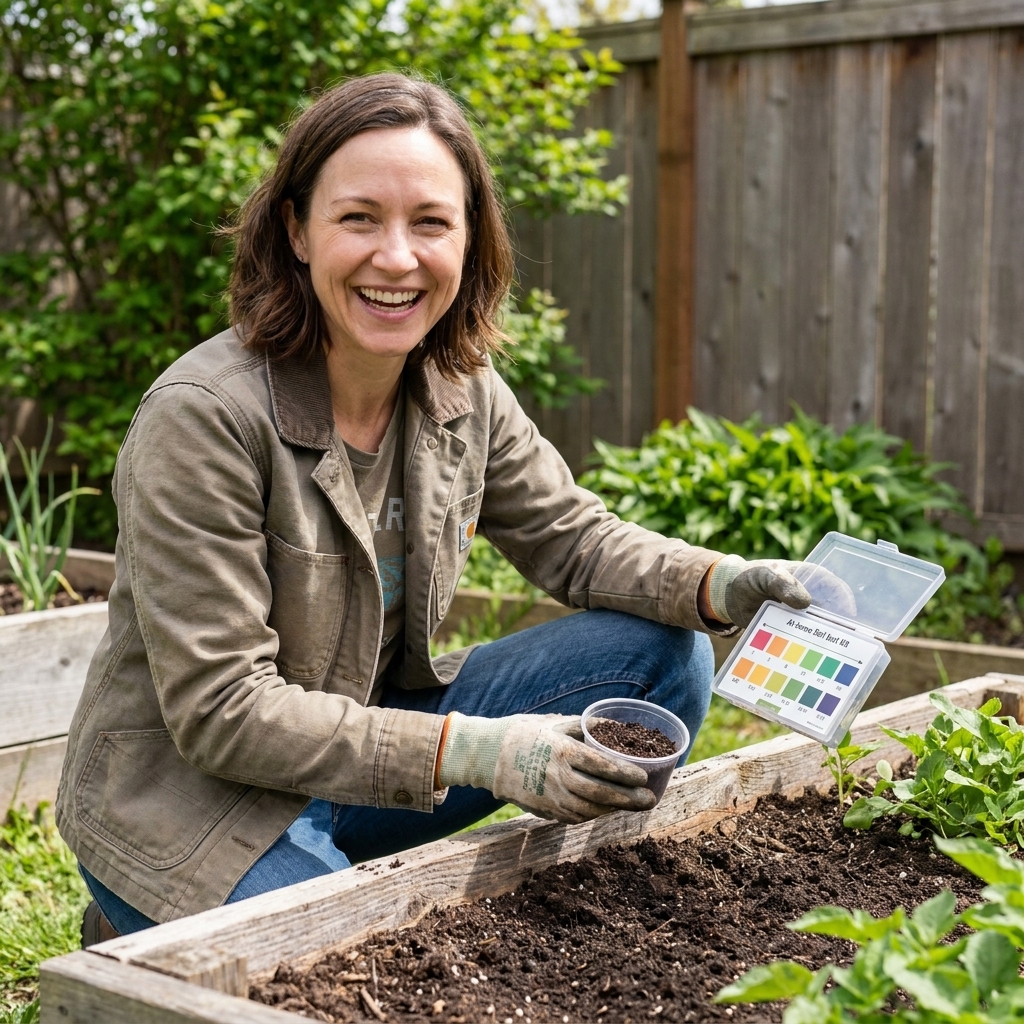
If you can do one smart thing up front, do a soil test. Even a basic test for pH and phosphorus can keep you from adding the wrong thing. If your mix is compost-heavy or you are gardening in a hot, dry climate, ask for soluble salts (EC) too. It is not glamorous, but it saves seasons.
How to use this list (without overdoing it)
Think in layers:
- Foundation: compost and worm castings for biology and gentle nutrition.
- Growth support: nitrogen sources for leafy growth.
- Root, bloom, and fruit support: phosphorus and calcium sources.
- Potassium support: for flowering, fruit fill, and overall balance.
- Micronutrients and resilience: kelp and mineral amendments.
My rule of thumb for new beds: use a few complementary amendments at moderate rates rather than every product on the shelf. You can always top-dress later if plants ask for more.
Rate guardrail: package directions matter because products vary. When in doubt, use label rates, start on the low end, and mix thoroughly. For a quick mental math shortcut, most dry meals are applied in the ballpark of 1 to 2 cups per 10 square feet (or 1 to 2 tablespoons per transplant hole), but always defer to the bag you are holding.
Safety note: some dry amendments get dusty. Avoid breathing the dust, wear a mask if needed, and wash hands after handling.
Foundation amendments (start here)
Finished compost
What it does: improves texture, moisture holding, and microbial life, and provides a broad, gentle nutrient base.
Important nuance: compost is not a reliable complete fertilizer. Nutrient levels vary a lot by feedstock and maturity, and many composts run phosphorus-heavy.
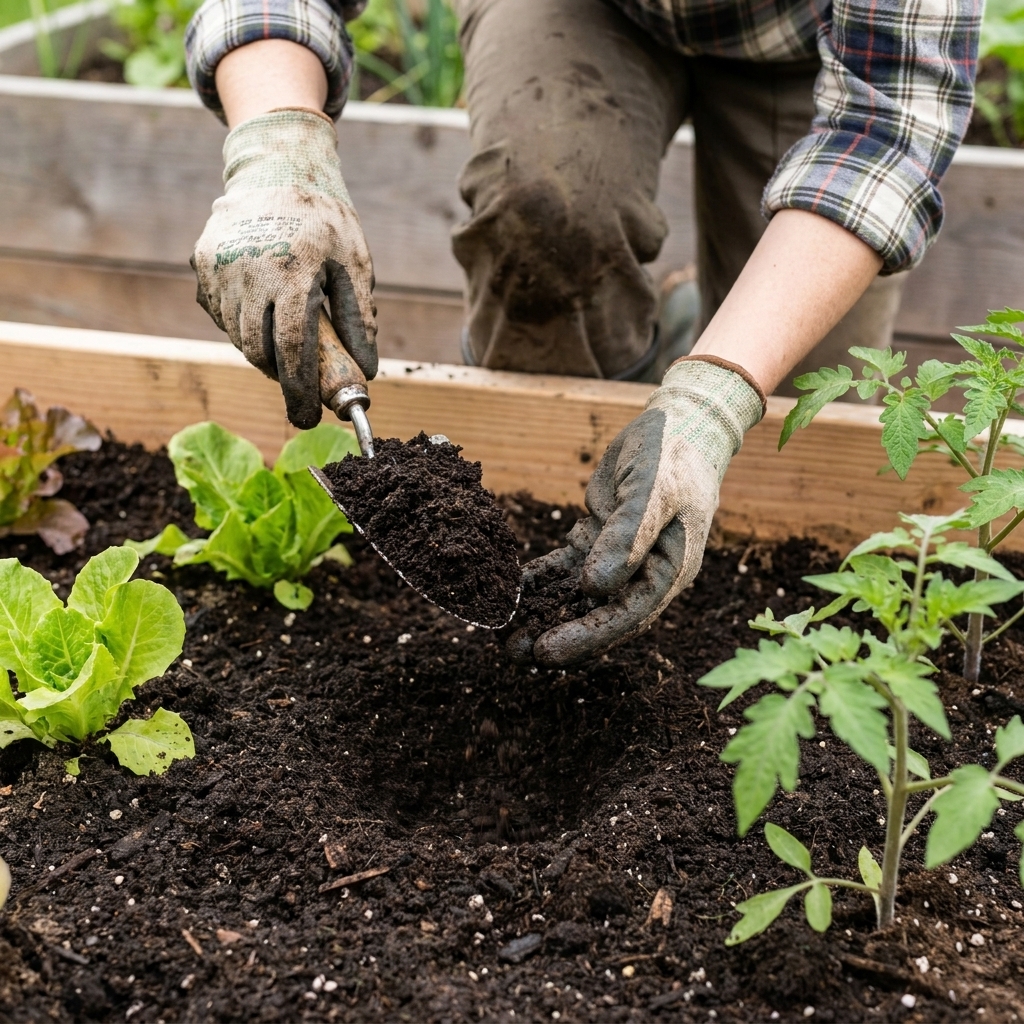
How to use it: blend into the top 6 to 10 inches as you build the bed. If you already filled the bed, top-dress 1 to 2 inches and lightly rake in.
My caution: compost quality varies wildly. If it smells sour or like ammonia, it is not finished. If it is mostly wood chips, it may tie up nitrogen at first. If you suspect high salts (common with some manure composts), water the bed deeply a few times before planting to help leach excess.
Worm castings
What they do: a gentle nutrient boost plus a big biological kick. Gardeners often report better root growth and overall vigor, especially for transplants, but results depend on the rest of the mix and how you water.
How to use them: mix in 5% to 10% by volume in the planting zone, or add a handful into each transplant hole. For seeds, I like a thin layer near the surface where roots will hit it quickly.
My caution: castings are not meant to replace compost. Think of them as the espresso shot, not the whole breakfast.
Leafy growth boosters (nitrogen)
Nitrogen is where people most often overdo it. Pick one main nitrogen source for bed prep, then adjust later based on what the plants show you.
Blood meal
What it does: a relatively fast-acting organic nitrogen source once soil microbes get to work. It can help green up pale, slow plants, including in cool spring weather when everything is moving slower.
Best for: corn, brassicas (cabbage, broccoli), leafy greens, and hungry spring beds.
How to use it: mix lightly into the top few inches or side-dress along plant rows. Water it in.
My caution: it is easy to overdo. Too much nitrogen can mean lush leaves and fewer tomatoes or peppers, and it can burn young roots. If you already used rich composted manure, go easy or skip.
Feather meal (steadier)
What it does: slower-release nitrogen than blood meal. It feeds longer and is less likely to spike growth.
Best for: longer-season crops like tomatoes, peppers, and winter squash when you want sustained growth without a big early surge.
How to use it: incorporate during bed prep or use as a light side-dress early in the season.
Alfalfa meal
What it does: mild nitrogen plus trace minerals. Many gardeners like it as a gentle, broad bed-builder.
Best for: general bed building when you want mild feeding that is hard to mess up.
How to use it: blend into the top layer when preparing the bed.
Root, bloom, and fruit support
Bone meal
What it does: slow-release phosphorus and calcium to support strong roots, flowering, and fruiting.
Best for: tomatoes, peppers, eggplant, root crops, and bulbs like onions and garlic.
How to use it: mix into the root zone during bed prep or add a small amount into transplant holes and blend with surrounding soil so roots are not sitting directly on a concentrated pocket.
My caution: bone meal works best in slightly acidic to neutral soils. In high pH beds, phosphorus can become less available. Also, if your soil is already phosphorus-heavy (common in compost-rich beds), adding more can reduce uptake of some micronutrients.
Fish bone meal
What it does: similar to bone meal, and in some products it can be a bit more readily available to plants.
Best for: gardeners who want a reliable root and bloom amendment with a little more flexibility.
Crab meal or shrimp meal
What it does: provides nitrogen, calcium, and chitin, which can support beneficial soil biology and may help plants mount stronger defenses over time.
Best for: mixed veggie beds, especially if you struggle with pest pressure year after year.
My caution: it can attract animals if not mixed in well. Always incorporate and water.
Potassium support (often missing)
Potassium (K) is a common gap in raised beds, especially once fruiting crops start pumping out flowers and fruit. Kelp meal and compost contribute some potassium, but usually not enough to count on as your main source.
Langbeinite (sulfate of potash magnesia)
What it does: provides potassium plus magnesium and sulfur. It is one of the more practical organic-friendly ways to add K without raising soil pH.
Best for: tomatoes, peppers, cucumbers, squash, potatoes, and any bed that fruits heavily.
How to use it: follow label rates and mix well into the top layer or use as a side-dress early in the season.
My caution: do not stack it with other magnesium sources without a reason. Too much magnesium can interfere with calcium uptake.
Greensand (slow and gentle)
What it does: adds trace minerals and a small, very slow potassium contribution. Think of it as long-term soil building, not a quick K fix.
Best for: brand-new beds you want to mineralize over time, or beds you amend yearly and do not need fast results.
My caution: if plants are already struggling and you suspect low potassium, greensand will not turn the season around quickly.
Wood ash (only with a pH caveat)
What it does: provides potassium and raises pH.
Best for: only if a soil test shows your bed is acidic and you also want potassium.
My caution: a little goes a long way. Too much ash can push pH high and lock out micronutrients. If you do not know your pH, skip it.
Micronutrients and resilience
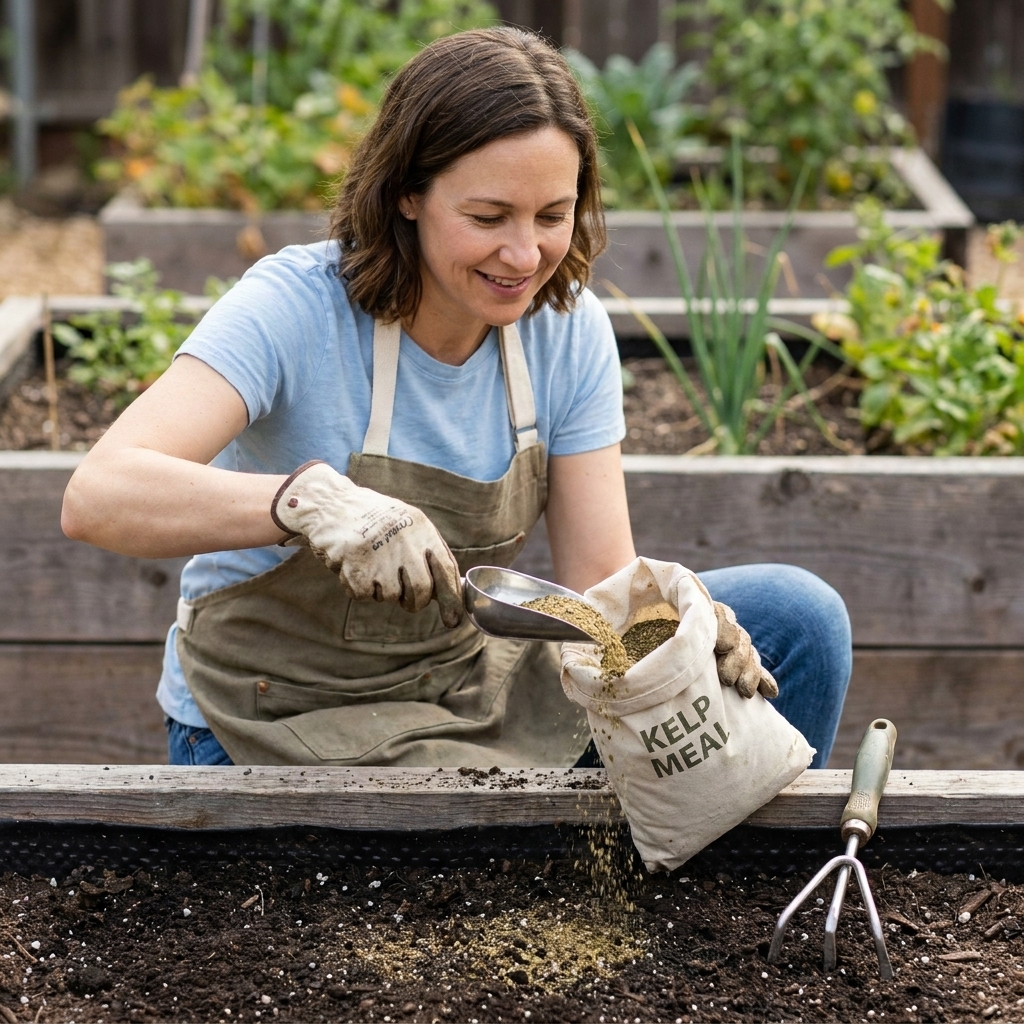
Kelp meal
What it does: trace minerals and natural compounds that support stress tolerance and steady growth. I consider kelp one of the best small-but-mighty additions for new beds.
Best for: basically everything, especially tomatoes, peppers, cucumbers, and beds that dry out fast.
How to use it: mix into the top layer during prep or use as a light top-dress. You can also use liquid kelp as a foliar spray later in the season.
Sourcing note: if seaweed sustainability matters to you, look for responsibly harvested kelp products and use it as a light supplement rather than a heavy input.
Neem seed meal (optional)
What it does: slow nitrogen plus compounds that may discourage some soil pests when used as a soil amendment.
Best for: beds that have had recurring issues with root-eating larvae or fungus gnats in very organic, moist mixes.
My caution: results vary by pest and application rate. Follow label directions and use moderately, mixing thoroughly.
Mineral amendments (long-term)
These are not fertilizer in the quick-fix sense. Think of them as your bed’s long-term mineral savings account.
Basalt rock dust or glacial rock dust
What it does: adds a broad spectrum of trace minerals that can be missing in bagged soil mixes.
Best for: brand-new beds built from imported soil components, especially if you plan to garden in that bed for years.
How to use it: mix into the top 6 to 10 inches during initial setup.
My caution: rock dust is slow. It will not fix a mid-season deficiency overnight, but it can improve mineral balance over time.
Gypsum (calcium without raising pH)
What it does: provides calcium and sulfur without pushing pH up. It is most useful when you need calcium but your pH is already fine, or where sodium is high and soil structure needs help.
Best for: raised beds that run neutral to alkaline but still need calcium support, or soils with known sodium issues.
My caution: in many raised beds it is unnecessary. If your soil already has plenty of calcium, it may not help. Also, blossom end rot is often a watering consistency issue, not just calcium shortage.
Agricultural lime (only if pH is low)
What it does: raises pH and adds calcium (and magnesium if you use dolomitic lime).
Best for: beds built with very acidic composts or peat-heavy mixes where pH may drift low.
My caution: do not add lime just because. If you can, test pH first. Many vegetables prefer slightly acidic soil, and too much lime can lock up iron and other micronutrients. If you choose dolomitic lime, remember it adds magnesium too, which can be a good thing or too much depending on your soil.
The simple starter blend I use
If you want an easy, not-too-fussy approach, here is a balanced combo that has worked well for me when filling a new raised bed with a compost-topsoil base:
- Compost as a major component of the mix (aim for that 25% to 50% range)
- Worm castings in the planting zone
- Kelp meal for micronutrients and resilience
- One gentle nitrogen source like feather meal or alfalfa meal
- One root and bloom amendment like bone meal or fish bone meal (skip or go very light if your soil test shows high phosphorus)
- One potassium option if you are growing fruiting crops, often langbeinite
- Rock dust (optional but great for long-term mineral depth)
Then I let the bed settle and moisten for a few days before planting, especially if I mixed in concentrated meals. This reduces the chance of hot spots and gives microbes time to start cycling nutrients.
How to mix amendments (cleanly)
- Moisten the soil lightly first. Damp soil mixes more evenly and creates less dust.
- Sprinkle dry amendments evenly over the surface like you are seasoning a big pot of soup.
- Mix into the top 6 to 10 inches using a digging fork, shovel, or cultivator.
- Water deeply to settle the mix and activate microbial breakdown.
- Plant when the mix is even. Thorough mixing matters more than the clock, but if you used stronger nitrogen sources and you are planting tender seedlings, giving the bed 48 to 72 hours after mixing can add a little extra margin of safety.
If your bed is already planted, stick with top-dressing (a thin layer around plants) and side-dressing (a line a few inches away from stems), then water in well.
Common beginner mistakes (I have done these)
- Going too heavy on compost: more is not always better, especially with manure-based compost.
- Adding too much nitrogen early: you get jungle leaves and disappointing fruit.
- Using unfinished compost: it can tie up nitrogen and stress plants.
- Assuming blossom end rot is always calcium: inconsistent watering is usually the bigger culprit.
- Throwing in every amendment at once: more products does not equal better soil.
- Skipping organic matter: minerals and meals work best when compost and biology are present.
- Ignoring salts: if seedlings look stressed despite watering, and you used a lot of compost or manure products, soluble salts might be part of the problem.
Quick FAQ
Can I just use a bagged raised bed soil and skip amendments?
You can, but many mixes are designed to be a base, not a complete season-long fertility plan. If you are growing heavy feeders like tomatoes, squash, or corn, adding compost plus a few targeted amendments usually prevents the mid-season slump.
What is the most important amendment if I can only buy one?
High-quality compost is the best overall investment. If you can add a second, I would pick kelp meal or worm castings depending on your budget and what your soil mix already looks like.
How often should I re-amend a raised bed?
I refresh beds at least once a year with 1 to 2 inches of compost. For heavy-feeding beds, I also top-dress with a gentle organic fertilizer mid-season, especially after big harvests.
Are blood meal and bone meal safe for organic gardening?
They are commonly used in organic gardening as animal byproducts, but standards vary by certification and personal preference. If you avoid animal-based inputs, you can use plant-based options like alfalfa meal for nitrogen, plus compost, cover crops, and a soil test guided mineral plan where possible.
My best advice: build for two months from now
New raised beds feel like a blank canvas, which is exciting and a little dangerous. A few well-chosen organic fertilizers and amendments help your soil hold steady as plants move from leafy growth to flowering to harvest. Start with compost, add targeted support, and let biology do the heavy lifting. Your future self, the one hauling baskets of beans and tomatoes, will be very grateful.