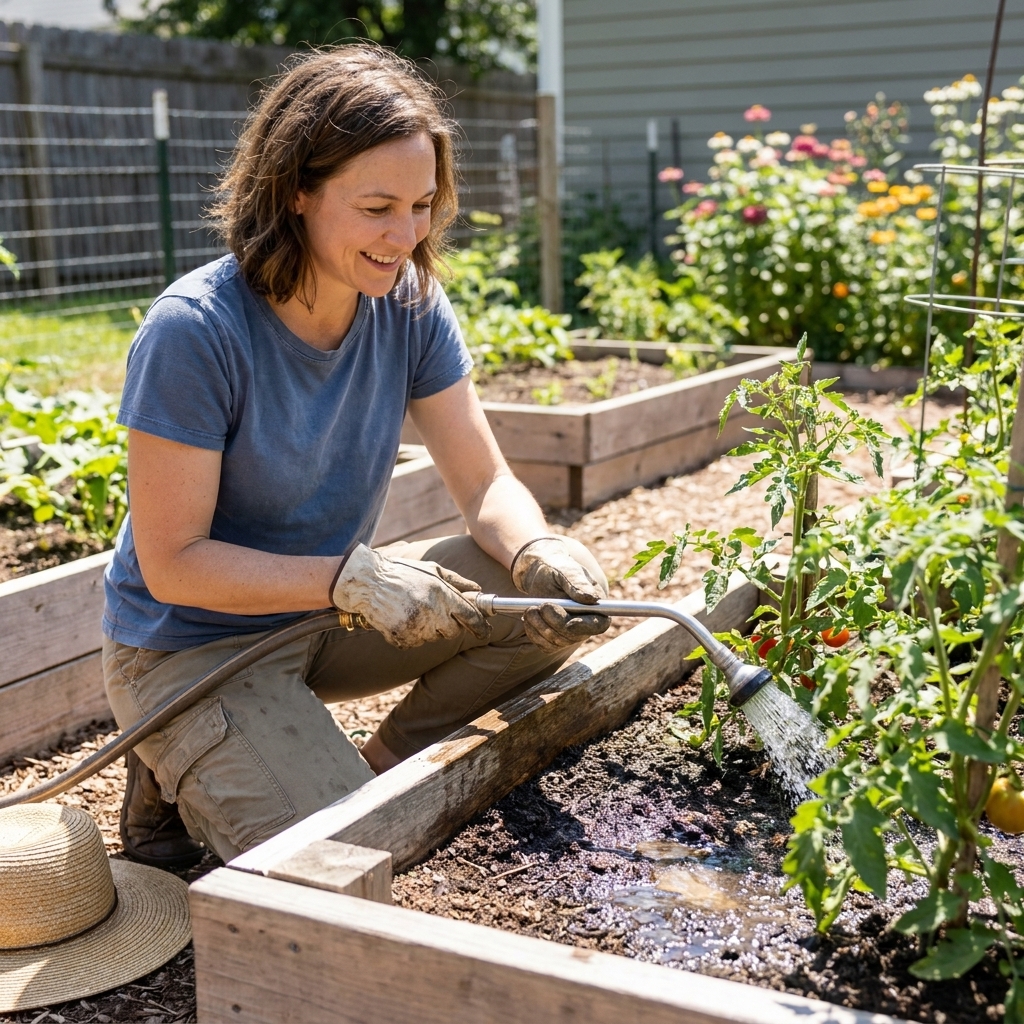
If you have ever stood in the yard with a hose, trying to water “evenly” while the tomatoes hog the spray and the carrots somehow stay dry, you are going to love drip irrigation. It is one of those upgrades that feels fancy, but it is really just a few simple parts working together to deliver slow, consistent water right where your plants need it.
I put off drip for years because I assumed it would be complicated. Then I installed a basic setup in one afternoon, and it immediately became my favorite garden improvement. My beds were happier, I used less water, and I stopped playing the daily game of “did I water enough.”
How drip irrigation works (in plain English)
A drip system is just a controlled, low-pressure network:
- Water source (hose bib or spigot)
- Backflow preventer to keep garden water from siphoning back into household water (choose one that fits local code)
- Filter to catch grit that clogs emitters
- Pressure regulator because drip parts are designed for low pressure (often 15 to 30 PSI, but check your dripline spec)
- Timer (optional but a real quality-of-life upgrade)
- Mainline tubing that carries water to each bed
- Dripline or emitter tubing laid in the bed to distribute water slowly
- Fittings, stakes, and end caps to connect and secure everything
The goal is steady moisture in the root zone, not a quick soak on the soil surface. That is why drip is so effective for raised beds, which often dry out faster than in-ground plots because they have more exposed surface area and sharp drainage.
Plan your layout before you buy anything
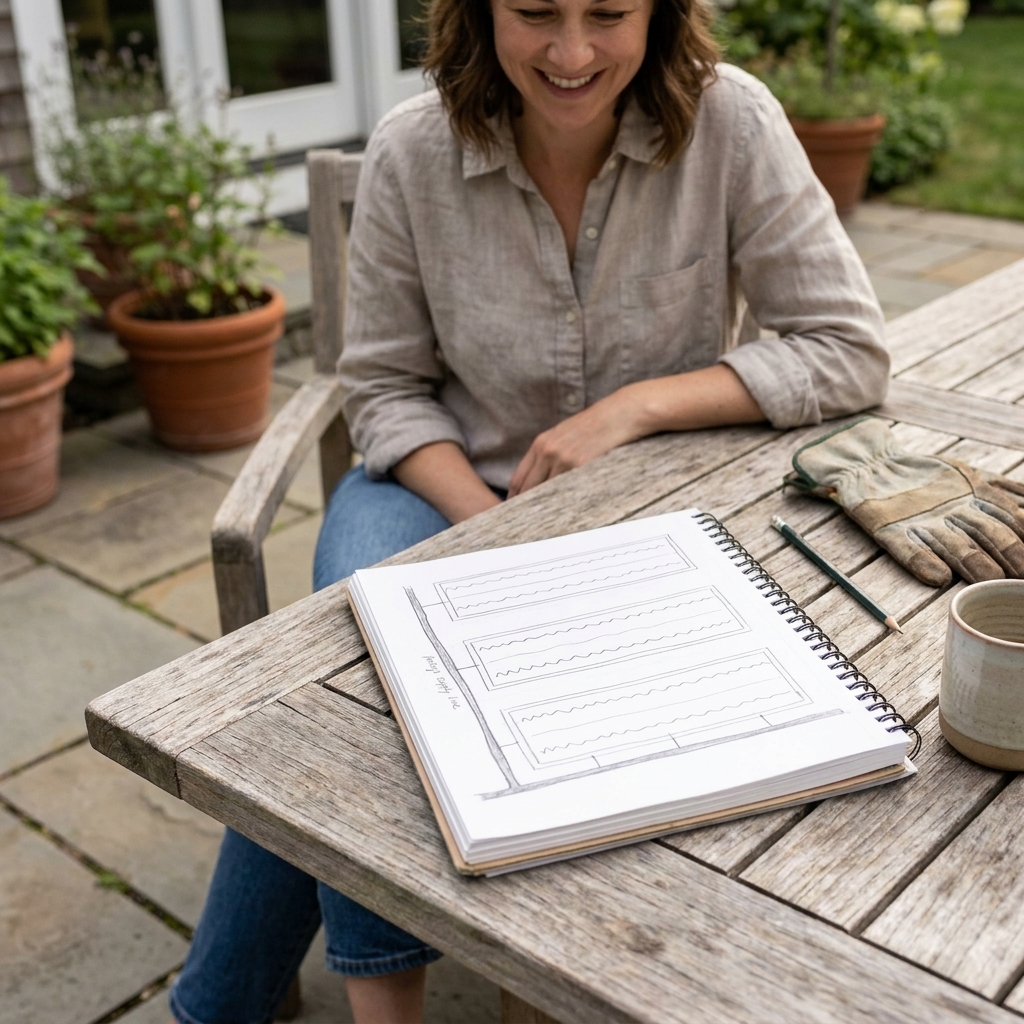
The easiest way to keep drip irrigation beginner-friendly is to map it to your actual bed sizes and planting style. Take ten minutes and sketch your garden from above. You do not need perfect measurements, just enough to plan tubing runs.
Step 1: Measure each bed
- Length and width of the planting area
- Bed height (mostly for routing mainline neatly, not required)
- Distance from spigot to the first bed
Step 2: Decide how you want to water
There are two common approaches in raised beds:
- Dripline (emitter tubing) in rows: Best for densely planted beds, square-foot gardening, leafy greens, carrots, onions, and mixed plantings.
- 1/4-inch tubing to individual emitters: Best when plants are widely spaced (peppers, eggplant, young fruit bushes), or when you want different flow rates per plant.
Most of my beds use dripline rows because I rotate crops a lot. Rows keep things flexible.
Step 3: Pick your dripline spec
Dripline is not one-size-fits-all. Before you commit, check three things on the label or product page:
- Emitter spacing (6, 9, 12 inches are common)
- Emitter flow rate (often 0.5 GPH or 1.0 GPH per emitter)
- Recommended pressure (many run best around 20 to 30 PSI, but some products are designed for lower pressure)
If you are buying a regulator and filter separately, match them to the dripline manufacturer recommendation when you can.
Step 4: Choose emitter spacing
If you are using dripline, you will usually choose emitter spacing (how far apart the built-in emitters are):
- 6-inch spacing: Great for tight spacing and sandy soil that drains fast.
- 9-inch spacing: A nice all-around choice for mixed beds.
- 12-inch spacing: Works well in heavier soil or wider plant spacing.
For most backyard raised beds with a decent compost-rich mix, 9-inch spacing is a forgiving starting point.
Step 5: Decide row spacing inside the bed
For dripline rows, a simple rule of thumb:
- 12 inches between rows for many vegetables
- 6 to 9 inches between rows for very dense beds or shallow-rooted greens
- One or two rows only for a bed that will be mostly big plants like tomatoes or squash (then place rows near the root zone)
Parts list for a simple, reliable raised bed system
You can buy a kit, but I prefer building a custom parts list so every foot of tubing has a job. Here is the shopping list that covers most raised bed setups.
At the spigot
- Y-splitter (optional, but handy if you still want to use the hose)
- Hose timer (battery or mechanical)
- Backflow preventer (use a device appropriate to local code)
- Filter (150 mesh is common for drip, but follow manufacturer guidance and match it to your water source)
- Pressure regulator (often 25 PSI for drip, but check your dripline spec)
To reach your beds
- 1/2-inch mainline tubing (poly tubing) to run along bed edges
- 1/2-inch tees, elbows, couplers as needed
- 1/2-inch tubing end caps or figure-eight ends
- Tubing stakes or clamps to keep mainline tidy
Inside each bed
- Dripline (emitter tubing) (commonly 1/2-inch dripline, or sometimes 1/4-inch dripline depending on brand)
- Barbed connectors (tees, elbows, couplers) matched to your dripline size
- Goof plugs (these save your sanity when you punch a hole in the wrong place)
- Hold-down stakes to keep rows from shifting
- Optional flush ends or flush valves if you want easier maintenance
Tools that make it easier
- Tubing cutter or sharp pruners
- Hole punch tool for mainline (do not try to “poke” holes with a nail, ask me how I know)
- Warm water bucket (softens tubing ends so fittings slide in easier)
- Small flags or markers for planning row paths
Quick practical note: most hose-thread connections seal with a rubber washer, not thread tape. If you have a slow drip at a hose fitting, check the washer first.
Design examples for common raised bed sizes
Here are layouts that work well in real gardens. Adjust based on what you actually plant, but these are solid starting points.
4x4 bed
- 3 to 4 dripline rows spaced about 12 inches apart
- Run rows lengthwise, U-turn at the far end, then return if you want a continuous “serpentine” layout
- End the line with an end cap you can open for flushing
4x8 bed
- 4 to 6 dripline rows (12 inches apart is common)
- Feed from one long side to keep connections accessible
- Stake every few feet so the rows do not wander during weeding
Narrow beds (2 to 3 feet wide)
- 2 to 3 dripline rows
- Place rows where your planting bands usually are
- These beds water beautifully with drip because you can cover the root zone without overspray
Step-by-step: Install drip irrigation in your raised beds
You can do this in a calm afternoon. The biggest secret is assembling from the spigot outward, testing as you go, and not burying anything until it runs perfectly.
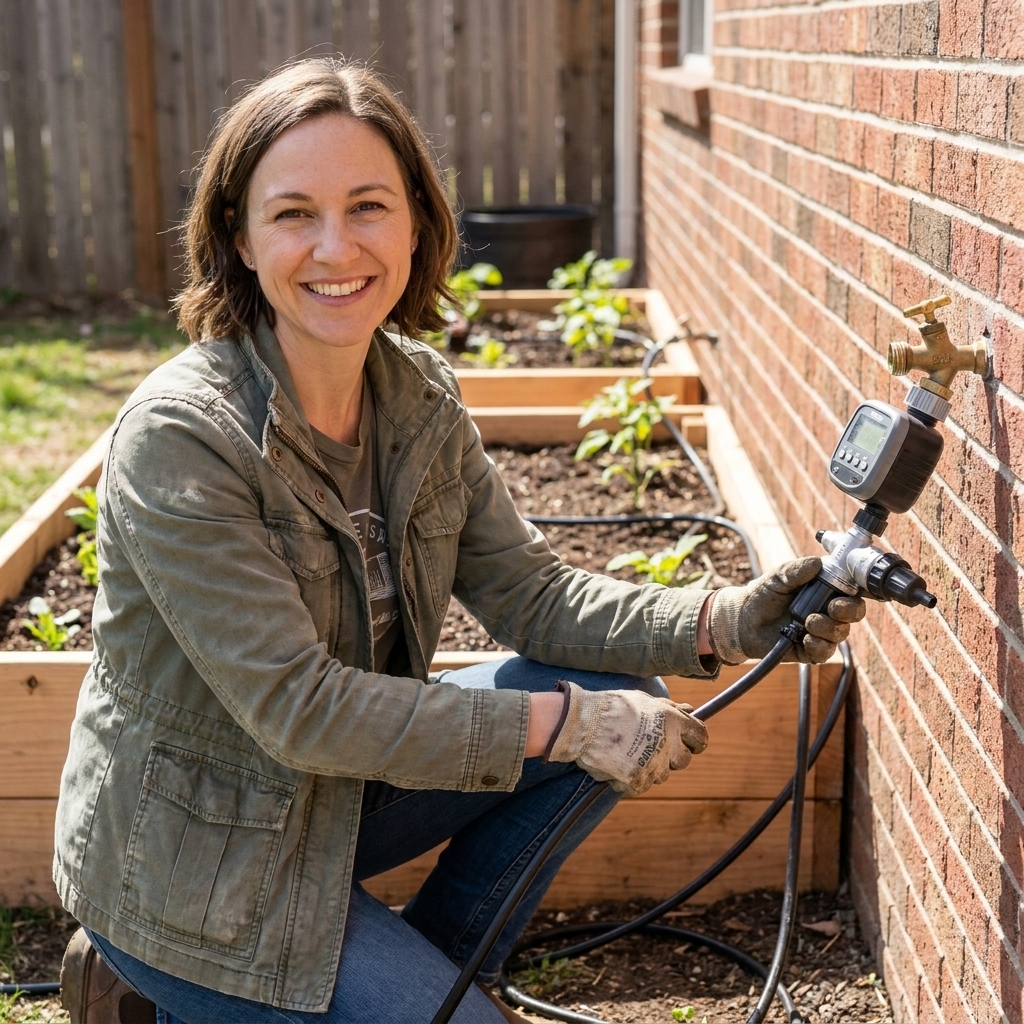
1) Assemble the spigot stack
Many setups go in this order (starting at the spigot):
- Timer (if using)
- Backflow preventer
- Filter
- Pressure regulator
- Hose-to-tubing adapter (to connect to 1/2-inch mainline)
Some manufacturers swap the filter and regulator order, so check the instructions that came with your timer, filter, and regulator. Hand-tight is usually enough. If a connection drips, snug it gently. Over-tightening can crack plastic threads.
2) Lay out the mainline to your beds
Roll out the 1/2-inch mainline tubing along the path from the spigot to the first bed, then along the bed edges. I like to keep mainline on the outside edge of beds so I can access fittings without stepping into soil.
Leave a little slack at corners. Tubing expands and contracts with temperature, and tight runs tend to pop off fittings.
3) Connect mainline sections and cap the end
Use tees and elbows where needed. Cap the far end of the mainline, but choose an end that is easy to remove because you will want to flush the line later.
4) Punch holes where each bed will connect
At each bed, punch a hole in the mainline and insert a barbed connector (often a 1/2-inch to 1/4-inch adapter, or a 1/2-inch tee if you are feeding with 1/2-inch dripline). This is where the hole punch tool earns its keep.
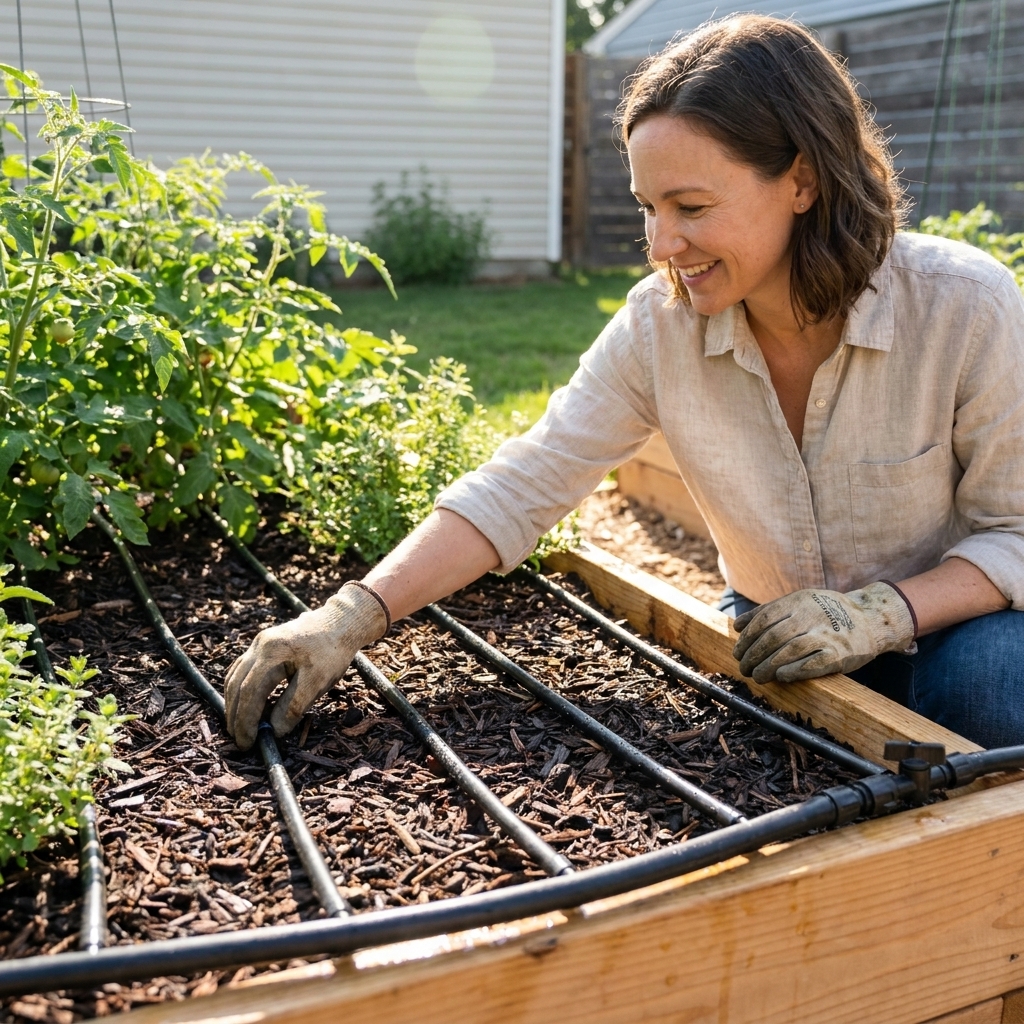
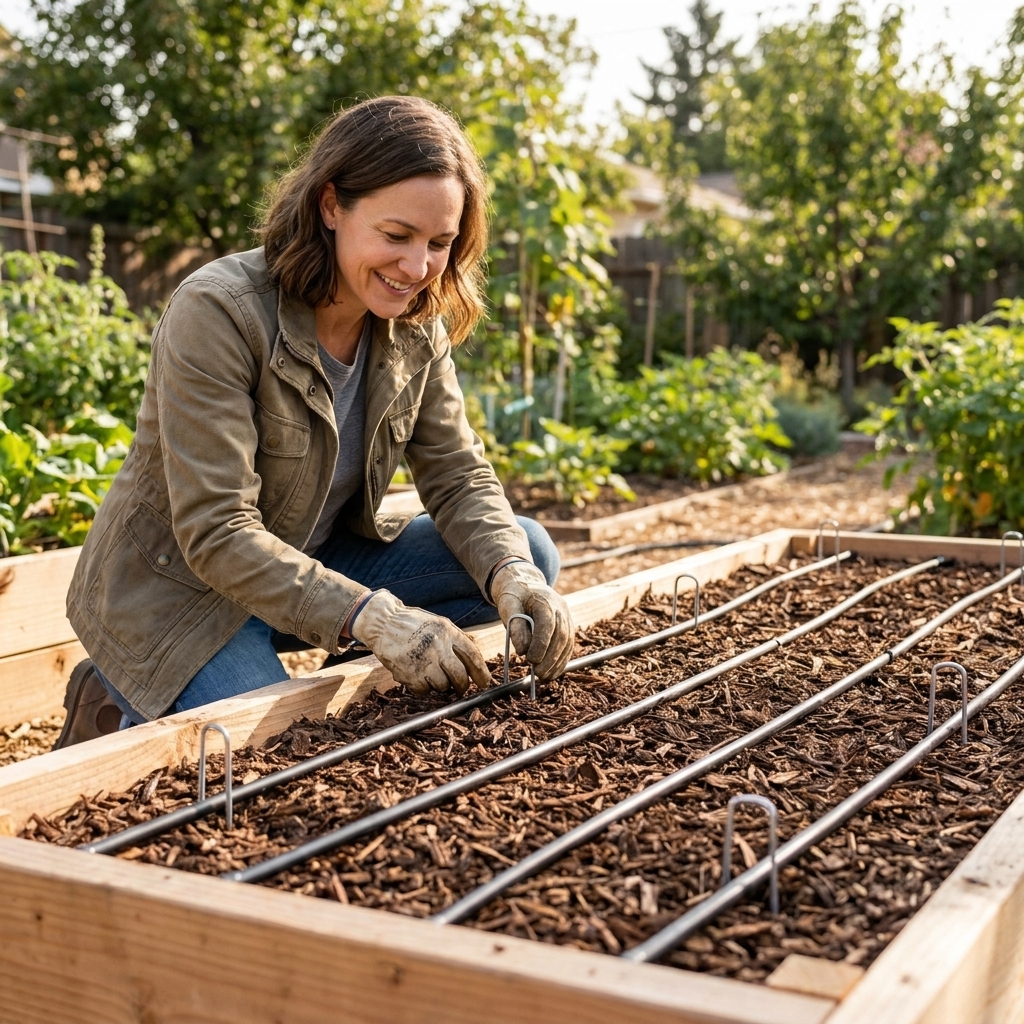
5) Run dripline inside the bed
Lay your dripline rows according to your plan. Keep them a few inches in from the bed edge so the water targets roots instead of wicking out through the sides.
- Serpentine method: One continuous line that U-turns at the ends. Fewer connections, faster installation.
- Manifold method: A short header line feeds several parallel rows. More fittings, very tidy rows.
Stake the dripline as you go, especially at turns.
6) Cap the dripline ends
Use the correct end cap for your tubing, or fold-and-clamp style ends. I prefer ends that can be opened for flushing because raised bed soil has a way of shedding little particles into everything.
7) Test, then flush
Turn the water on and watch every connection. Fix leaks now, not after you mulch.
Then flush: open the ends of the mainline and driplines briefly to clear any debris from cutting and assembly. Close them back up.
8) Mulch over the lines (optional, but excellent)
A thin layer of mulch over dripline reduces evaporation and protects the tubing from sun. Straw, shredded leaves, and fine wood chips all work. Keep mulch pulled back an inch or two from plant stems.
Flow and sizing (so you do not guess)
This is the part most of us skip at first, then regret when we are trying to translate “minutes” into real watering. You do not need perfection, just a quick sanity check.
Find your system output
Look up your dripline’s GPH per emitter (gallons per hour) and its emitter spacing. Common examples are 0.5 GPH or 1.0 GPH at the recommended pressure.
A simple 4x8 example
Let’s say you run 4 rows of dripline, each 8 feet long, with 9-inch spacing and 0.5 GPH emitters.
- Emitters per row: 8 feet is 96 inches. 96 ÷ 9 is about 10 to 11 emitters.
- Total emitters: about 44 emitters (4 rows × 11).
- Total flow: 44 × 0.5 GPH is about 22 gallons per hour.
So a 30-minute run delivers roughly 11 gallons to that bed. Whether that is “enough” depends on your soil, crop, and weather, but now you are adjusting with real numbers instead of vibes.
Keep things even
If you notice the last bed in the line always runs drier, you may be pushing the system length or flow for that zone. The simplest fix is splitting into two zones or shortening the run. When in doubt, the dripline manufacturer specs on maximum run length are a good guide.
Dial in your watering schedule
Drip irrigation is not “set it once and forget it forever.” It is “set it, observe, then tweak.” Your soil blend, weather, plant size, and dripline flow rate matter.
A simple starting schedule
- New seeds and seedlings: Short runs more often to keep the top inch of soil evenly moist. Example: 10 to 20 minutes daily, then taper as roots develop. (If your dripline flow is high, you might need less time.)
- Established veggies: Deeper watering less often. Example: 30 to 60 minutes, 2 to 4 times per week, adjusted for your emitter output and row coverage.
- Peak summer heat: You may need longer runs or an extra day, especially for tomatoes, cucumbers, and squash in many raised bed mixes.
How to know if you are watering enough
Do the finger test after a run. Dig a small hole 3 to 4 inches deep near the dripline. If the soil is evenly damp at that depth, you are in a good zone for many vegetables.
If only the surface is wet, run longer. If it is soggy and stays wet for days, shorten the run or water less often.
Morning watering wins
When possible, water in the early morning. Plants start the day hydrated, and foliage stays drier, which helps reduce disease pressure.
Raised bed drip tips I learned the hard way
- Do not skip the filter. Even municipal water can carry grit. A clogged dripline is a slow, sneaky problem.
- Use a regulator made for your drip product. High pressure can blow fittings apart or make emitters inconsistent.
- Stake more than you think you need. The first time you pull a weed and drag a dripline row with it, you will understand.
- Keep lines accessible. Burying everything under thick mulch looks tidy, but you will want to inspect and flush occasionally.
- Label zones if you have multiple timers or valves. Even a little masking tape on the timer helps when you are troubleshooting later.
Troubleshooting common drip irrigation problems
Uneven watering in the same bed
- Check for kinks or tight turns
- Flush the line ends
- Make sure the system has a pressure regulator
- If your run is very long, consider splitting into zones so pressure stays consistent
Emitters clogging
- Clean the filter screen
- Flush mainline and dripline ends
- If you are on well water, you may need a different filter style (disc filters are common) or more frequent maintenance, based on your water quality
- If you have hard water buildup, only use any cleaning treatment if the manufacturer approves it for your tubing and emitters
Fittings popping off
- Warm the tubing ends in hot water before pushing onto barbed fittings
- Push fittings in fully
- Relieve tension by adding a little slack at corners
One bed dries out faster than the others
- That bed may have different soil texture, more sun, or thirstier crops
- Consider adding a row of dripline, changing emitter spacing, or putting that bed on a separate timer zone
Winterizing and seasonal maintenance
A little maintenance keeps drip systems running for years.
- Monthly during the season: Check the filter, scan for leaks, and make sure rows have not shifted.
- Midseason: Flush line ends, especially if you notice dry spots.
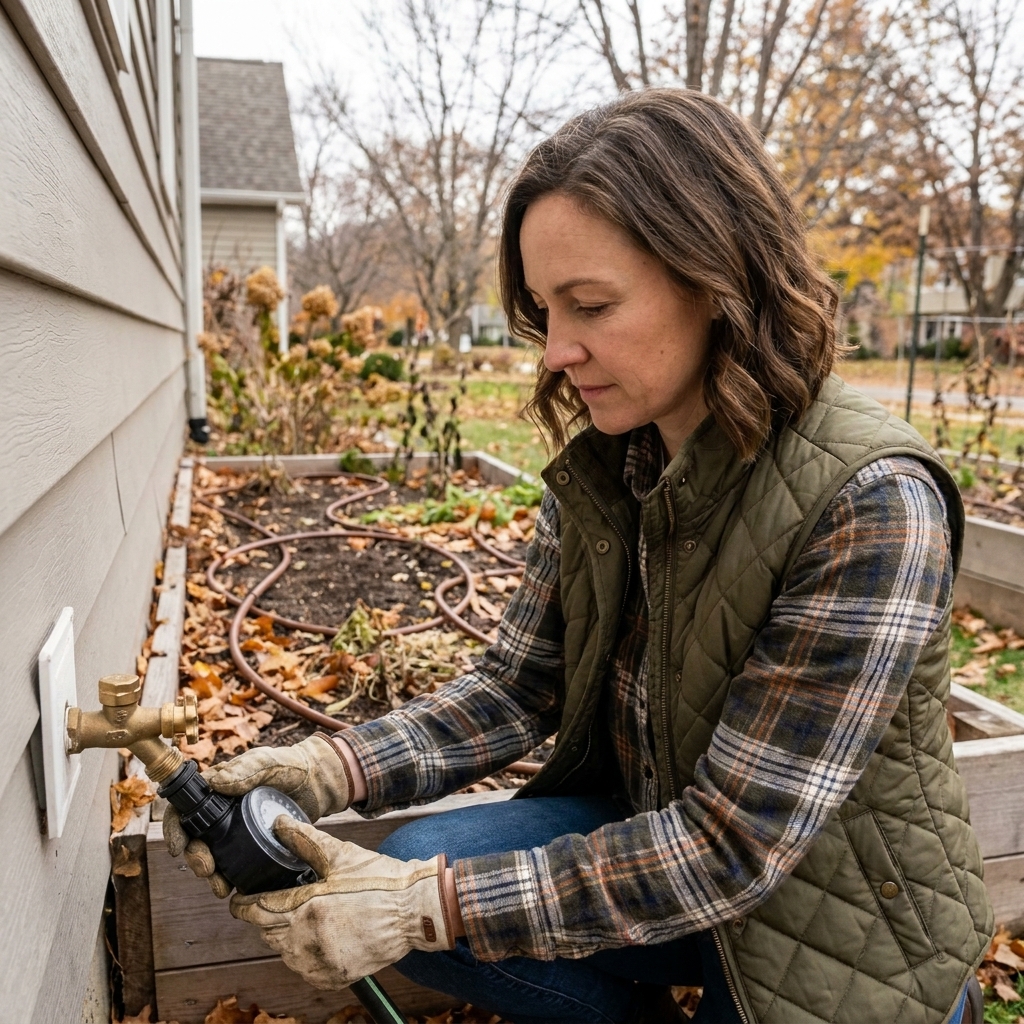
- Before freezing weather: Disconnect the timer, filter, and regulator from the spigot and store them indoors. Drain tubing if possible. If your climate freezes hard, leaving water trapped in fittings can crack parts.
FAQ
Is drip irrigation worth it for just one or two raised beds?
Yes. Even a single 4x8 bed can be a pain to water evenly by hand in midsummer. A basic drip setup is often the difference between consistent growth and stress swings that lead to bitterness, cracking, or bolting.
Can I use drip irrigation with compost-heavy raised bed soil?
Absolutely. Compost-rich mixes hold moisture well, which is great, but raised beds can still dry from the sides and top. Drip helps keep moisture stable without washing soil around.
Should I run dripline under landscape fabric?
You can, but I generally prefer dripline under a light mulch layer instead. Landscape fabric can make it harder to adjust lines, add compost, or replant. If you do use fabric, keep the system easy to access for repairs.
How long should I run drip irrigation for tomatoes in a raised bed?
It depends on heat, plant size, soil, and your dripline flow rate, but a common pattern is longer, deeper runs a few times per week rather than short daily sprinkles. Check moisture 4 to 6 inches down near the root zone and adjust from there.
Do I need to bury the tubing?
No. In raised beds, I like to keep dripline on the surface and mulch over it lightly. It is easier to spot clogs, fix leaks, and change layouts when your crop rotation shifts.
A simple next step
If you are feeling overwhelmed, start with one bed. Install a timer, backflow preventer, filter, regulator, a short mainline run, and a few dripline rows. Once you see how straightforward it is, expanding to the rest of your raised beds is mostly just repeating the same steps with more tubing.
And if you make one “oops” hole in the wrong place, welcome to the club. That is what goof plugs are for.