Raised beds are my favorite way to grow a big harvest in a small backyard, but they come with one summer personality trait: they dry out fast. Heat, wind, and that extra drainage we love in spring can turn July into a daily guessing game. If you have ever watered “until it looked wet” and still pulled up a sad, shallow rooted plant later, you have met the two classic raised bed problems: dry pockets and surface sipping.
This is the system I use to set a watering schedule that holds up during summer heat. It is simple enough for beginners, nerdy enough for people who love data, and flexible enough for heat waves.
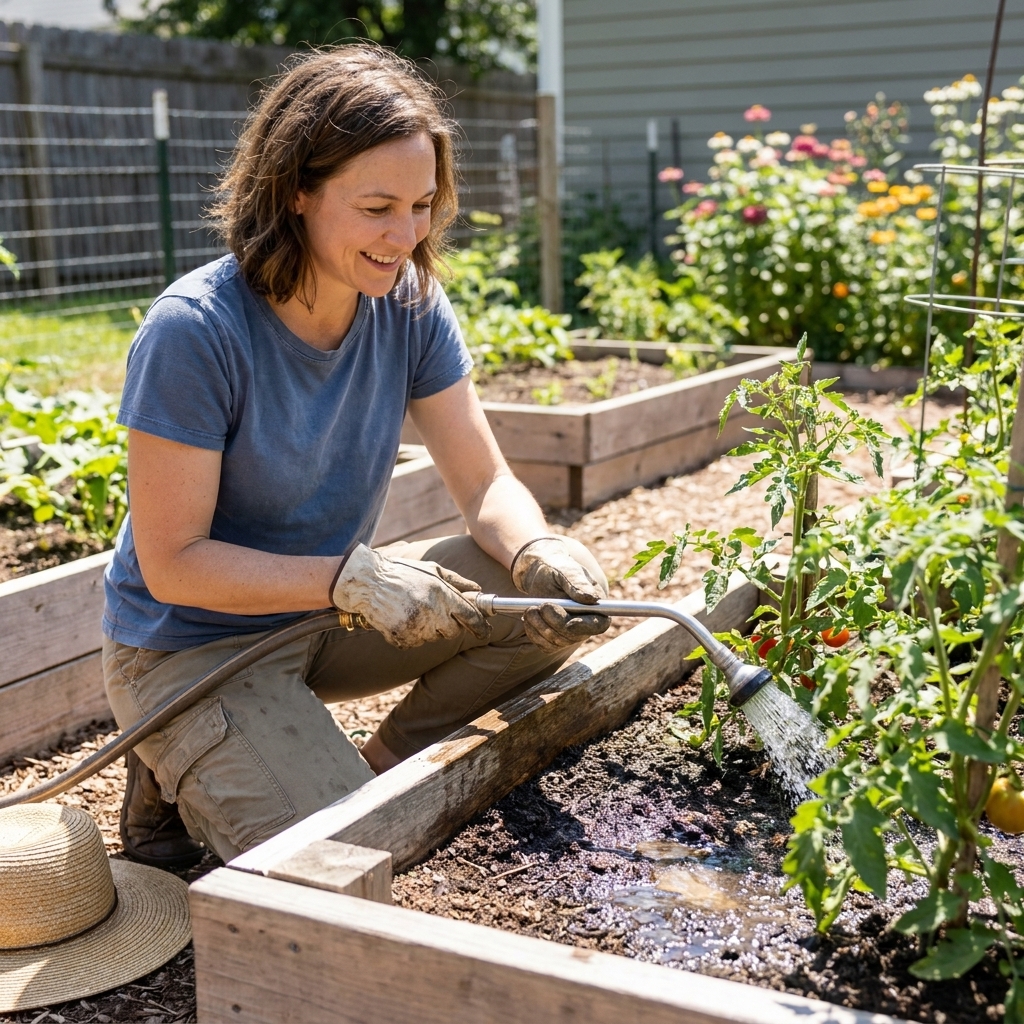
Why raised beds dry out faster
Understanding the “why” helps you stop fighting your beds.
- Exposed edges and more airflow: The soil surface is open to sun and wind, and the sidewalls of a raised bed warm up and dry out faster than in-ground soil.
- Fast drainage: Great for roots, but it means you cannot rely on water lingering like it might in compacted ground, especially in bottomless beds filled with a light mix. (A lined bed or a heavier mix can hold water longer, so always check before you assume.)
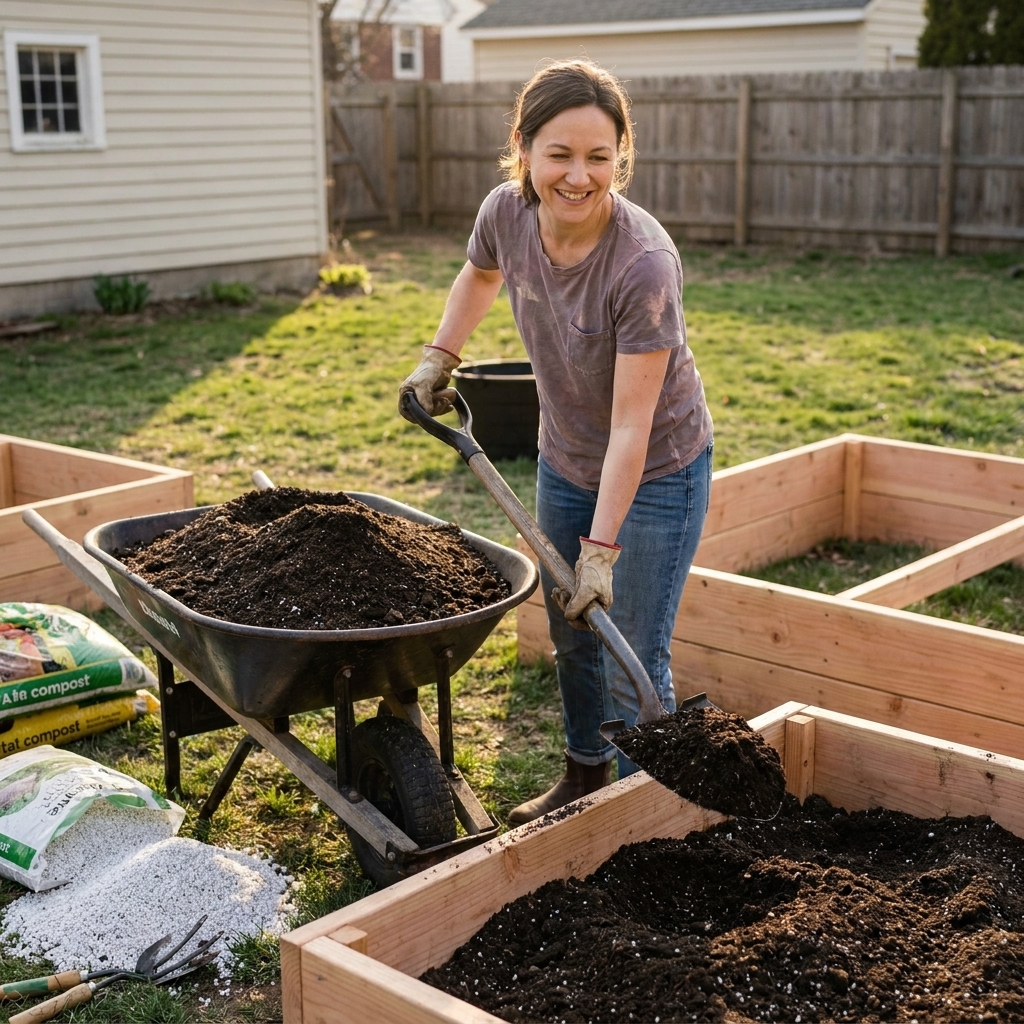
- Soil mix changes over time: As compost breaks down, the bed settles and can develop uneven texture. That is where dry pockets love to form.
- Heat buildup: Dark soil in a contained box warms quickly. Warm soil increases water loss and plant demand.
The takeaway: in summer, raised bed watering is less about “how many minutes” and more about getting moisture to the full root zone consistently.
Watering goals in peak summer
When it is hot, your schedule should aim for three things:
- Depth: Wet the soil to the depth roots actually use.
- Consistency: Avoid the swing between bone dry and swampy.
- Coverage: Eliminate dry pockets so one plant is not thriving while its neighbor struggles.
For many common vegetables in raised beds, the “sweet spot” is moisture reaching 6 to 10 inches deep. Shallow rooted crops can do fine with less, while deeper rooted plants like tomatoes and squash often benefit from moisture deeper than 10 inches when your bed depth allows it. During heat waves, I still prefer a deeper soak so the bed buffers stress.
The two checks I use to decide when to water
1) The finger and trowel test (fast and reliable)
Stick your finger into the soil. If the soil surface is crusty and dry and you cannot comfortably get down at least 2 inches, it is watering time. Then confirm with a trowel.
- Dig a small slit about 6 inches deep near, not on top of, a plant’s drip line.
- Squeeze a bit of soil from 4 to 6 inches down.
- Ideal: cool, slightly damp, holds together briefly when squeezed, then crumbles.
- Too dry: dusty, will not clump.
- Too wet: shiny, smears, or stays in a sticky ball.
This test catches the big mistake: a wet surface with a dry layer underneath.
2) The “how hard was it to wet?” check (dry pockets detector)
When you water, pay attention to how the bed accepts water.
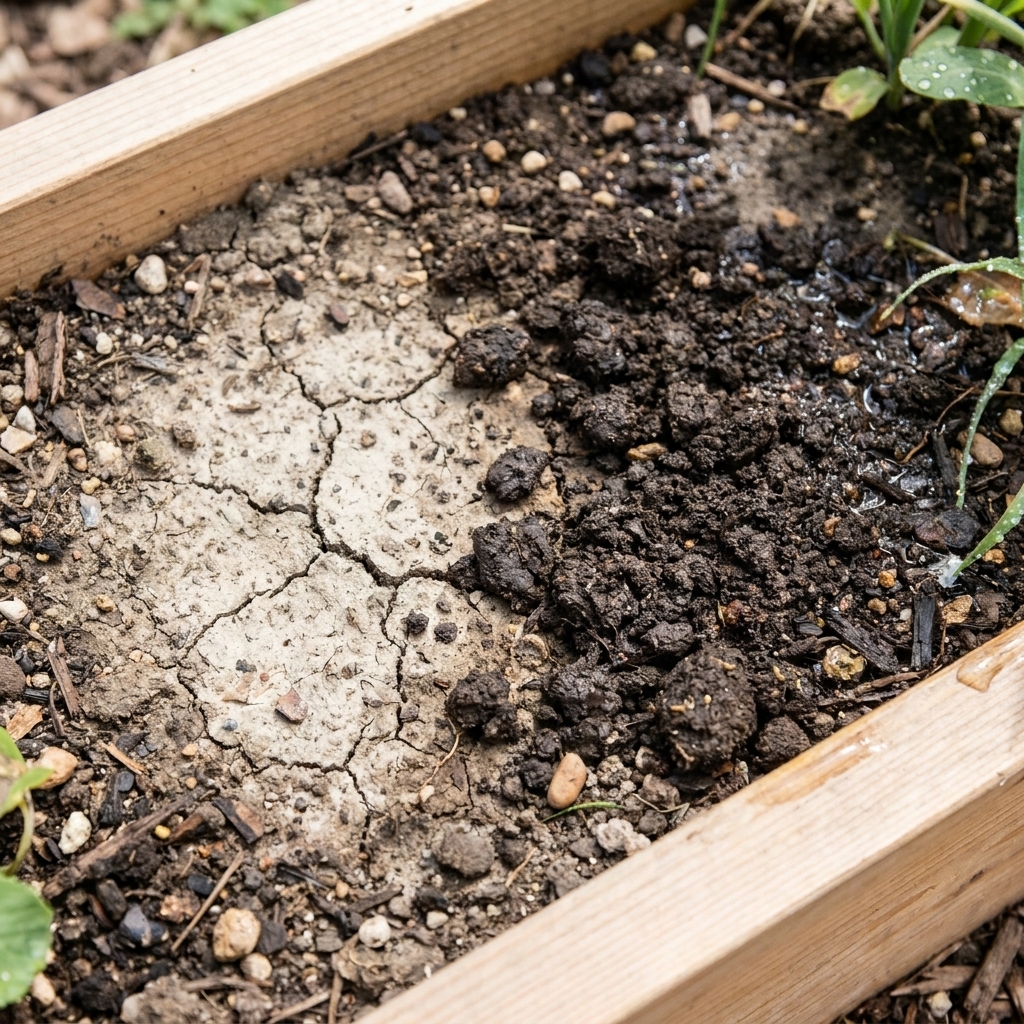
- If water pools and runs off quickly, the top may be hydrophobic, meaning it repels water after drying out.
- If the bed looks evenly dark but dries in a few hours, you likely have shallow watering, lots of exposed soil, or a very fast draining mix.
- If certain spots stay pale and dusty even after watering, that is a dry pocket or a channel where water is bypassing.
Dry pockets are common in older beds, especially where peat or coco coir dried out, or where root channels formed from last season’s plants.
What changes the schedule fast
If you take nothing else from this article, take this: the calendar matters less than your bed conditions. These are the factors that change watering frequency the fastest.
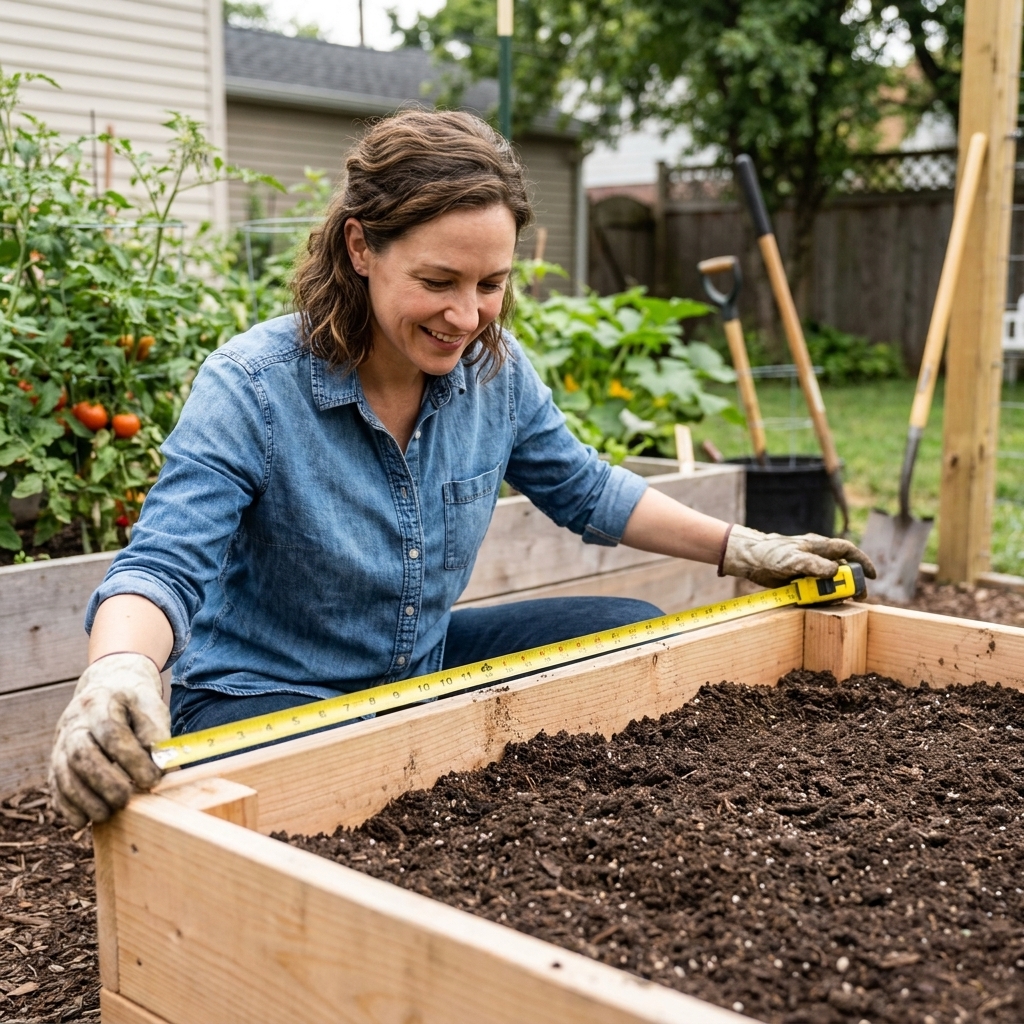
- Bed depth: shallow beds dry faster. Deep beds hold a bigger moisture buffer.
- Soil texture and ingredients: a light, fluffy mix drains quickly. A heavier mix holds water longer, sometimes too long.
- Bottomless vs lined: bottomless beds can share moisture with underlying soil. Lined beds behave more like containers and can be less forgiving.
- Mulch and plant cover: bare soil bakes. Mulch and dense canopy slow evaporation.
- Wind and reflected heat: beds near fences, walls, gravel, or pavement can drink twice as fast.
- Plant size: a bed full of mature tomatoes pulls water differently than a bed of seedlings.
Summer watering schedules that actually work
No schedule fits every yard, but these starting points get you very close. Then you adjust using the checks above.
Baseline schedule (typical warm summer week)
- Most raised beds, full sun: water deeply every 2 to 3 days.
- New transplants and seedlings: light water daily for the first week, plus a deeper soak every 2 to 3 days once established.
- Shallow raised planters (under 10 inches deep): often need water daily in heat.
Heat wave schedule (high heat, low humidity, wind)
When afternoons are brutal and nights stay warm, I plan for:
- Deep watering every 1 to 2 days for fruiting crops like tomatoes, cucumbers, peppers, squash.
- Daily check for anything in its first year in that spot, anything in a very sandy mix, and anything under reflective heat (near fences, walls, gravel).
After a deep soak or real rain
Raised beds can surprise you here. A thorough soaking rain can carry you 2 to 4 days depending on sun, bed depth, and mulch. But a quick shower often wets only the surface, especially under dense plant canopies. Always confirm with a 6 inch trowel check before you “count” the rain.
How long to water
Instead of watering by the clock, water by the outcome: moisture reaching 6 to 10 inches deep, or deeper when your bed and crops call for it.
A practical method to learn your soak time
- Water slowly for 10 minutes in one area.
- Wait 15 minutes for water to move down.
- Dig a small check hole about 6 inches deep (go to 8 inches if your bed is deep and your crops are heavy feeders).
- If the bottom is still dry, water another 10 minutes and repeat.
Do this once or twice per season and you will “calibrate” your beds. Then you can confidently water for that approximate time, knowing it matches your hose, wand, drip setup, and soil mix.
Slow is not just nice, it is necessary
Fast watering encourages runoff and channels where water travels straight down in a narrow column, leaving nearby roots dry. I aim for a gentle stream at the soil level, moving around the bed so every plant gets an equal chance.
Preventing dry pockets
Dry pockets usually happen when soil dries so thoroughly that water starts to bead and skip across the surface, or when the mix is uneven. Here is what helps most.
1) Mulch like it is your job
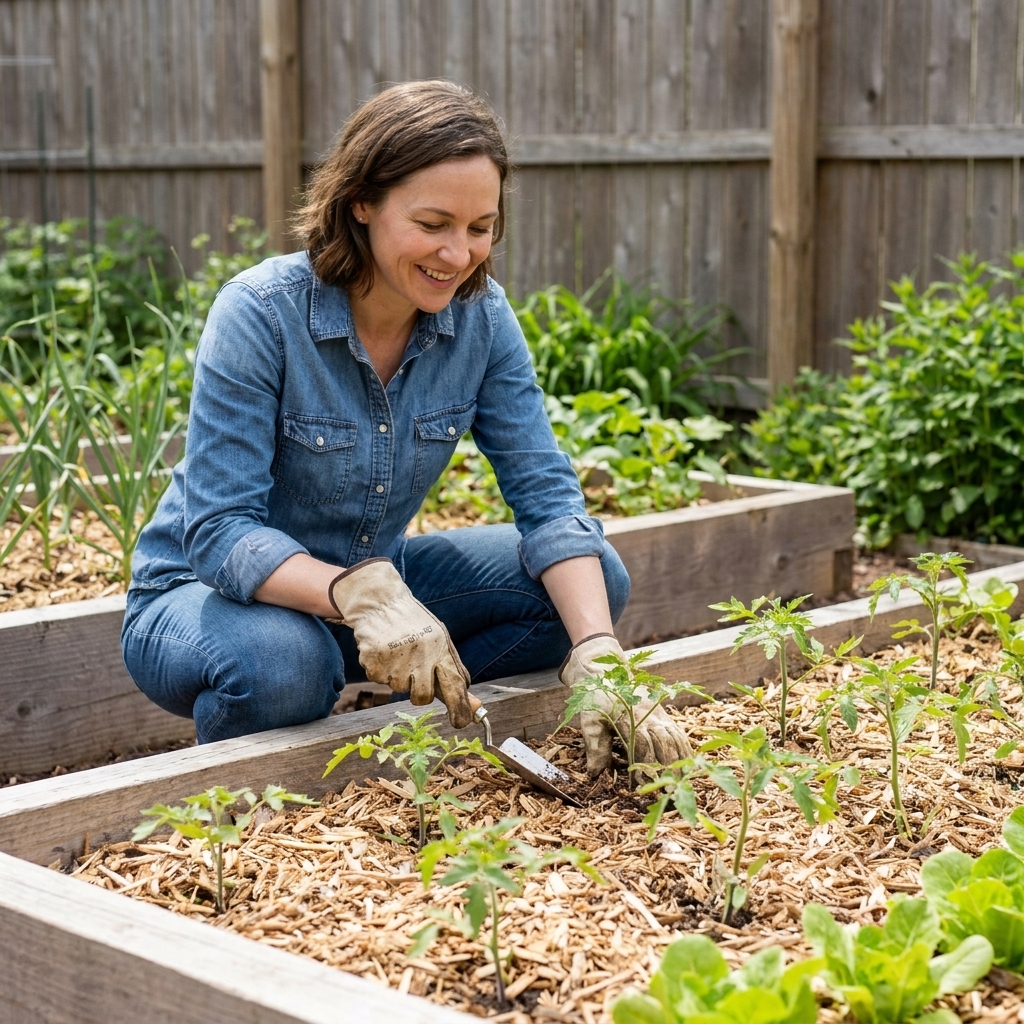
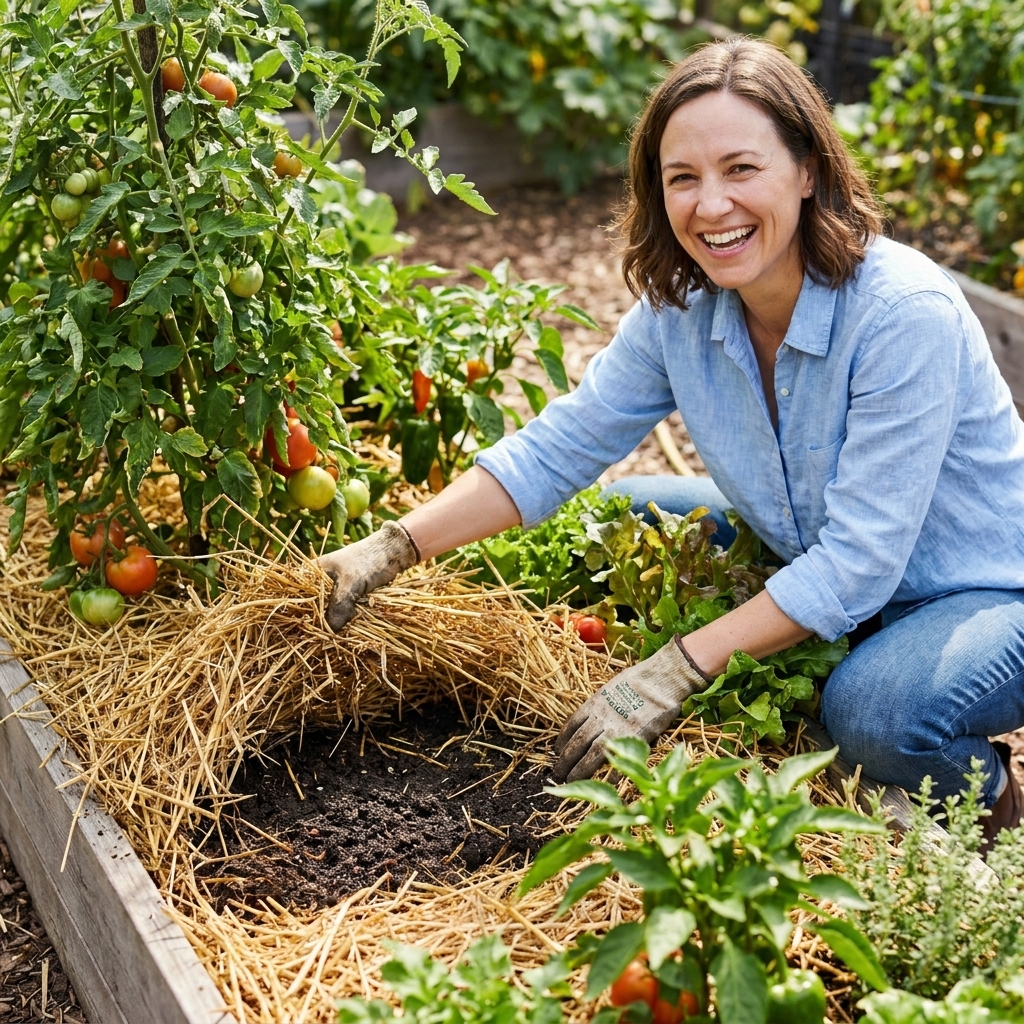
Mulch is often the difference between watering every day and watering every 2 to 3 days, especially in full sun.
- Best summer mulches: straw, shredded leaves, untreated grass clippings in thin layers, fine bark, or a living mulch like low-growing herbs where appropriate.
- Depth: 2 to 3 inches for most beds. Keep mulch pulled back an inch from plant stems to avoid rot and pests.
2) Re-wet hydrophobic soil gently
If water runs off or beads, do not blast it. Instead:
- Water in short pulses: 1 to 2 minutes on, 5 minutes off, repeated.
- Scratch the surface lightly with a hand rake to break the crust, then water again.
- Add compost as a top-dress once the soil is accepting water again.
3) Top-dress to improve texture
Midseason, I top-dress with 1 inch of finished compost and then re-mulch. It helps soil hold moisture more evenly and reduces the chance of dry gaps forming as the season goes on.
4) Water the whole bed, not just the stem
This feels counterintuitive, but it matters. Many vegetables spread feeder roots beyond the stem area. If you only water a tight circle, roots stay tight and shallow. Instead, wet a broad zone around each plant and across the bed so roots explore.
Morning vs evening watering
I water in the early morning whenever I can. The bed recharges before the hottest part of the day, and leaves dry quickly, which helps reduce disease pressure.
Evening watering is still better than letting plants suffer, especially during extreme heat. If evenings are your only option:
- Keep water low on the soil, not sprayed across foliage.
- Avoid soaking leaves of tomatoes, squash, cucumbers, and anything prone to mildew.
- Make sure the bed is not staying soggy overnight.
Midday watering is a last resort, but it can be a lifesaver for wilting plants. In that case, aim water at the soil under the canopy so it actually reaches roots.
Different crops, different needs
Here is how I think about watering by crop type. These are not strict rules, but they help you prioritize when everything looks thirsty.
High demand fruiting crops
- Tomatoes
- Peppers
- Cucumbers
- Zucchini and summer squash
- Melons
Keep these evenly moist. Big swings in moisture often contribute to issues like blossom end rot (tomatoes and peppers), bitter cucumbers, cracked tomatoes, and general grumpiness. If you are fighting blossom end rot, remember it is usually a mix of factors, including watering consistency, root stress, and calcium movement in the plant.
Leafy greens
- Lettuce
- Spinach
- Arugula
- Chard
They need consistent moisture, but also benefit from shade cloth in peak heat. If your greens are struggling, it is often heat plus moisture stress, not just one or the other.
Root crops
- Carrots
- Beets
- Radishes
- Turnips
Deep, steady moisture prevents splitting and woody texture. Surface-only watering can also encourage crusting and stress, which can make roots develop poorly. (Misshapen carrots are most often about soil obstacles or compaction, but uneven moisture does not help.)
Drought tolerant herbs
- Rosemary
- Thyme
- Oregano
These prefer a slight dry down between waterings. If they are in the same bed as thirstier crops, plant them near edges where the soil dries faster, or give them their own box.
Drip irrigation schedules
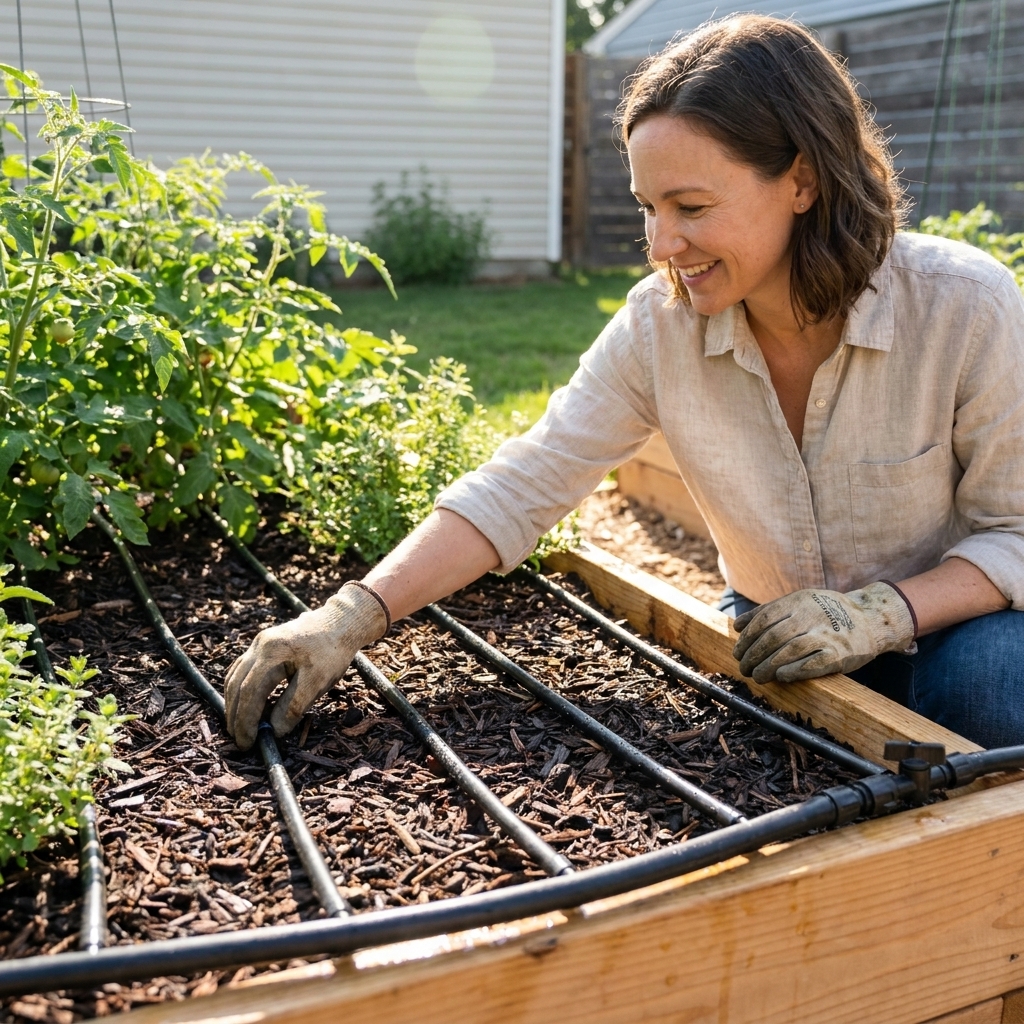
If you are using drip lines or soaker hoses, the big risk is assuming they are wetting evenly. They can, but only if you set them up and test them. Also, “minutes” mean nothing without context. Flow rate, water pressure, emitter spacing, and emitter gallons per hour all change the result.
Getting drip right
- Run time: long enough to reach your target depth (start with 6 inches, go deeper for deep-rooted crops in deep beds). This is often longer than people expect.
- Spacing: emitters or drip lines should cover the full planted area, not just one strip down the center.
- Test coverage: after running the system, dig a few small check holes in different areas of the bed.
Sample drip starting point
In hot weather, I often start with drip every 1 to 2 days and adjust based on depth checks. The best schedule is the one that keeps the root zone consistently moist without leaving the bed soggy.
Optional tool: moisture meter
If you are brand new and want a confidence boost, an inexpensive soil moisture meter can help as a second opinion. I still trust the trowel test more, because meters can be inconsistent in very compost-rich mixes, but a meter can be useful for spotting a bed that is drying faster than you think.
Signs you are watering too little
- Plants wilt daily even when mornings look fine.
- Leaves feel thin and papery.
- Growth stalls, especially on cucumbers and squash.
- Blossom drop on peppers and tomatoes during heat.
- Soil is damp on top but dusty at 4 to 6 inches deep.
If you suspect shallow watering, fix the pattern first: fewer watering sessions, but longer and slower.
Signs you are watering too much
- Soil stays sticky or smells sour.
- Yellowing leaves starting low on the plant, not just older leaves naturally aging.
- Fungus gnats hovering around the bed, which can be a clue that the surface stays consistently moist.
- Plants look wilted even though the soil is wet, which can happen when roots cannot breathe.
Overwatering is less common in raised beds than in-ground gardens, but it can happen, especially with heavy soil mixes, lots of shade, or an overzealous drip schedule.
My simple summer routine
If you want a repeatable routine, here is mine:
- Every morning: quick walk-through. I look for wilt that does not bounce back in shade, and I check the most exposed bed first.
- Every 2 to 3 days: trowel test to about 6 inches in at least two spots per bed.
- When I water: I water slowly, then I check depth once in a while to make sure I am still hitting the root zone.
- Weekly: scan mulch coverage and top it off where soil is peeking through.
This routine takes less time than trying to rescue stressed plants later. Ask me how I know.
Quick FAQ
How often should I water raised beds in 90 to 100°F weather?
Plan on checking daily. Many beds need a deep soak every 1 to 2 days in that kind of heat, especially in full sun with wind. Use a 6 inch trowel check to confirm whether you are actually drying out at root depth.
Is it better to water a little every day or deeply every few days?
For established vegetables, deep watering every few days usually builds stronger, deeper roots and reduces dry pockets. Daily light watering is most useful for new seedlings, fresh transplants, and very shallow beds.
How do I stop water from running off dry soil?
Pulse water in short cycles, lightly scratch the surface to break crusting, and keep the bed mulched. Once the soil accepts water again, top-dress with compost to improve moisture holding.
Should I water until water comes out the bottom of the bed?
Not necessarily. A little drainage is fine, but constant water pouring out usually means you are pushing past the root zone. Aim for evenly moist soil at your target depth, then stop.