By the time the first hard freeze rolls in, I want my raised beds to be boring. No mystery pests overwintering in a tangle of stems, no soggy corners where water turns to ice, no boards quietly bowing until spring reveals the damage. Winterizing is not glamorous, but it is one of the highest payoff chores you can do for next season.
This checklist is written for raised beds specifically, where drainage, exposed edges, and compact footprints make a few small tasks matter a lot. Pick and choose based on your climate, but if you do nothing else, do the cleanup and the structural check.
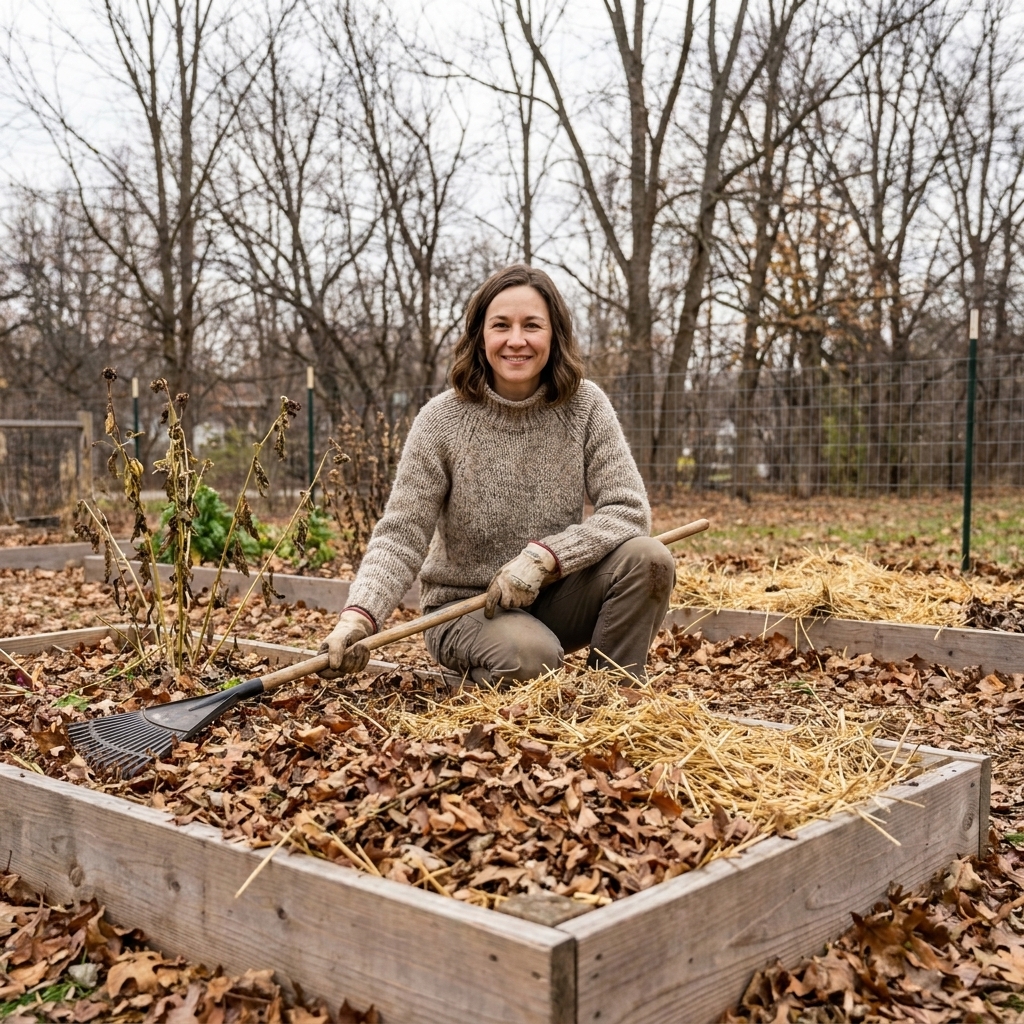
Grab-your-stuff supply list
You do not need fancy gear. You do need a plan and a few basic tools so the job does not drag into December.
- Gloves, hand pruners, and a hori hori or trowel
- Bucket or tarp for hauling debris
- Rake (a small leaf rake fits beds nicely)
- Compost and/or composted manure
- Mulch (shredded leaves, straw, pine needles, wood chips)
- Row cover fabric or frost cloth (optional)
- Tarp, landscape fabric, or cardboard (optional)
- Stakes, boards, bricks, or sandbags to hold covers down
- Hot soapy water for cleaning supports; a labeled garden disinfectant if needed (optional)
- Notebook or phone for quick notes and spring wish list
The complete checklist
If you like to work in passes, do this in order. It goes from most important to nice-to-have.
1) Harvest, then make the call: pull, cut, or cover
Start with anything still producing. Cool-weather crops often keep going longer than you think, especially with a light cover.
- Keep growing: kale, collards, carrots, beets, parsley, scallions, many lettuces (with protection)
- Usually done after frost: basil, tomatoes, peppers, cucumbers, beans, squash
Once a bed is finished, you have three choices:
- Pull plants when you want a clean bed for amendments and mulch.
- Cut at soil level for plants with decent root systems (peas, beans, many flowers). Leaving roots to decompose can help soil structure. Just remove disease-prone foliage.
- Cover and protect if you are overwintering hardy crops. Use hoops and frost cloth, and still do a mini cleanup around the base.
2) Remove plant debris the right way
This is the winterizing step that prevents the most headaches. Old foliage is a winter hotel for pests and diseases, especially in the cozy microclimate of a raised bed.
- Remove: spent annuals, fallen fruit, weeds (especially seeding weeds), and any plant with visible disease.
- Be extra strict with nightshades: tomato, pepper, potato debris can carry disease. I do not compost suspicious leaves or stems unless I am using a truly hot-compost system.
- Collect tiny bits: I like a quick surface rake to grab leaf litter and small stems where slugs and earwigs like to hide.
Compost or trash? Healthy, pest-free plant material can be composted. If you are dealing with a recurring disease problem, anything heavily infested, or foliage coated in powdery mildew, the safer move is to send it out with yard-waste pickup (or trash, based on local rules), especially if you are not running a hot-compost pile. Powdery mildew is common and often host-specific, but reinfection patterns vary, and I prefer to break the cycle when a bed has had a rough year.
3) Pull weeds and edge creepers
Winter weeds are sneaky. Chickweed, henbit, and bittercress can get established in mild spells and explode early in spring.
- Weed the bed surface and the outside edges where grass likes to creep in.
- Get roots now. Frozen soil makes spring weeding more annoying.
- If you have perennial invaders (bindweed, bermuda grass), keep digging and do not leave root fragments behind.
4) Do a quick soil check
Raised beds drain better than in-ground plots, but they can still develop low spots where water sits and freezes.
- Level out craters left by pulled plants.
- Break up crusted soil gently with a hand fork. Do not flip deep layers unless you have a reason.
- Check drainage by paying attention after a good rain or irrigation. If puddles regularly linger longer than a few hours, or you see a consistently soggy corner, plan to improve the bed mix with more organic matter (and, if needed, a lighter texture up top) rather than guessing from a quick watering test on already-saturated fall soil.
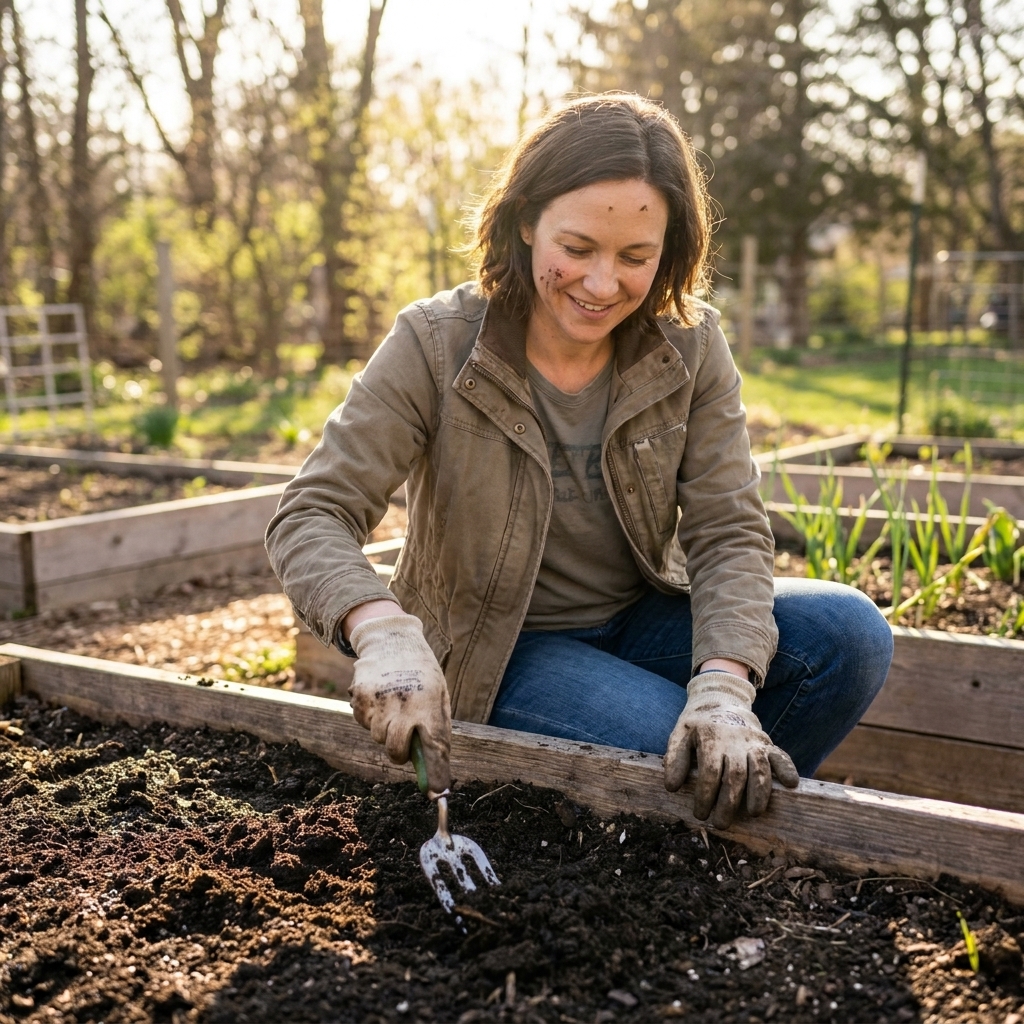
5) Top-dress for spring
My favorite low-effort soil ritual is to feed the bed, then protect it. Winter moisture helps amendments settle in so spring planting is easier.
- Compost: Add 1 to 2 inches over the surface. This is the most universally helpful step.
- Composted manure: Great for hungry beds, but use truly composted, fully aged material from a source you trust. Manure varies, and salts and weed seeds can be the bigger issue than “burn.” If you are growing edibles, follow food-safety guidance for raw manure (for example, the common 90/120-day timing rules depending on crop contact with soil). When in doubt, use compost and save manure for the off-season well ahead of harvest.
- Optional minerals: Lime is useful when you need it, but it is easy to overdo. If you have not done a soil test in a while, add compost now and test before you start adjusting pH in earnest.
Skip soluble quick-release nitrogen fertilizers for winterizing. They are the most likely to wash out with winter rain and snowmelt, and they do not build long-term soil health.
6) Choose a winter cover
This is where gardeners get opinionated. I have used all three, and the “best” option depends on your winter and your spring schedule.
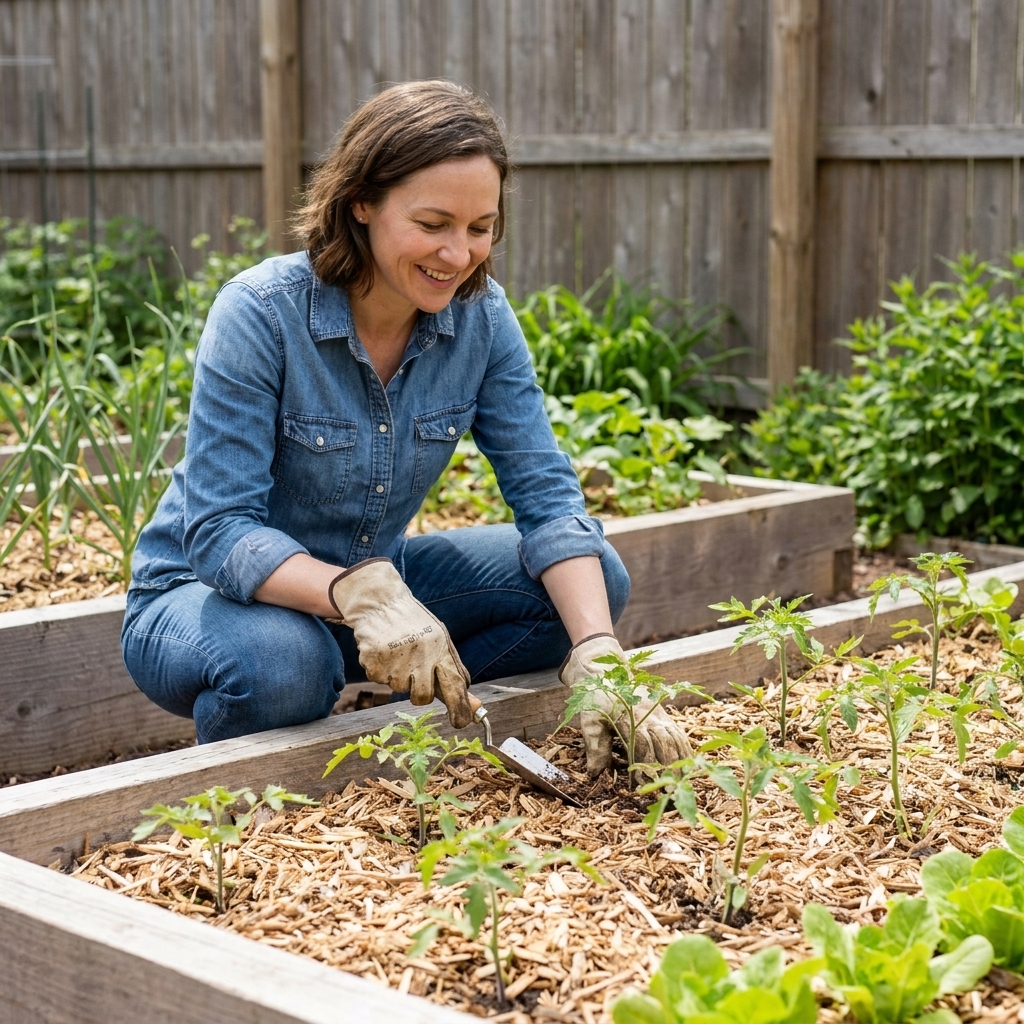
Option A: Mulch (my go-to)
Mulch protects soil from erosion, buffers temperature swings, and keeps the surface from turning into a compacted slab.
- Best mulches for raised beds: shredded leaves, straw, pine needles, or a mix.
- How much: 2 to 6 inches. In colder climates, go thicker.
- Tip: Shred leaves if you can. Whole leaves can mat down and shed water.
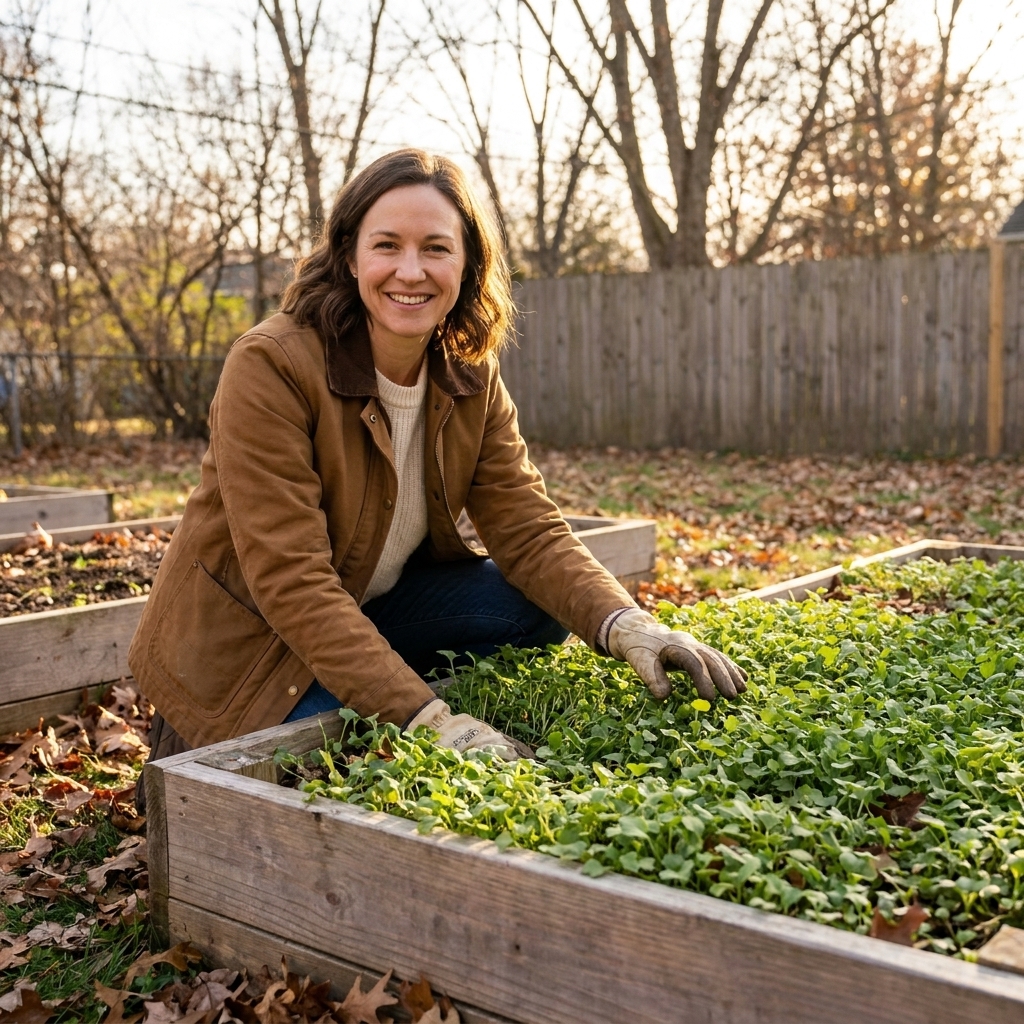
Option B: Cover crop
A cover crop keeps living roots in the soil and adds organic matter when you cut it down.
- Good choices: crimson clover, winter rye, field peas (climate-dependent).
- Timing matters: These need to be sown before deep cold. If winter is already knocking, mulch is easier.
- Spring note: Plan to cut and incorporate or smother the cover crop about 2 to 4 weeks before planting. In a small raised bed, do not let winter rye get away from you. It is fantastic, but it can be tough to kill cleanly once it matures.
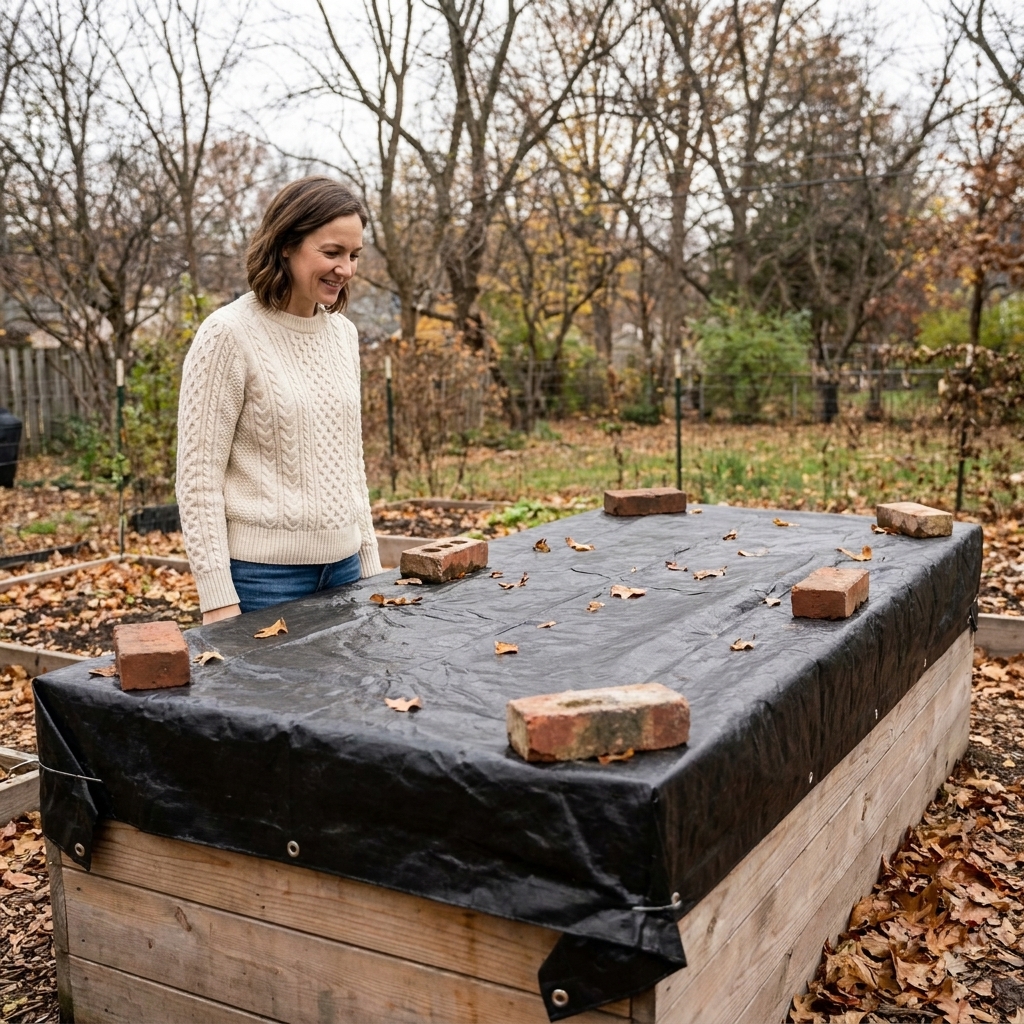
Option C: Tarping
Tarping can be fantastic for weed suppression and keeping beds workable in soggy winters. It can also create a slug condo if you trap moisture and warmth.
- When tarping shines: you want a clean, weed-free bed early in spring, or your winter is very wet and you are tired of mud.
- What it really does: it sheds a lot of direct rainfall, which can help reduce erosion and slow nutrient loss, but it does not “seal” a bed from leaching. Water can still move through soil already in the bed, and from the sides.
- How to do it: remove all debris first, top-dress with compost, then cover.
- Secure it well: Use boards along edges, bricks, or sandbags. Loose tarps shred in wind and rub against bed frames.
- Vent if needed: In milder climates, leave a small gap on one side or use breathable landscape fabric to reduce excess moisture buildup.
7) Protect perennials and borderline-hardy plants
If you grow strawberries, perennial herbs, asparagus, or perennial flowers near your raised beds, winterizing is partly about insulation.
- Strawberries: After a few frosts, tuck straw around plants (not burying crowns too deeply).
- Herbs: Thyme and chives are usually tough. Rosemary is not in many climates. Mulch helps, but a sheltered spot helps more.
- Garlic beds: Mulch heavily after planting. I aim for 4 to 6 inches of leaf mulch once the soil is cooling.
8) Inspect the bed structure
Freeze-thaw cycles are like a slow-motion pry bar. They exploit every loose screw and soft board.
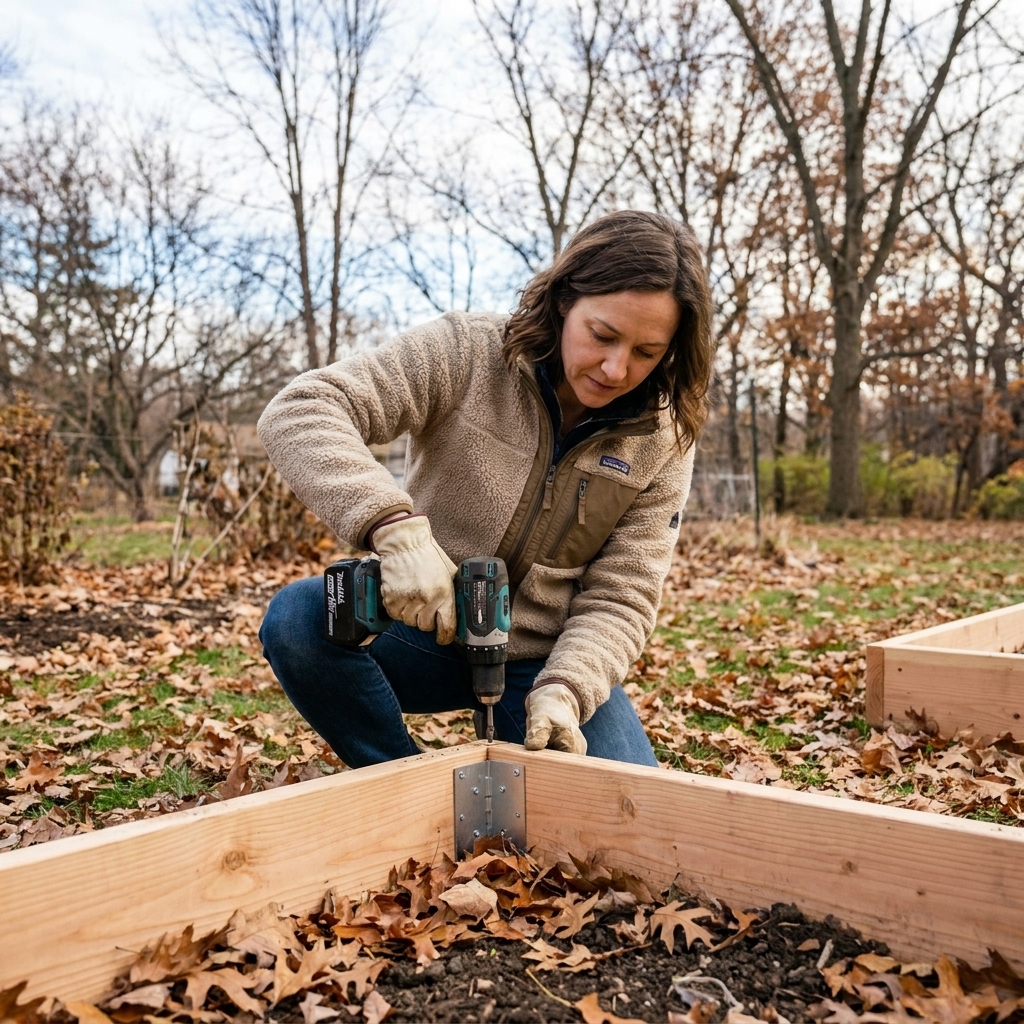
- Check corners: Tighten brackets, replace stripped screws, and make sure corners sit flush.
- Look for bowing: Long bed sides can bulge outward. Add a cross brace or interior stake now, not in spring when the soil is saturated.
- Wood condition: Probe soft spots with a screwdriver. If it sinks easily, plan a board replacement before the next growing season.
- Metal beds: Check bolts and sharp edges, look for rust spots, and re-tighten hardware. Temperature swings can loosen connections over winter.
- Raised bed liners: If you use one, check for tears and places where water might pool behind it.
9) Store, clean, and label supports
This is the part I used to skip, and then regret when spring arrived and my tomato cages were a rusty pile of mystery.
- Pull stakes, cages, and trellises that will not be used over winter.
- Brush off soil and rinse if needed.
- If you had disease issues, scrub supports with hot soapy water, rinse, and let them dry fully before storing. If you want true sanitizing, use a product labeled for garden tool disinfection and follow the label (including gloves and ventilation).
- Bundle and label drip lines, hoops, and row cover pieces so you can grab them quickly in spring.
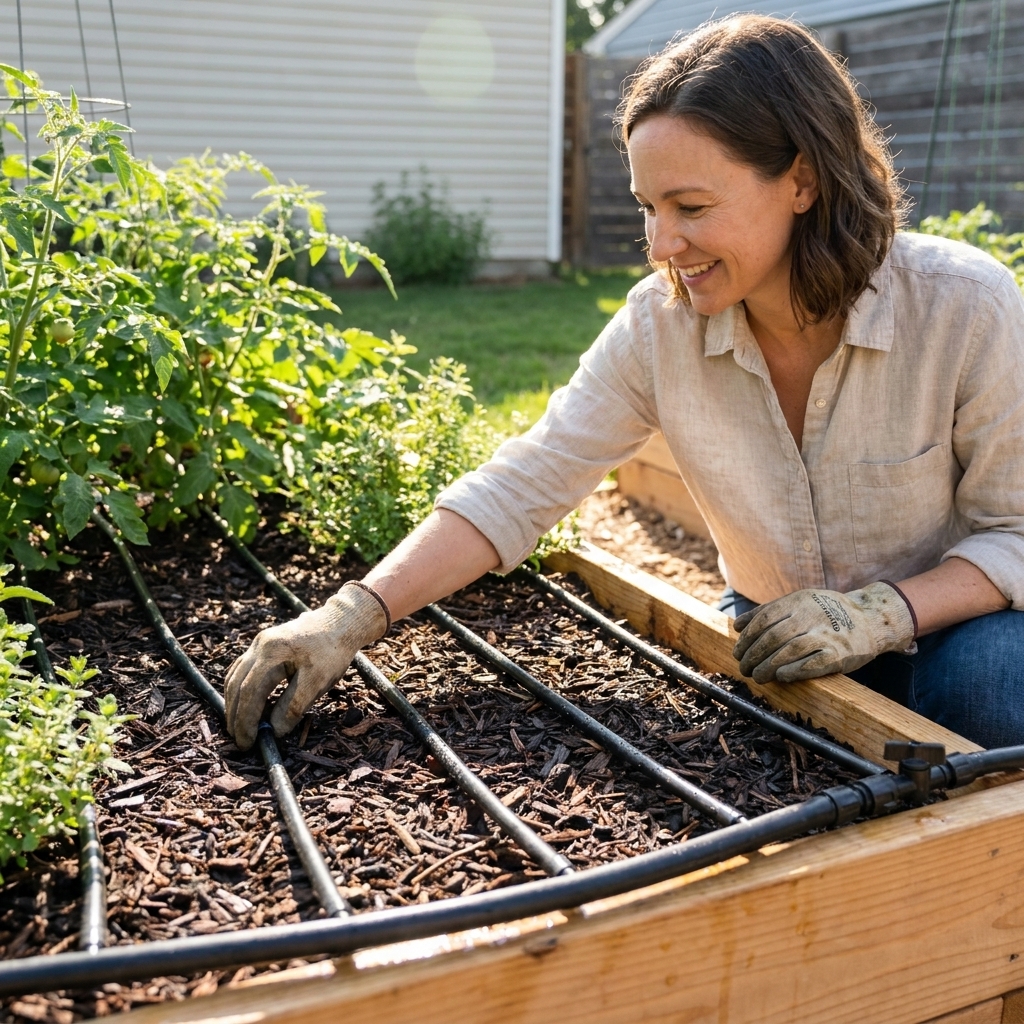
10) Winterize irrigation and watering tools
If you have drip irrigation, this step can save you from split lines and fittings.
- Disconnect timers and store them indoors.
- Drain hoses and drip lines as best you can. In hard-freeze climates, bring hoses inside a garage or shed.
- Empty watering cans and turn them upside down so they do not crack.
11) Rodent and pest prevention check
Mulch and cozy corners can attract critters. The goal is not to sterilize your yard, but to avoid handing rodents a deluxe winter suite right next to your spring seedlings.
- Keep mulch slightly pulled back from wooden bed edges if rodents are a known issue.
- Avoid leaving piles of tomatoes, squashes, or fallen fruit nearby.
- If voles are common, consider hardware cloth at the bottom of beds when building. For existing beds, keep the area around beds tidy and avoid dense groundcover touching the bed sides.
12) Make your spring plan
My best garden notes happen in late fall, not January when I forget everything.
- Jot down what grew well, what flopped, and where you saw pests.
- Note sun changes. Bare trees reveal winter light patterns that can matter for early greens.
- Decide which beds you want earliest. Those are good candidates for tarping or extra compost now.
Winterizing by climate
Cold winters with deep freezes
- Prioritize thick mulch for soil protection.
- Store hoses and timers indoors.
- Secure tarps aggressively, wind can be brutal.
Wet winters with lots of rain
- Tarping can keep beds from becoming saturated and reduce winter weed growth, especially if you want to plant early.
- Consider a breathable cover if slugs are a recurring issue.
- Double-check drainage around bed exteriors so water is not flowing into the frame.
Mild winters with occasional frost
- Focus on cleanup, weeding, and light mulch.
- Watch tarps for slug habitat. Vent or use fabric instead of plastic.
- Overwinter more crops with frost cloth on hoops.
Common winterizing mistakes
- Leaving “healthy-looking” tomato vines in place. Even if they look fine, they can carry problems into next year.
- Mulching over weeds that have already gone to seed. You are basically tucking in the enemy.
- Using unfinished compost as a thick layer. If it is mixed into the soil, immature compost can tie up nitrogen as it continues breaking down. As a thin surface layer it is less dramatic, but finished compost is still the cleaner choice for top-dressing.
- Forgetting to secure tarps. One windy night can turn your tidy bed cover into shredded plastic confetti.
- Ignoring a slightly bowed board. It rarely fixes itself. A simple brace now can save the whole frame.
FAQ
Should I leave roots in the soil or pull them out?
If the plant was healthy, I usually cut it at soil level and leave roots to decompose. If the plant was diseased, heavily pest-infested, or a persistent volunteer-maker, I pull it and remove as much root mass as practical.
Is it better to tarp or mulch a raised bed for winter?
Mulch is the most broadly beneficial and forgiving. Tarping is excellent for keeping beds clean and weed-free in wet winters or for early spring readiness, but it needs good securing and occasional checks for slugs and trapped moisture.
Can I put leaves straight into my raised bed in fall?
Yes, but shredded leaves behave better. Whole leaves can mat and shed water. A nice compromise is a top layer of straw over leaves to keep them fluffy and in place.
Do I need to turn the soil in a raised bed before winter?
Usually no. A gentle surface loosen and a compost top-dress is plenty. If you had severe compaction, you can broadfork or use a garden fork to lift and aerate without fully flipping layers.
When is the best time to winterize raised beds?
I aim for after final harvests and before the ground freezes hard. If you can, do the cleanup before a long wet spell so you are not working in mud.
My minimum winter routine
If life is busy and you only have one hour, do this:
- Remove all dead plant debris and weeds.
- Top-dress with 1 to 2 inches of compost.
- Cover with 3 to 4 inches of shredded leaves or straw.
- Tighten any loose corner hardware.
Your spring self will feel like you left a gift in the garden.