My first “hillside bed” was a confident weekend project that turned into a slow-motion soil slide the first big rain. The frame stayed put, but the soil tried to become a creek. The good news is that sloped yards can be amazing for raised beds once you treat leveling and anchoring like part of the build, not an afterthought.
Below are the methods I use when a yard is noticeably out of level: digging beds into the grade, building stepped terraces, and anchoring frames so they do not rack, bow, or creep downhill over time.
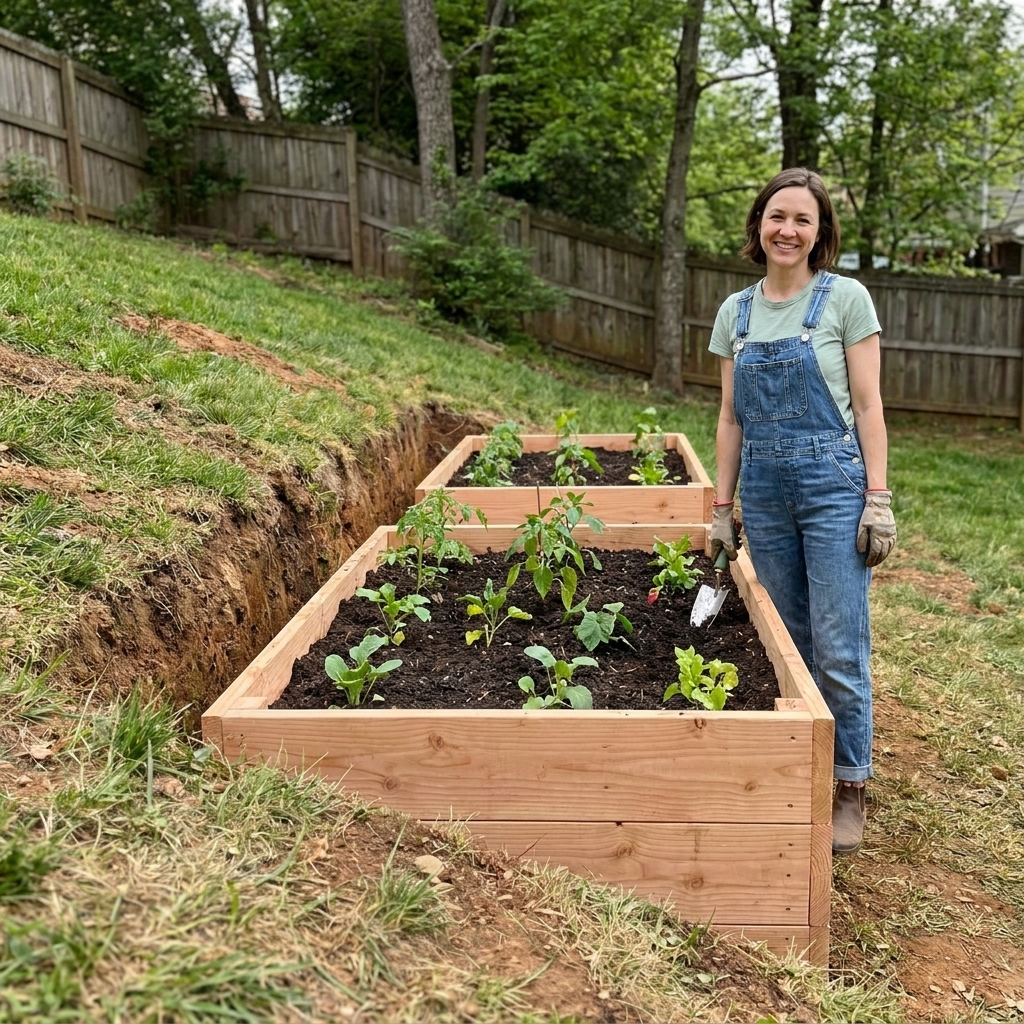
Start with a slope check and a plan
Before you buy lumber or start hauling soil, take a few minutes to understand what the slope is doing. You are answering three questions: How steep is it? Where does water want to go? And where can you create level growing surfaces without turning your bed into a mini retaining wall?
Tools that make this easier
- 4 to 6 ft level (longer is better)
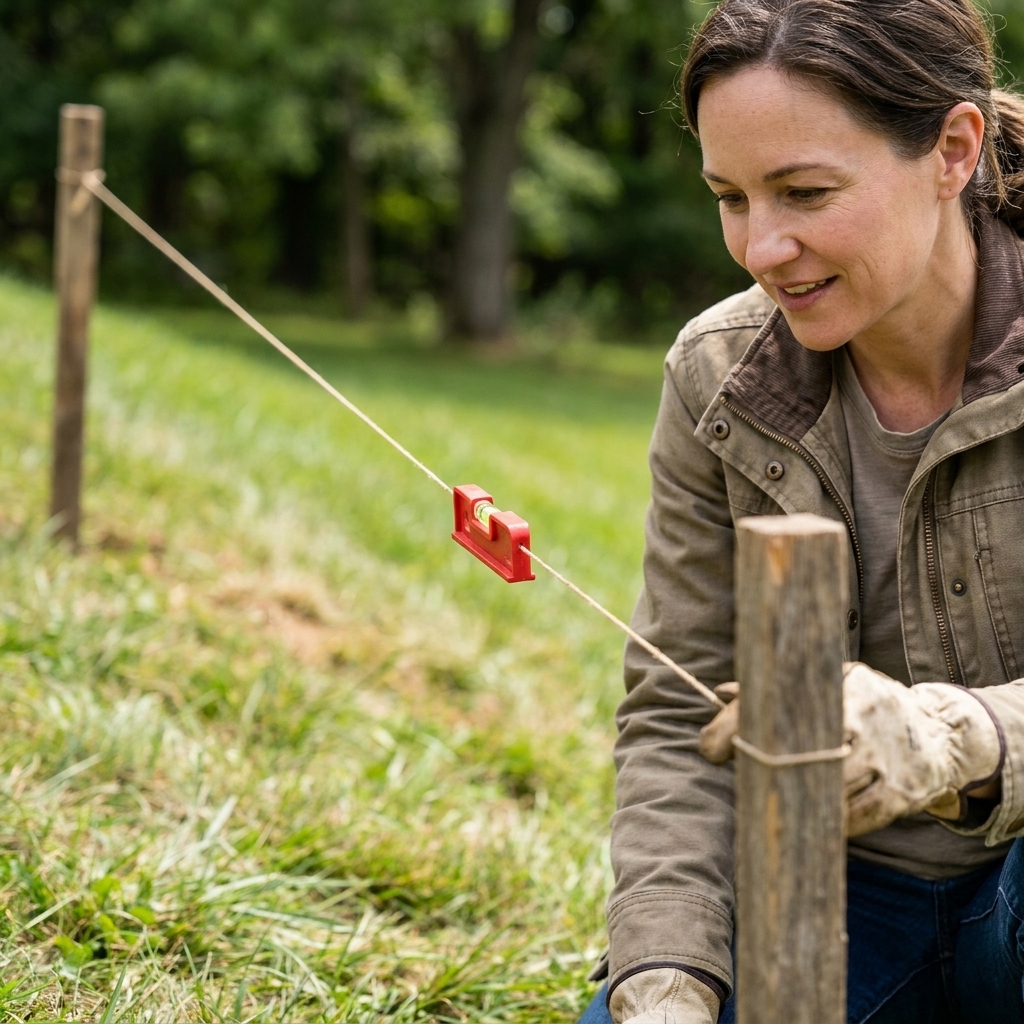
- String line and two stakes for quick measuring
- Line level (clips onto string)
- Tape measure
- Spray paint or marking flags
Quick way to estimate grade
Drive two stakes in line with the slope, about 6 to 10 feet apart. Tie a string from the downhill stake to the uphill stake. Use a line level to make the string perfectly level. Measure the vertical distance from the string down to the ground at the downhill stake. That is your rise. The stake spacing is your run.
Grade (%) = rise ÷ run × 100
For raised beds, these are homeowner-friendly rules of thumb, not hard lines. Bed height, soil type (clay vs sandy), and rainfall can move the thresholds.
- 0 to 3%: Often you can level with minor scraping and a shallow trench.
- 3 to 10%: Plan to dig in on the uphill side and anchor well.
- 10%+: Often it is safer and cleaner to do stepped beds or a small terrace system so you are not asking one bed to do retaining-wall work.
Choose your build approach
There is no single “right” method. What matters is keeping the bed top level, resisting downhill soil pressure, and giving water a place to go that is not through your bed wall.
Option 1: Dig the bed into the slope
This is my go-to when the slope is moderate. You cut into the uphill side so the bed sits partially “in ground” there, and closer to “above ground” on the downhill side. It looks clean, uses fewer materials than full terracing, and the native soil helps support the frame.
Option 2: Step beds like stairs
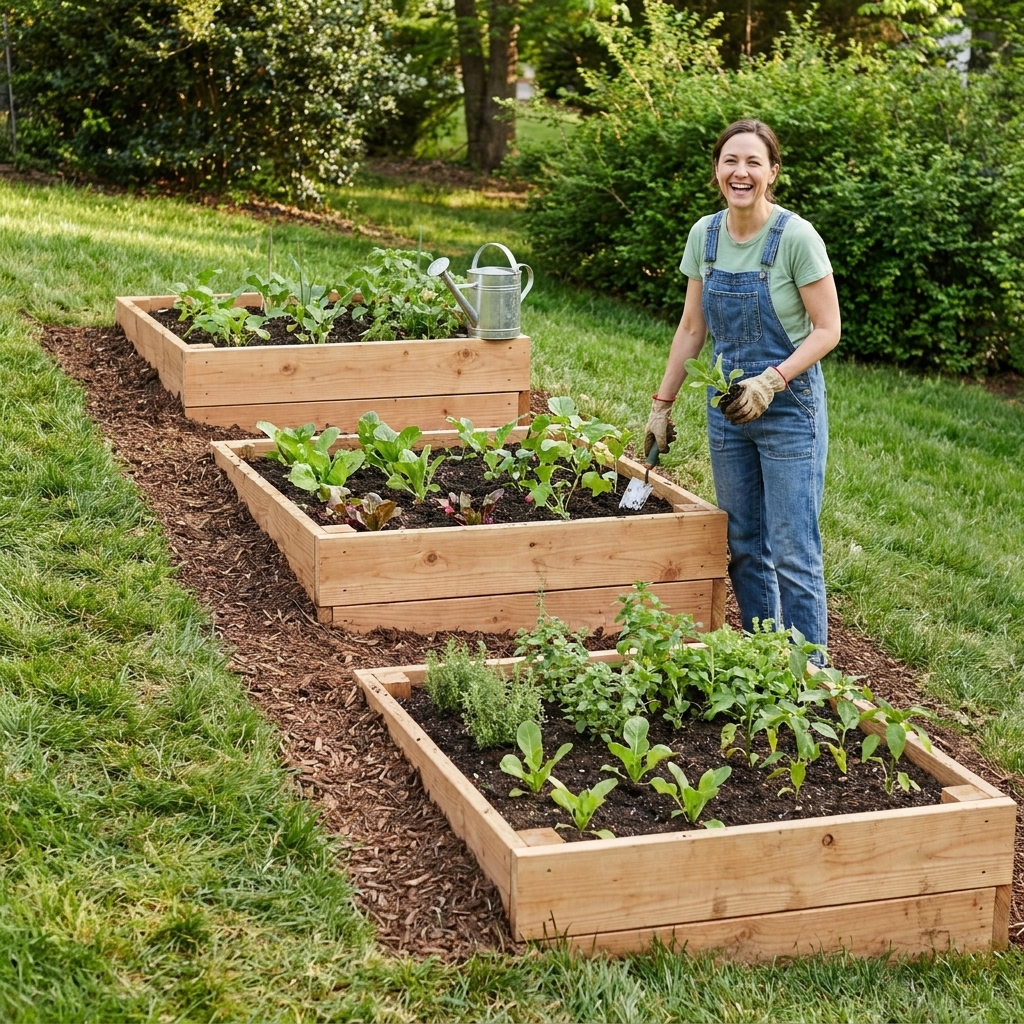
Instead of one bed fighting gravity, you build two or more level beds that step down the hill. Each bed has a smaller height difference to manage, which reduces the chance of blowouts and makes paths safer.
Option 3: Terrace first, then set beds
If you want long, clean lines and wide paths, you can build a retaining edge or terrace (often with timbers, blocks, or a short retaining wall) and then place raised beds on the level shelf. This is more construction work, but it can be the most stable and polished.
If you are building a real retaining wall or anything tall enough to hurt someone if it fails, treat it like retaining work: call for utility locates, check permit requirements, and consider an engineered design. Local rules vary a lot.
Layout: square and level
Slopes mess with your eyes. Layout is where you prevent the bed from ending up crooked, even when you think it looks straight.
Mark the footprint
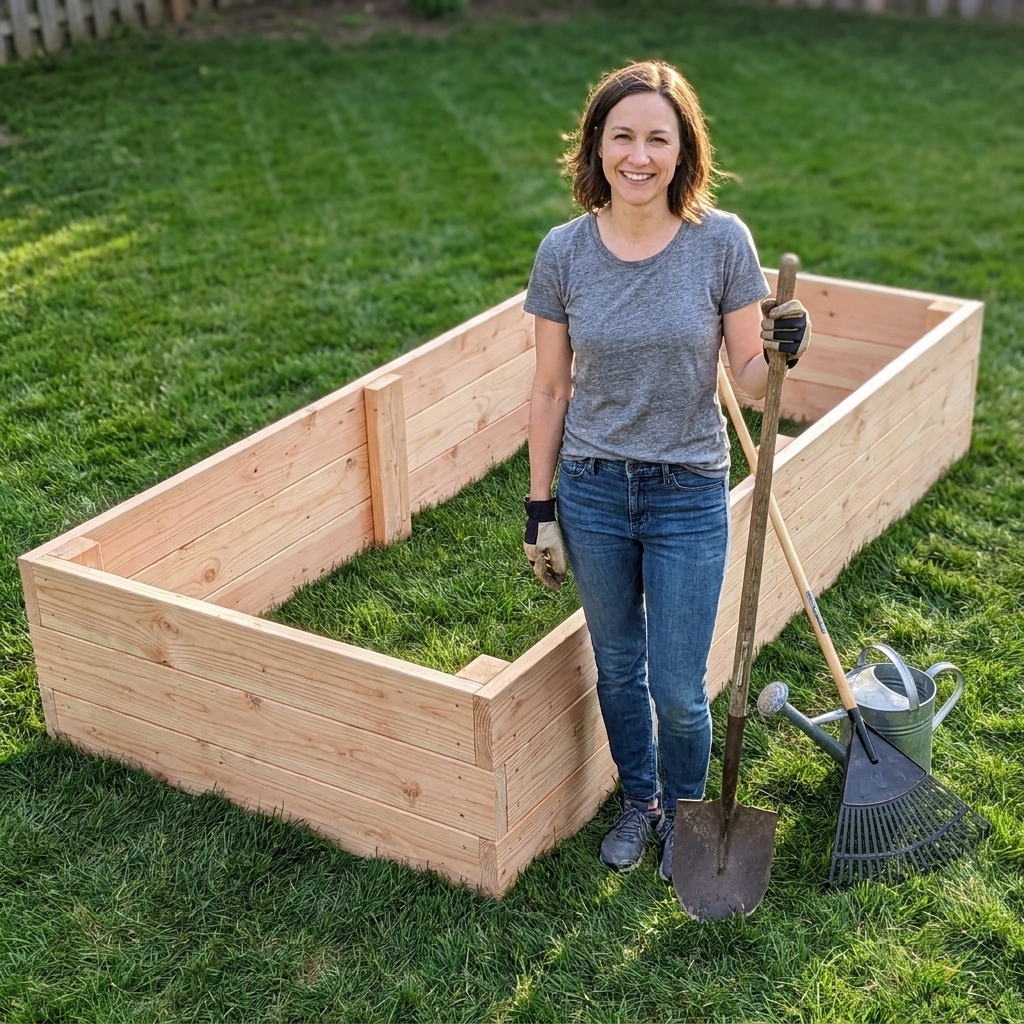
- Place the bed frame (or boards) on the ground where you want it.
- Use marking paint or flour to outline the perimeter.
- Decide where your path will go. On a slope, I like at least 24 inches for paths so you are not balancing with a bucket of compost.
Square the bed
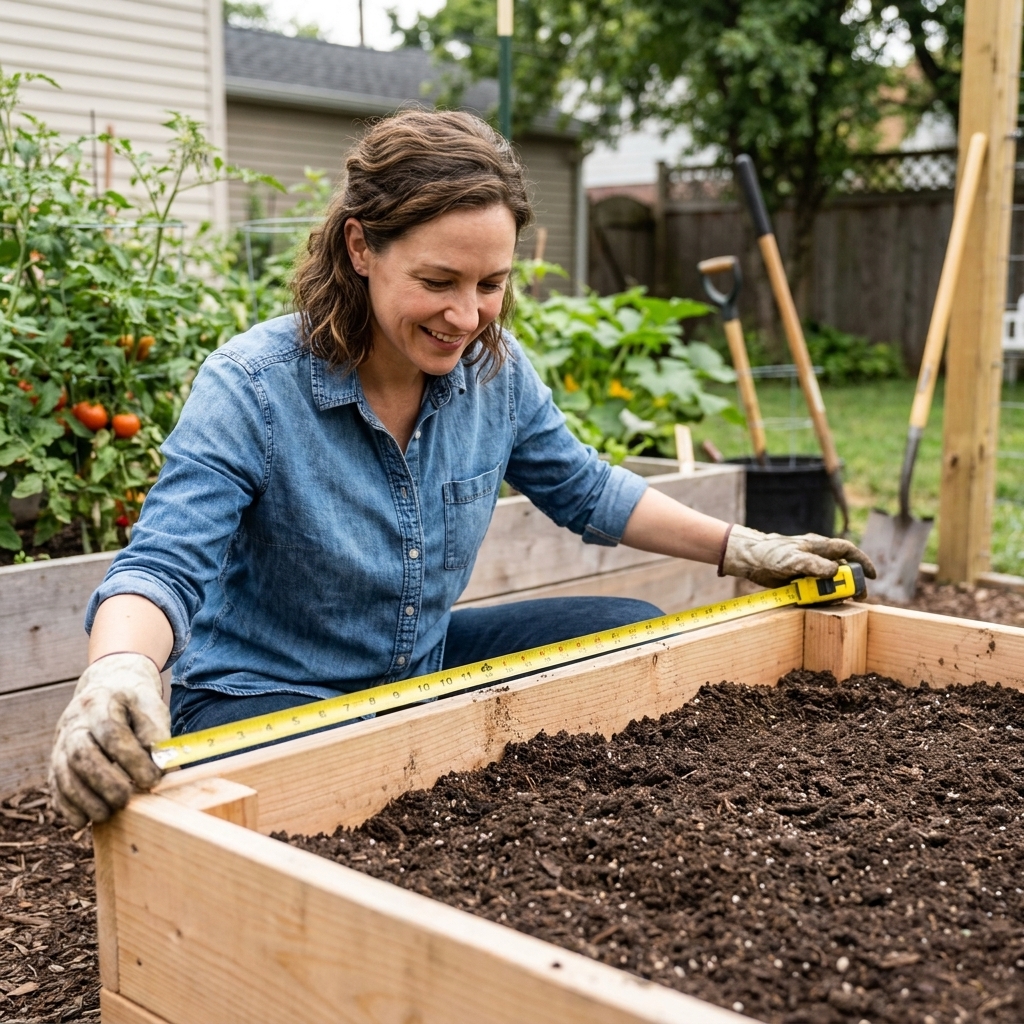
Measure diagonals from corner to corner. When the diagonals match, your rectangle is square. This matters more on a slope because a racked frame is more likely to twist downhill over time.
Set a reference height
Pick the height you want the top of the bed to be. Then use your level and a straight board to check corners. Your goal is a level top edge all the way around.
Level a bed on a slope
This is the method I use most often for a single bed on a moderate slope.
Step-by-step
- Assemble the frame near the site. If it is a long bed, add internal braces now.
- Set the frame on the outline and decide which side is uphill.
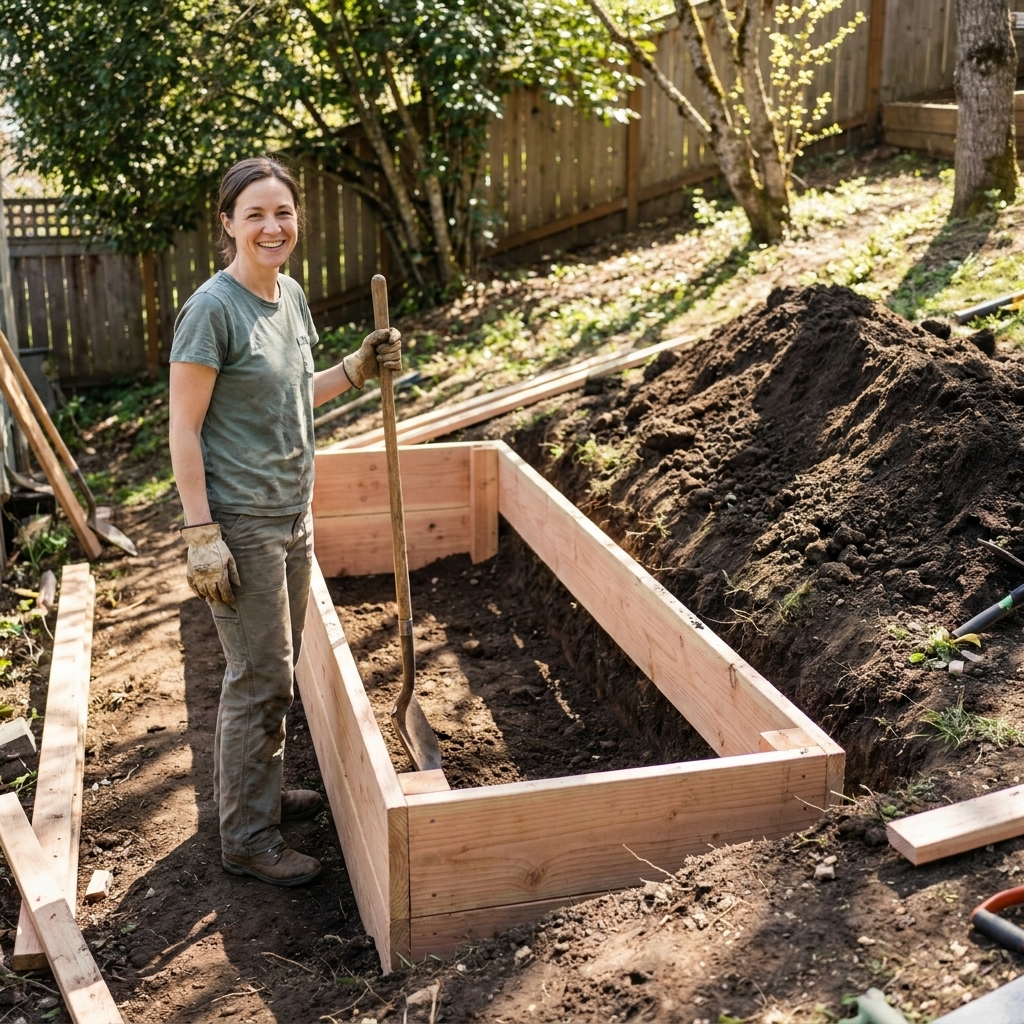
- Level the frame by digging, not by lifting. Start by scraping soil from the uphill side so the frame can sink into the slope. Check level across the width and length.
- Dig a shallow trench around the perimeter, typically 1 to 3 inches deep. This keys the frame into the ground and reduces sliding.
- Re-check square and level. Adjust before anchoring.
- Compact the soil around the outside of the frame, especially on the downhill side. Loose backfill settles and invites movement.
My mistake to avoid: Do not try to fix a slope by stacking loose soil under the downhill edge. It will wash out, and the bed will tilt like a sinking ship.
Anchoring that holds
Gravity is patient. A bed can look perfect for months, then slowly creep downhill as wet soil pushes on the lower wall. Anchoring is what turns “pretty box” into “structure.”
Stake-and-screw method
This works for wood beds and is beginner-friendly.
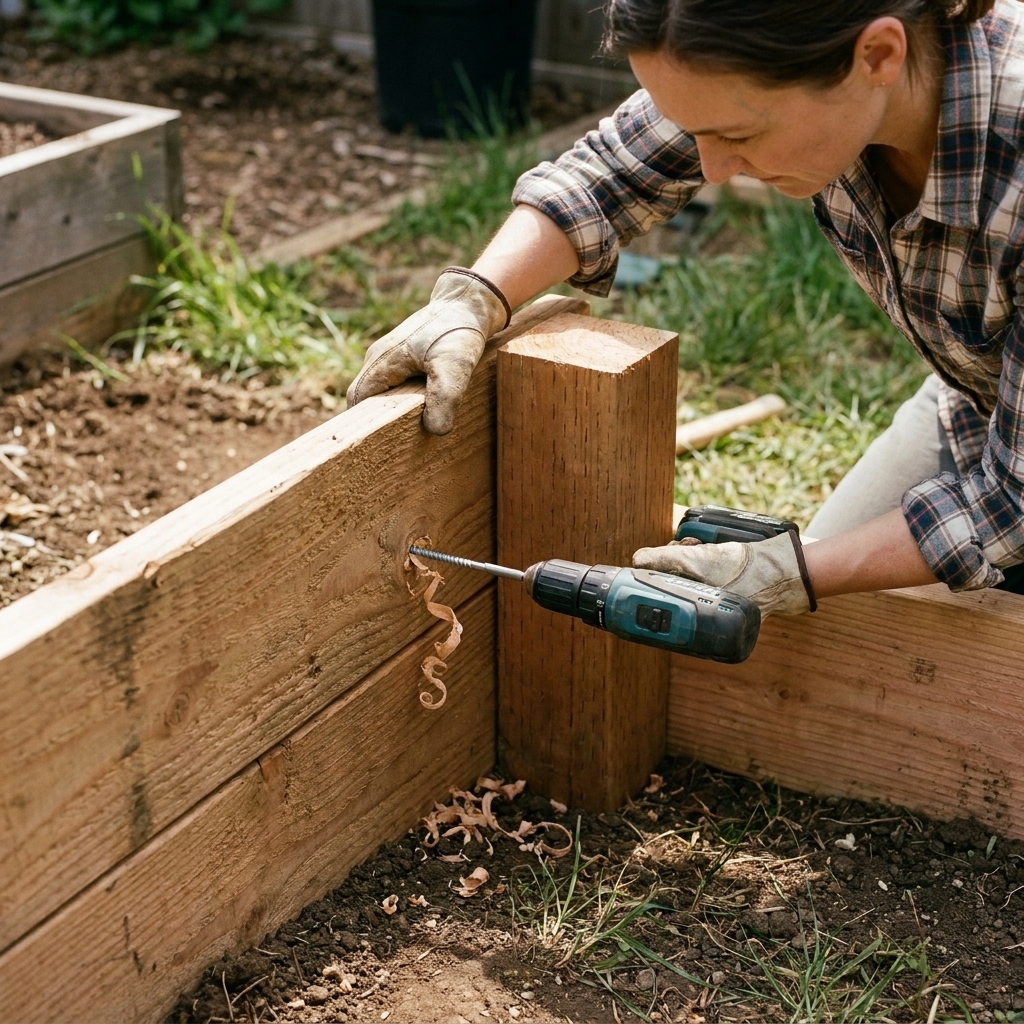
- Use 2x2 or 2x3 stakes (or 1 inch galvanized pipe for extra strength in tall beds).
- Drive stakes inside the bed at corners and, on long runs, typically every 3 to 4 feet.
- Fasten the bed wall to the stakes with exterior structural screws.
On slopes, I add at least one extra stake on the downhill long wall because that is where the pressure builds.
Deadman anchors
If your bed is 18 inches tall or more and the slope is significant, you can use a “deadman” style anchor: a buried anchor board or tie that runs back into the hillside from the downhill wall. It is the same basic idea used in retaining work, just scaled down.
Important note: deadman sizing and placement are soil and site dependent. If you are effectively building a retaining structure, especially near a fence, shed, driveway, or foundation, it is worth stepping the beds instead or getting professional guidance and checking local requirements.
Corner bracing and anti-bow supports
Long runs of wood can bow under wet soil. Add:
- Corner brackets or half-lap corners for rigidity
- Mid-span braces (a board spanning side to side) on beds longer than often 6 to 8 feet
- Through-bolts for tall beds if you see bowing risk
When to terrace or step beds
If your slope is steep enough that the downhill side of the bed would be much taller than the uphill side, the downhill wall starts acting like a retaining wall. Raised bed lumber is not always built for that job.
Signs you should step beds
- The downhill edge would sit more than 8 to 12 inches above the soil surface
- You need beds taller than 18 inches to get level
- There is heavy rainfall runoff that already cuts channels in your yard
- The bed location is near a fence, shed, or foundation where soil pressure could cause damage
How to step beds cleanly
Think of each bed as one “tread” of a staircase. Keep each bed level, and let the slope happen between beds in the path area.
- Start at the top of the slope and work downhill.
- Leave enough space for a path that can hold mulch, gravel, or steps.
- On steeper sites, consider flat step stones or short timber steps set into the path so you are not skating on mulch.
- Use a short retaining board or edging on the downhill side of each path section to hold mulch in place.
Drainage and erosion control
On flat ground, water is mostly a soil issue. On sloped ground, water is a construction issue.
Keep runoff out of the bed
- Do not aim downspouts toward hillside beds.
- If water flows from uphill lawn into the bed area, cut a shallow interceptor swale above the beds. For many yards, a simple swale is roughly 6 to 12 inches wide and 3 to 6 inches deep, pitched to move water slowly.
- Direct it to a safe outlet: away from foundations, away from neighboring properties, and toward a spot that can absorb water like a rain garden area or a mulched planting zone.
- Consider a mulched buffer strip uphill to slow water and trap sediment.
Protect the downhill edge
The downhill side is where erosion shows first. These are my favorites:
- Thick mulch on paths and exposed soil
- Stone or wood edging to keep path material from migrating
- Low groundcovers around beds if you want living erosion control
Should you put gravel under a raised bed?
Usually, no. Gravel under the entire bed does not stop erosion and can create a perched-water interface or uneven moisture boundary. What I do like is a small gravel strip in a swale or along a drainage route where water is concentrated.
If you are building a terrace or short retaining edge, plan on drainage behind it. A simple approach is a gravel backfill zone with a path for water to escape, and in wetter sites, a perforated drain pipe that outlets to a safe location.
Filling soil on a slope
Soil is heavy, especially when saturated. The deeper the bed and the wetter the soil, the more your downhill wall feels it.
My soil strategy
- Use a chunky base if your bed is tall: a few inches of coarse compost, leaf mold, or partially decomposed wood chips can improve soil structure and infiltration. Keep woody materials lower in the bed so your root zone stays consistent.
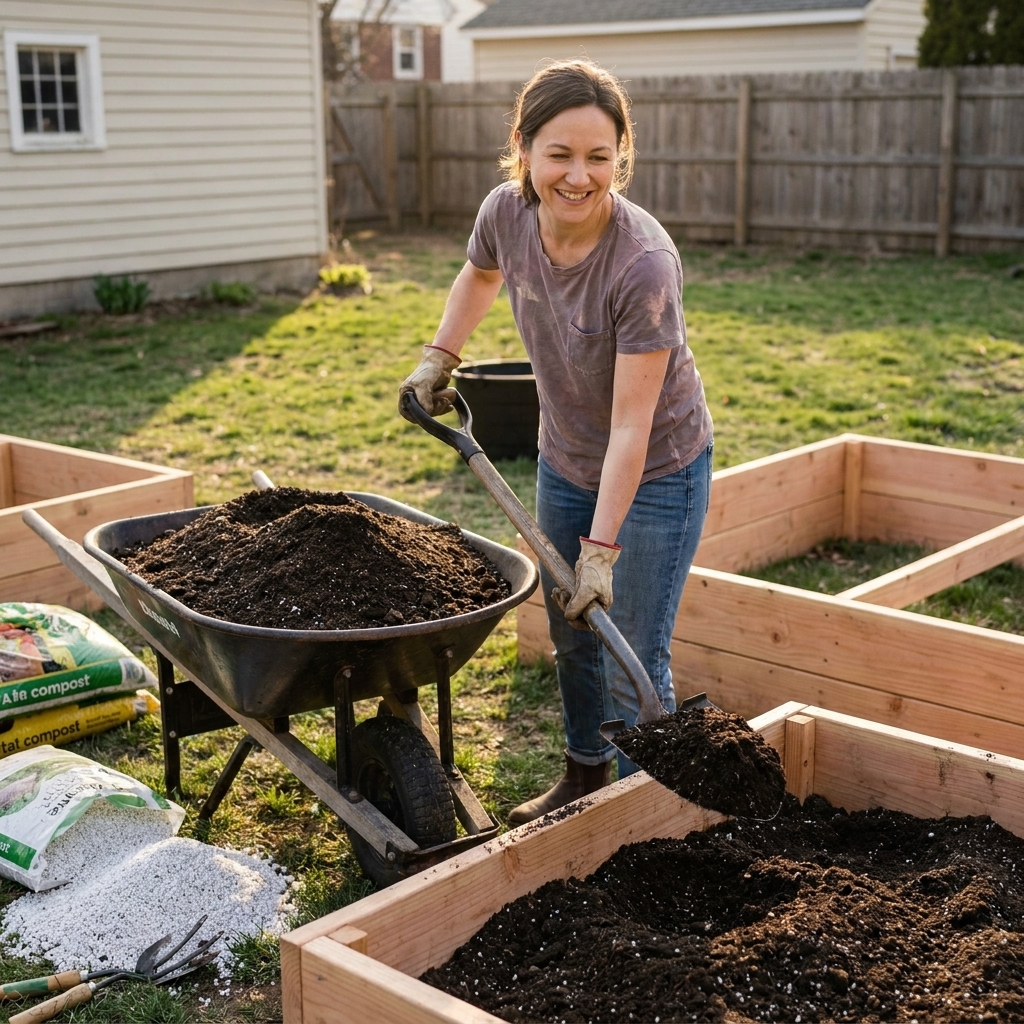
- Build in layers: fill halfway, water lightly to settle, then top off.
- Keep the top 8 to 12 inches premium: this is where most feeder roots live for many vegetables, and where you want your best finished compost and soil blend. Deep-rooted crops will use more depth when it is available, so more good soil is never a mistake.
- Watch nitrogen tie-up: if you use woodier material low in the bed, keep the top layer rich and finished so young plants do not struggle.
Leave a rain lip
Fill your bed to 1 to 2 inches below the top. On a slope, overfilled beds spill during storms and you lose your best soil first.
Materials that hold up
Slopes amplify weak connections. A bed that might survive on flat ground can fail on a hillside just because it is constantly being pushed out of square.
Wood choices
- Cedar: my favorite for longevity and ease of building.
- Douglas fir: sturdy and budget-friendly, but plan on sealing cuts and expecting a shorter lifespan.
- Pressure-treated wood: modern treatments are different than the old CCA lumber, and many gardeners use it. If you go this route, choose ground-contact rated material, use quality hardware, and focus on drainage and airflow so the wood is not kept constantly saturated.
Fasteners
- Exterior-rated structural screws outperform cheap deck screws on stressed builds.
- Hot-dipped galvanized or stainless hardware is worth it in wet climates.
About liners
I am cautious with plastic liners on any bed, but especially on slopes. Liners can trap moisture and shorten wood life. If you want a barrier, use something that can drain, like landscape fabric, and do not block the bottom edge where water needs to escape.
Common failures
1) The bed leans downhill
Cause: weak anchoring, loose backfill, or soil washing from under the downhill edge.
Fix: re-level, add stakes, compact outside soil, and add erosion control on the downhill edge.
2) The downhill wall bows
Cause: tall bed, wet heavy soil, no bracing.
Fix: add mid-span braces or through-bolts, and consider lowering the effective soil height by stepping beds.
3) Soil washes out in rain
Cause: overfilled bed, bare soil around bed, concentrated runoff.
Fix: add mulch, create an interceptor swale uphill, and keep soil below the rim.
4) One corner sinks
Cause: settling fill under the frame or uncompacted soil on the downhill side.
Fix: lift and re-seat the corner, then re-compact and add a shallow trench key.
FAQ
Do raised beds need to be perfectly level?
For vegetables, I aim for level at the top. A slightly out-of-level bed causes water to pool on one end and can dry out the other end faster. If you cannot get it perfect, prioritize level across the short width first, then along the length.
Can I put a raised bed on a hillside without digging?
You can, but it is the most likely to shift and erode. If you cannot dig, use terracing or build a level pad first, then anchor aggressively.
How high is too high for one bed?
If the downhill wall is acting like a retaining wall, you are in the danger zone. As a practical guideline, once the downhill side is more than about 12 inches exposed and the slope is still pushing hard, stepping or terracing is usually safer than building taller and hoping for the best.
Should I line the inside to protect the wood?
On slopes, liners can trap moisture if they do not drain. If you line, choose something that can drain and do not block water at the bottom. The best wood protection is good drainage, quality fasteners, and keeping soil a bit below the top rim.
Quick checklist
- Measure rise and run, then choose dig-in vs stepped beds
- Square the frame with diagonal measurements
- Level by removing soil from uphill, not by piling soil downhill
- Key the frame into a shallow trench
- Stake corners and the downhill wall generously
- Plan runoff control uphill, and mulch everything exposed
- Fill in layers, keep soil 1 to 2 inches below the rim
If you want the most confidence with the least drama, build two smaller, stepped beds instead of one tall one. Your back, your walls, and your soil will thank you the first time a heavy rain rolls through.