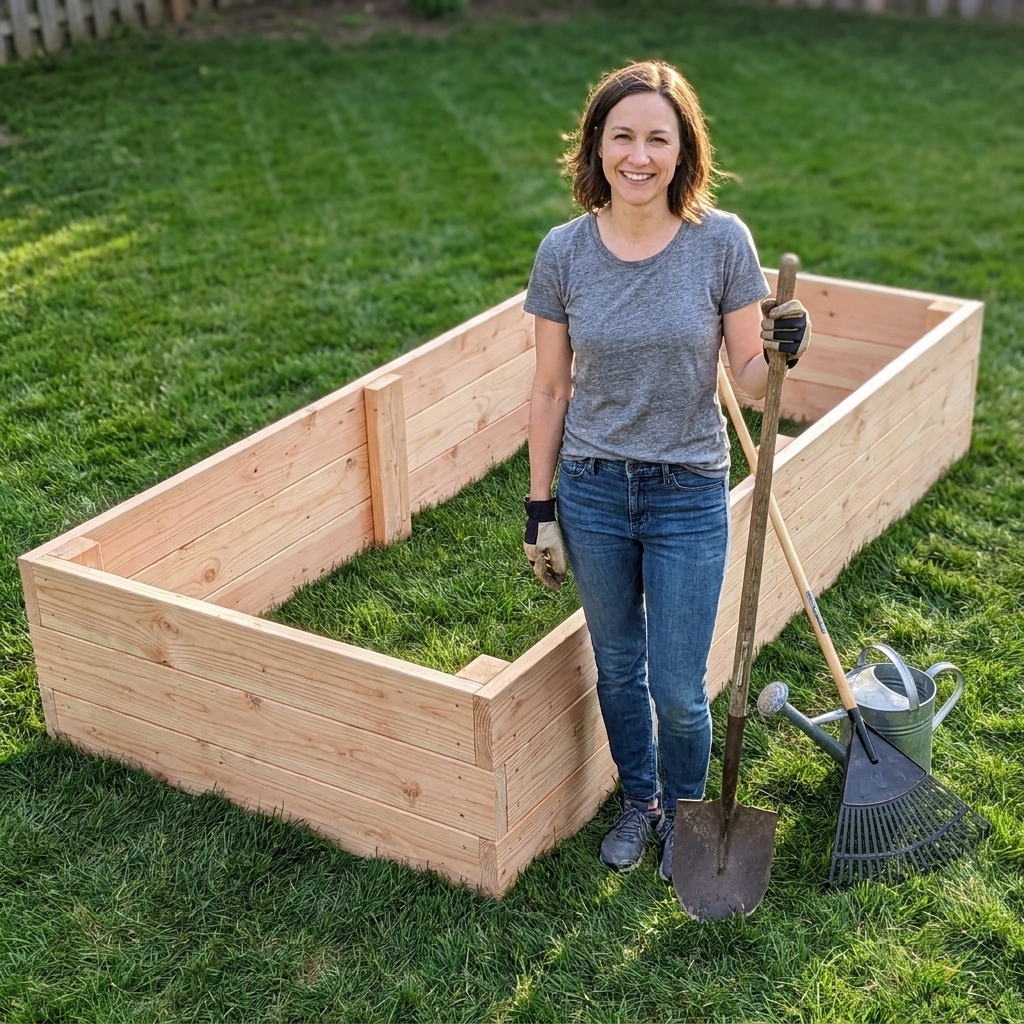
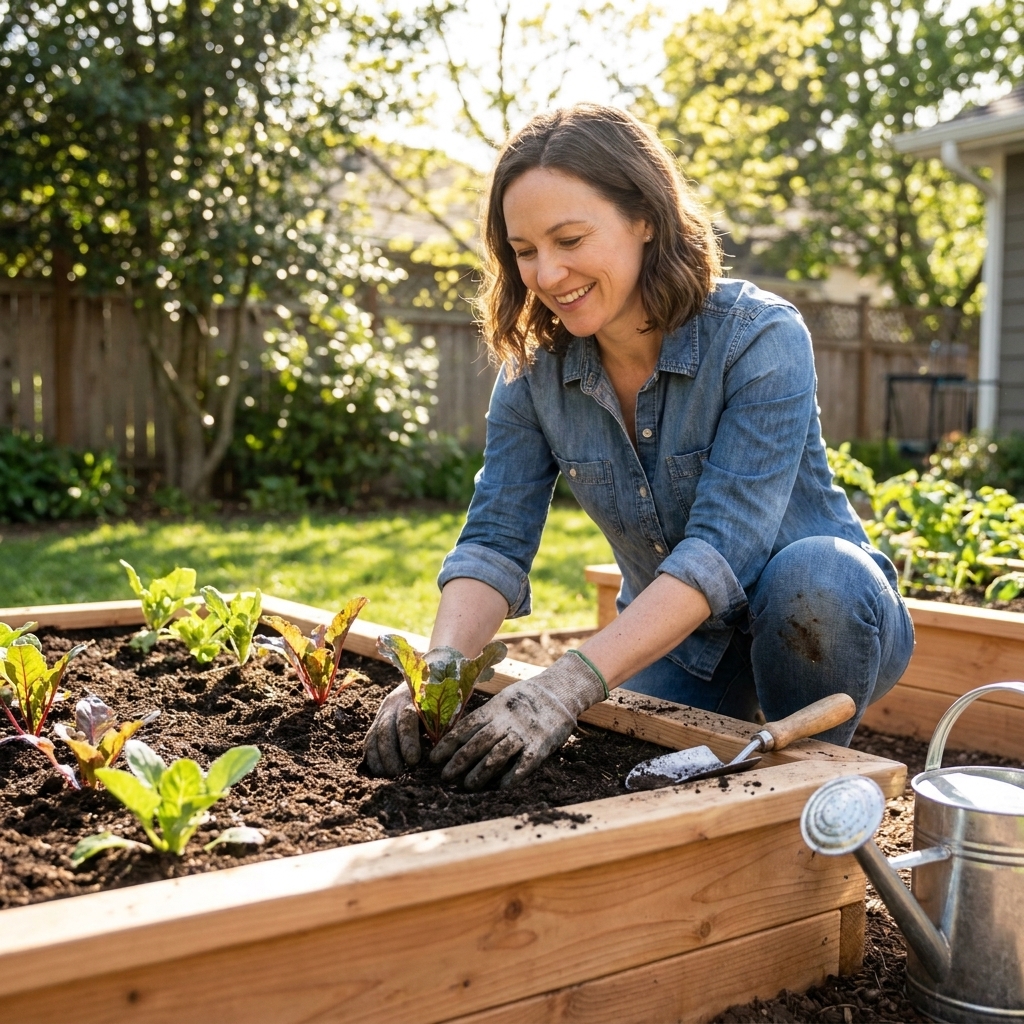
If you have ever built a gorgeous wooden raised bed, filled it with your best soil mix, and then noticed the boards starting to soften a few seasons later, welcome to the club. Wood plus constant moisture plus soil contact is a recipe for rot. The good news is you can slow that process way down with the right approach, and you can do it without bathing your veggies in questionable chemicals.
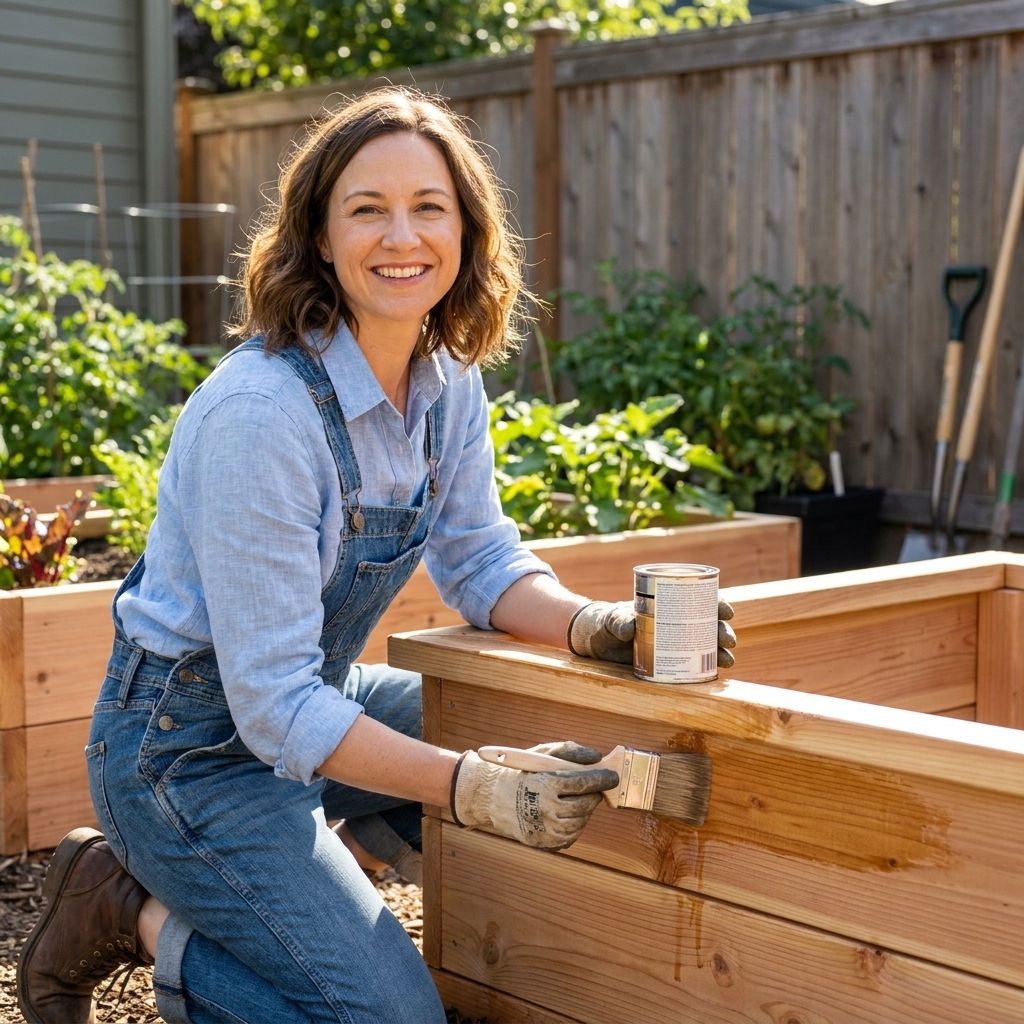
This guide walks you through what actually works in real gardens: plant-safe sealers and oils, smarter bed design choices, and when a liner helps or hurts. I will also share what I do now after learning the hard way on my first DIY boxes.
What causes raised bed wood to rot
Rot is not just “wet wood.” It is a living process. Fungi and microbes break down wood fibers when conditions are right.
- Moisture stays high: soil pressed against boards, frequent watering, poor drainage, shaded areas.
- Oxygen is available: rot organisms need air. That is why wood can rot at the “damp but not submerged” zone.
- Warm temperatures: summer heat speeds up biological activity.
- End grain soaks like a straw: cut ends and screw holes absorb water fastest.
The rot hot spots are usually the lower portion of the inside walls and the corners, especially if the bed sits directly on soil and stays wet.
Start with the right question
Most gardeners picture waterproofing as coating the inside walls so moisture cannot touch the boards. Sometimes that helps, but your best longevity usually comes from a combo of:
- Reducing constant wet contact (drainage, airflow, keeping soil off the top rim)
- Protecting vulnerable wood surfaces (end grain, fastener holes, top edges)
- Choosing a plant-safe barrier or finish that is appropriate for soil and outdoor use
Also, “waterproof” is a spectrum. A finish can be water-repellent, water-resistant, or truly waterproof. For raised beds, you generally want water-repellent and breathable rather than trapping moisture in the wood.
One more thing that surprises people: sealing the soil side alone will not save a bed if water keeps sneaking in from the top edge, joints, and fastener holes. That is why I obsess over rims, corners, and end grain.
Wood choice matters most
I know this article is about waterproofing, but I would be failing you if I did not say this: no finish will make a poor wood choice last like cedar.
Best woods for raised beds
- Cedar: naturally rot resistant, lightweight, easy to work with. My top pick for most backyard beds.
- Redwood: excellent rot resistance, often pricier and regional.
- Cypress: great durability, availability varies.
- White oak: durable, heavier and harder to source in bed-friendly boards.
About treated lumber for food beds
Pressure-treated lumber is a hot topic. Here is my practical stance: I prefer to avoid it for vegetable beds when I have other options, mostly for peace of mind.
That said, modern pressure-treated wood sold for residential use in the U.S. is typically treated with newer formulations (not the old CCA). Many university extension services note it can be used as directed, especially when the wood is not burned, sanded into dust, or used where it will contact drinking water. If you are choosing treated lumber, check local guidance and the tag on the product so you know exactly what you are buying.
If you are already using treated boards, the simplest way to reduce soil contact is to line the inside walls with a barrier and keep the bed draining well. I would not stress about placing certain crops “farther from the sides.” That advice sounds reasonable, but it is not something I have seen solid evidence for in a typical backyard setup.
Plant-safe treatment options
Here is the straightforward comparison I wish I had when I built my first beds.
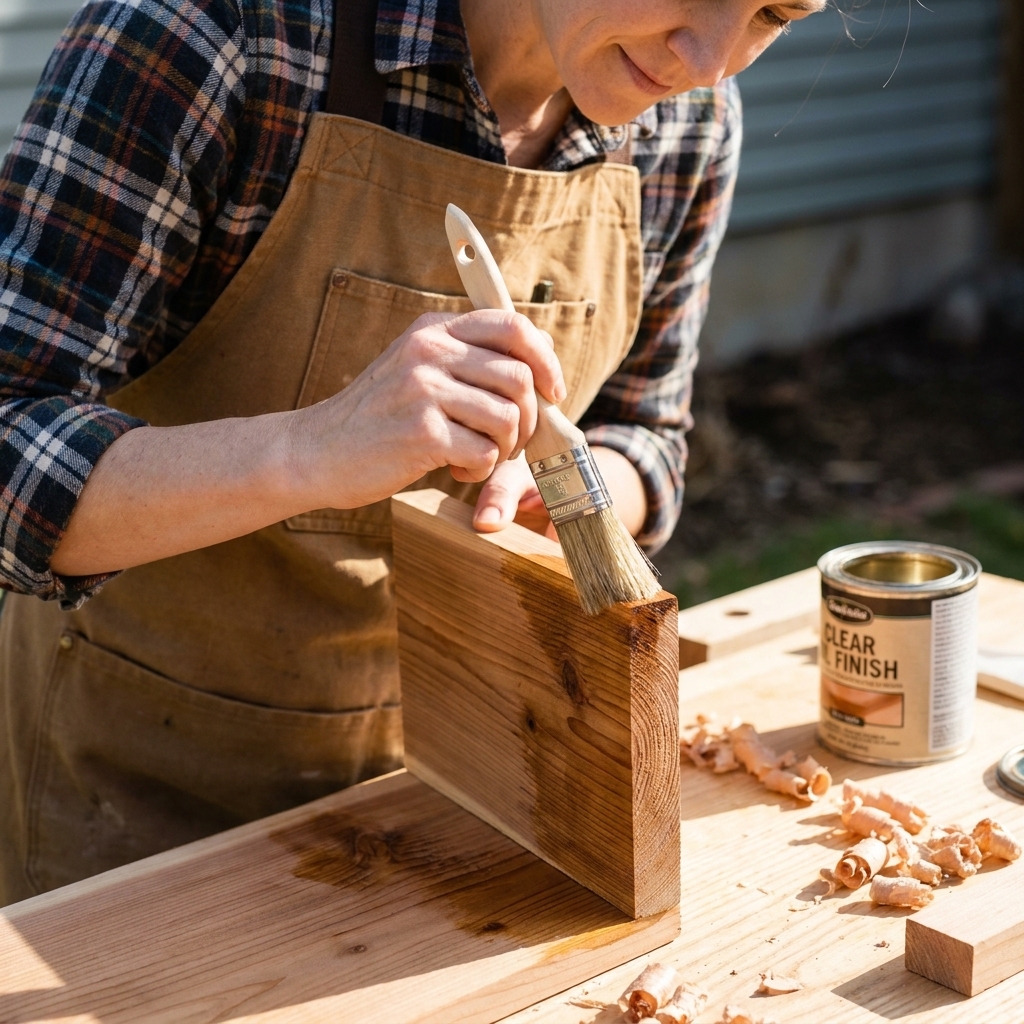
1) Pure tung oil (food-safe when cured)
My take: One of the best plant-friendly options for water repellency, especially on the outside and on exposed top rims.
- Pros: Cures into a durable, water-resistant finish; more protective than many other natural oils; can be renewed.
- Cons: Needs multiple coats; takes time to cure; you want 100% pure tung oil, not a “tung oil finish” blend that can include varnish resins and solvents.
- Best use: Outside faces, top edges, end grain, legs, and any wood not buried in constant damp soil.
2) Linseed oil (choose carefully)
Linseed oil is common, but there are two kinds and gardeners often get burned by the labels.
- Raw linseed oil: More natural, but can take a very long time to cure and can stay tacky in humid weather.
- Boiled linseed oil: Often contains chemical driers. Those additives are the part I do not want next to my soil.
My take: If you are set on linseed, use raw and be patient with cure time. Personally, I reach for pure tung oil instead.
3) Water-based, low-VOC exterior sealers (durable, low upkeep)
If you want longer-lasting protection with less maintenance, a water-based exterior sealer can outperform natural oils, especially in rainy climates. Look for products that are:
- Water-based
- Low or zero VOC
- Rated for exterior wood
- Fully cured before soil contact
Tradeoff: These are “plant-safe” mainly because, once fully cured, they tend to be more stable and less likely to off-gas or leach. Cure time matters, and product instructions matter. If you want extra reassurance, check the label, SDS, and any manufacturer guidance on cured use around garden soil.
4) Natural waxes and blends (beeswax, plant wax finishes)
My take: Nice for garden projects, not my first choice for raised bed longevity.
- Pros: Gentle ingredients, pleasant to apply.
- Cons: Can soften in heat, wears off quickly, and does not handle constant moisture as well as tung oil or a proper exterior sealer.
- Best use: Top rims you touch a lot, trellises, tool handles, decorative planters.
5) What I skip near edible soil
There are old-school “barn tricks” for preserving wood that have no place near a food garden. Creosote, used motor oil, harsh solvents, and mystery mixes are a hard no from me.
Oil finish safety
A quick safety note that matters: rags or brushes soaked with drying oils (including tung and linseed) can heat up as they cure and, in rare cases, ignite if wadded up. After you are done, lay rags flat to dry outdoors away from anything flammable, or put them in a sealed metal container with water and dispose of them according to your local rules.
Should you seal the inside?
This is the question I get most. Here is my practical answer: I do not fully seal the inside walls unless I have a specific reason.
Why? Because the inside faces are in contact with damp soil for long stretches. A heavy, non-breathable coating can trap moisture in the wood from tiny cracks or fastener holes, and trapped moisture can accelerate rot in sneaky ways.
When sealing the inside makes sense
- You are using a liner that separates soil from the boards, and you want added insurance.
- Your bed design keeps soil from pressing hard against boards and drains well.
- You are using a water-based exterior sealer and you can apply it correctly and let it cure completely before filling.
My compromise approach
Instead of painting the entire inside wall like a bathtub, I focus on the spots that fail first:
- End grain on all cut board ends
- Top rim and any horizontal surfaces that catch water
- Fastener holes and joints
- Outside faces, where sun and rain do the most damage
Liners that help
Liners can be helpful, but only if you pick the right material and use it in a way that does not create a soggy, airless sandwich.
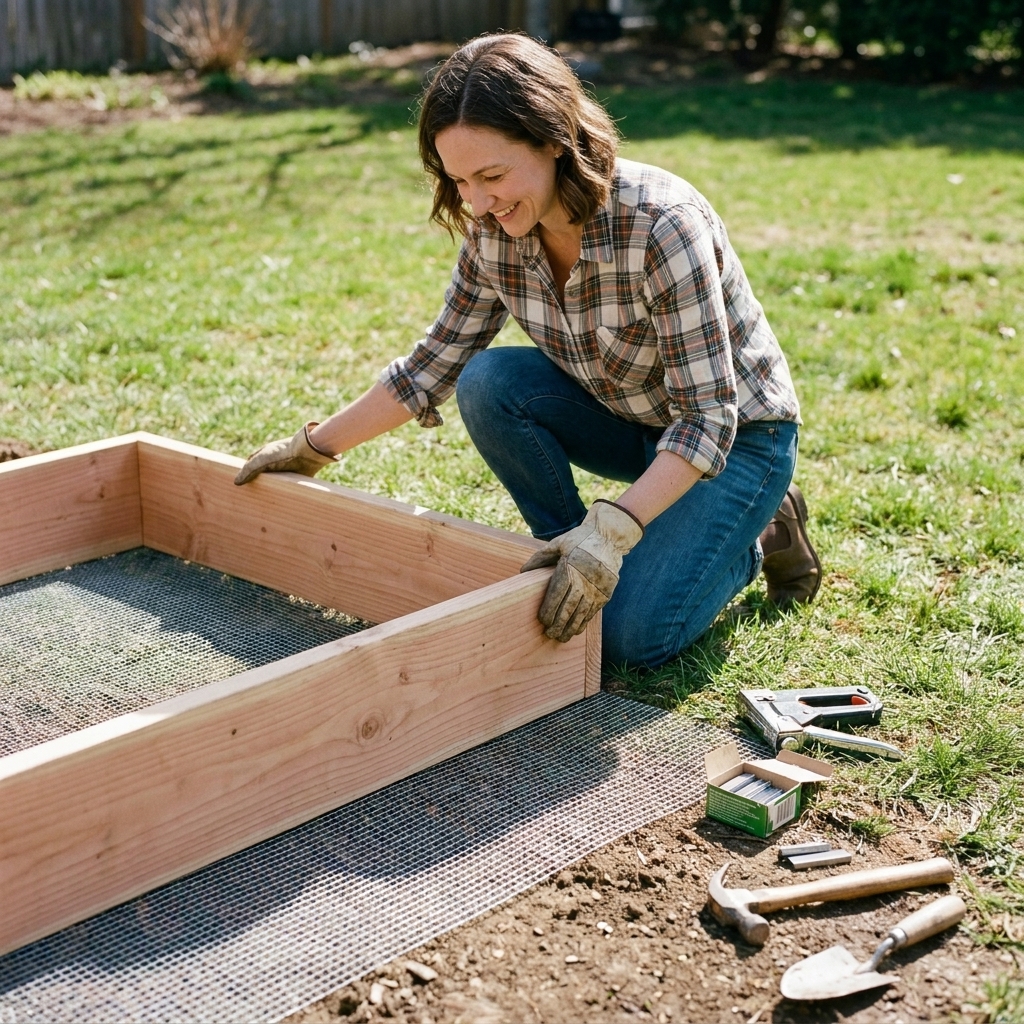
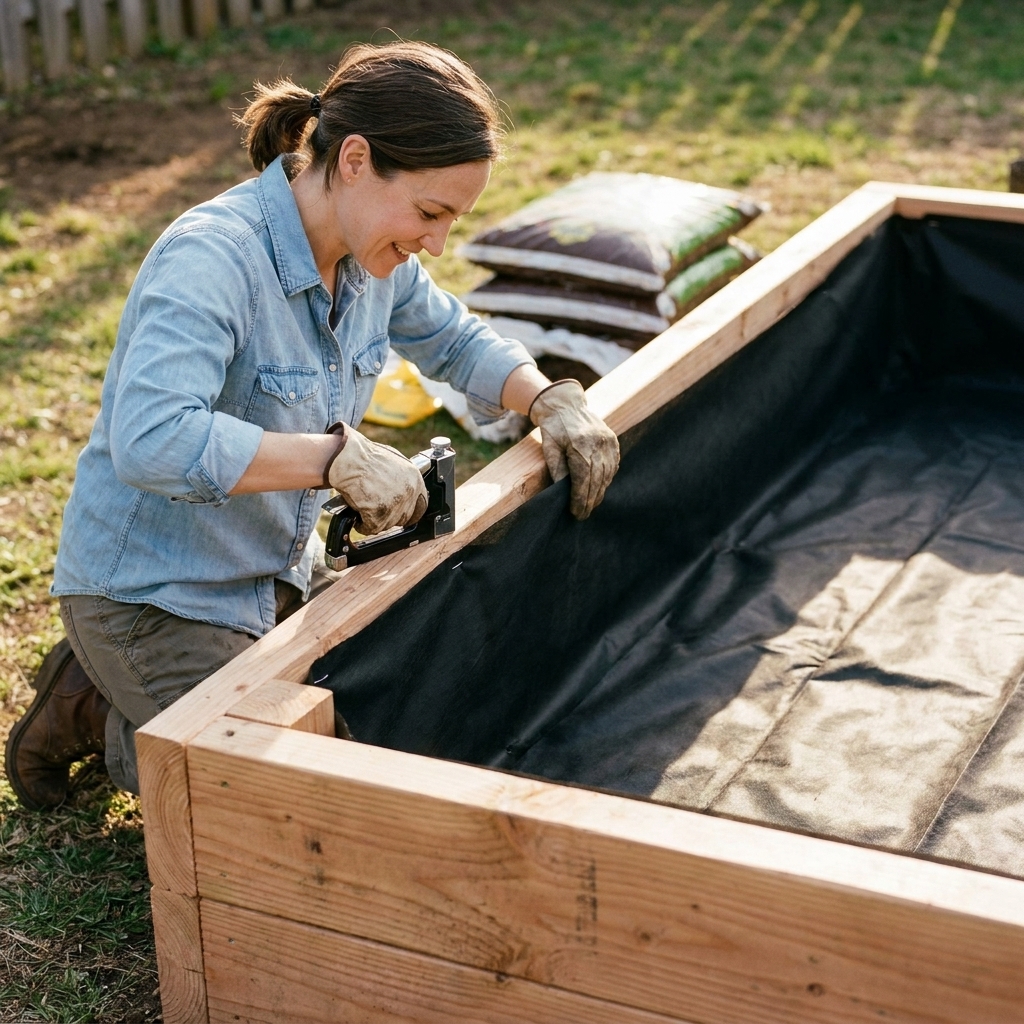
A common, breathable option: landscape fabric
Use it for: separating soil from wood while still letting moisture move and the wood dry.
- Staple it to the inside walls.
- Leave the bottom open to native soil for drainage and earthworm access.
- Replace when it degrades.
My take: Woven polypropylene landscape fabric is widely used for this and generally breathes better than plastic sheeting. Buy plain fabric, not anything marketed as weed-and-feed or herbicide impregnated. Also know that any synthetic fabric can degrade over time, so treat it as a replaceable part.
Plastic sheeting: only with a plan
Plastic can protect wood from soil moisture, but it also can trap water against the boards if any moisture gets behind it. If you use plastic:
- Do not line the bottom unless you have a true closed-bottom planter design with reliable drainage holes.
- Consider leaving a small gap at the top so the wall can vent.
- Know you are trading breathability for barrier protection.
My take: In very wet climates, plastic is tempting, but I prefer breathable fabric plus good drainage unless I am using a rot-prone wood and need a stronger barrier.
Flashing and HDPE barrier strips
Some gardeners add a physical barrier between soil and wood, like metal flashing or an HDPE sheet. This can work well if installed neatly and securely, but it is more of a build-time solution than a quick retrofit. If you use metal, pay attention to fasteners so you are not creating corrosion issues.
How to treat a raised bed
This is the process I use now when building new beds or refurbishing older ones.
1) Let the wood dry and clean it
- Work on a dry stretch of weather.
- Brush off soil and debris.
- If there is algae or mildew, scrub with mild soap and water, then let it dry fully.
2) Sand rough spots lightly
You do not need furniture-level sanding. I just knock down splinters and help finishes soak in evenly, especially on cut ends.
3) Seal the end grain first
If you do only one thing, do this. End grain drinks water. Give it extra coats of your chosen product.
4) Apply finish where it matters
- Outside faces: prime real estate for protection.
- Top rim and corners: where water sits and joints fail.
- Fastener penetrations: dab finish into screw holes and joints before final assembly when possible.
- Inside walls: only if you are using a breathable liner or a fully cured, appropriate sealer.
5) Let it cure, not just dry
Dry-to-touch is not the same as cured. Curing is when the finish hardens and becomes stable. Follow the product instructions and give it extra time if it is cool or humid.
6) Install a liner (optional)
If you are using landscape fabric, staple it along the inside walls and trim neatly near the top edge.
7) Improve drainage under and around the bed
- Make sure the bed is level so water does not pool.
- If your area is soggy, consider setting the bed on pavers so the boards are not sitting in mud.
- Keep mulch pulled back slightly from the outside base of the boards so it does not stay constantly wet.
8) Use the right hardware
- Screws: stainless steel or quality exterior-coated screws last longer and reduce streaking and early failure.
- Metal barriers: if you add flashing, match your fasteners to the metal when possible so you are not inviting corrosion.
Design tweaks that prevent rot
Coatings help, but design is your secret weapon.
Add a cap board
A wider top cap board protects the end grain of the side boards and sheds water. It also gives you a comfy ledge to sit on while you weed.
Lift wood off wet ground
If the bed sits where water collects, even rot-resistant wood suffers. A few pavers, bricks, or a well-draining base can make a big difference.
Use thicker boards
2-inch-thick lumber lasts longer than thinner boards, period. More material takes longer to break down.
Do not overfill
I used to overfill beds. Now I leave a couple inches of headspace and keep compost from sitting on the top edge all season.
Maintenance that adds years
You do not need to baby raised beds, but a quick check-in prevents small issues from turning into board replacement.
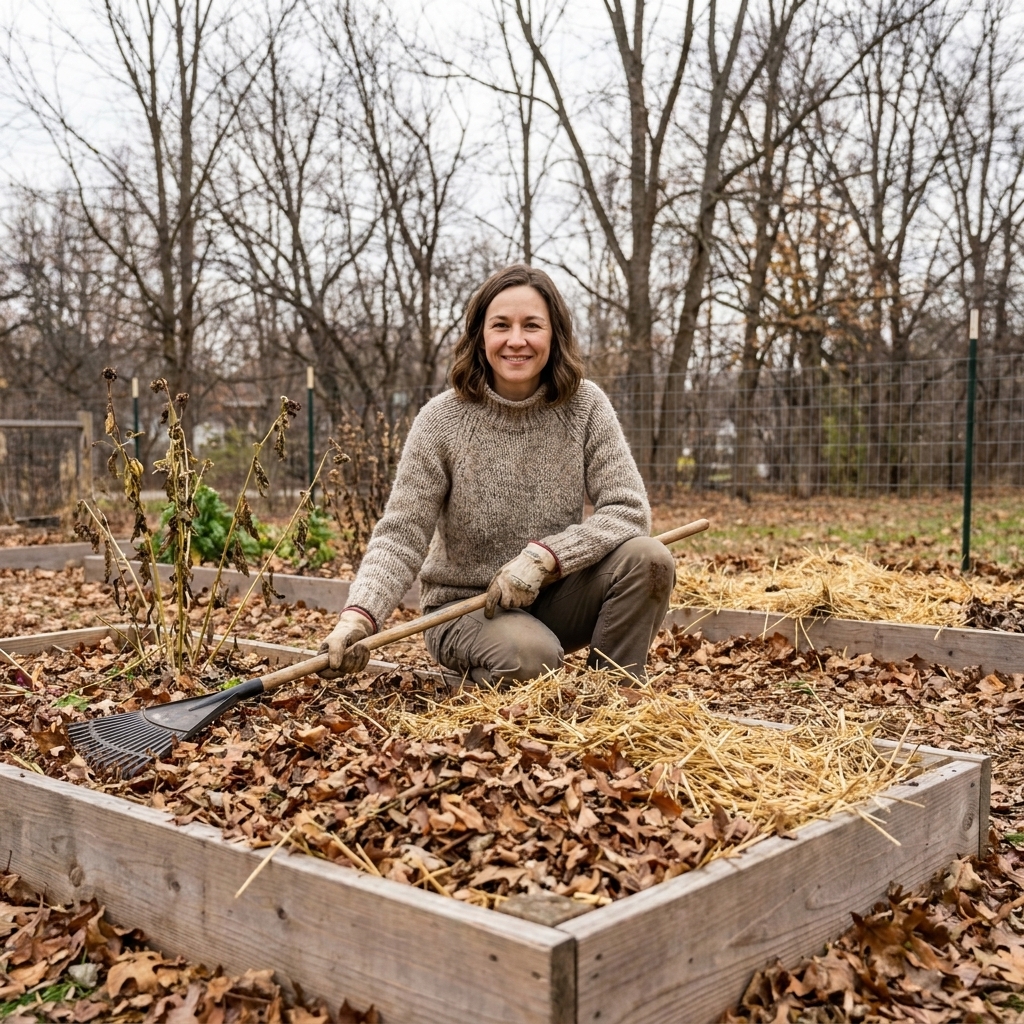
- Every spring: check corners and lower inside edges for soft spots, tighten screws, and clear any mulch piled against the outside walls.
- Mid-season: if you see dry, thirsty wood on the outside, a light refresher coat of oil can help.
- Every 2 to 4 years: recoat the outside and top edges as needed, especially on the sunniest side.
If a board is already punky and you can push a screwdriver in easily, treatments will not reverse that. Swap the board and treat the replacement before installing.
Common mistakes
- Lining the bottom with plastic in a way that blocks drainage, which can create waterlogged, low-oxygen soil if water cannot escape.
- Using “tung oil finish” blends assuming they are pure tung oil. Check the ingredients and SDS so you know what is in it.
- Filling the bed before the finish cures. Give it time, especially with sealers.
- Coating damp wood. Moisture trapped under a finish is trouble.
- Ignoring end grain. Corners and cut ends are where beds usually fail first.
Quick recommendations
For the simplest, safest approach
- Cedar or redwood if possible
- Seal outside faces, end grain, and top rim with pure tung oil
- Line inside walls with plain landscape fabric
For very wet climates
- Prioritize drainage and lifting the bed off soggy ground
- Consider a water-based exterior sealer on outside faces and top rim
- Use a breathable liner, and avoid trapping water with plastic unless you can vent and keep drainage working
For beds already showing wear
- Let it dry out, then treat the outside and rim
- Add a liner if soil is in direct contact and you can install it neatly
- Replace the worst board now rather than rebuilding the whole bed later
FAQ
Is it safe to use a sealer on a vegetable bed?
It can be, depending on the product and your patience. I stick to finishes that are either naturally simple (like pure tung oil) or water-based and low-VOC, and I always let them cure fully before adding soil and planting. When in doubt, read the label and SDS and follow the manufacturer’s cure guidance.
Do I need to waterproof the inside if I use cedar?
Not usually. Cedar already resists rot. I still like protecting end grain and the top rim, and I often add a breathable fabric liner to reduce constant soil contact.
Will a liner cause rot?
A breathable liner like landscape fabric is less likely to trap moisture the way plastic can. Plastic sheeting is where you have to be careful, because any water that sneaks behind it can linger.
What is the fastest way to extend bed life?
Improve drainage and protect end grain and the top edges. Those two changes alone can buy you years.
My bottom line
If you want long-lasting wooden raised beds without worrying about what is leaching into your soil, focus on three things: choose rot-resistant wood when you can, treat the most vulnerable surfaces (especially end grain), and use a breathable liner plus good drainage so the boards can dry between waterings. That combination has kept my newer beds firm and solid while my earliest untreated boxes have slowly retired into the compost pile, as all wood eventually does.