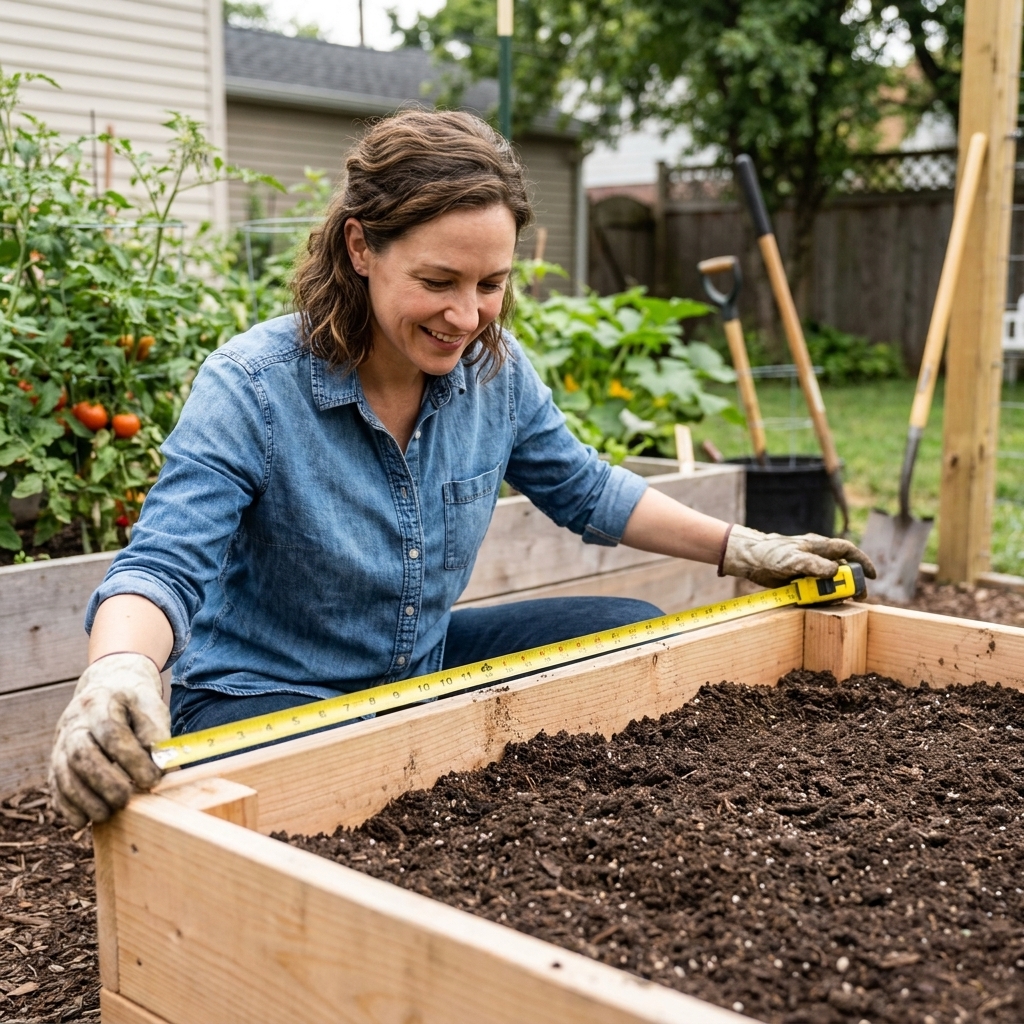
If you have ever lovingly filled a new raised bed, planted it up, and then watched nutgrass poke through like it pays rent, you already understand why the bottom layer matters. The base of a raised bed is where you win or lose the long game against weeds and burrowing pests.
The good news is you do not need anything fancy. You just need the right layer for your problem, installed the right way. Below is exactly what I use in my own beds, plus what I skip after a few hard lessons.
Start with a quick diagnosis
Before you buy a roll of anything, take 30 seconds to decide what you are protecting against. Your bottom layer should match the threat.
- Burrowing pests (voles, gophers, moles, rats): you need a physical barrier like hardware cloth.
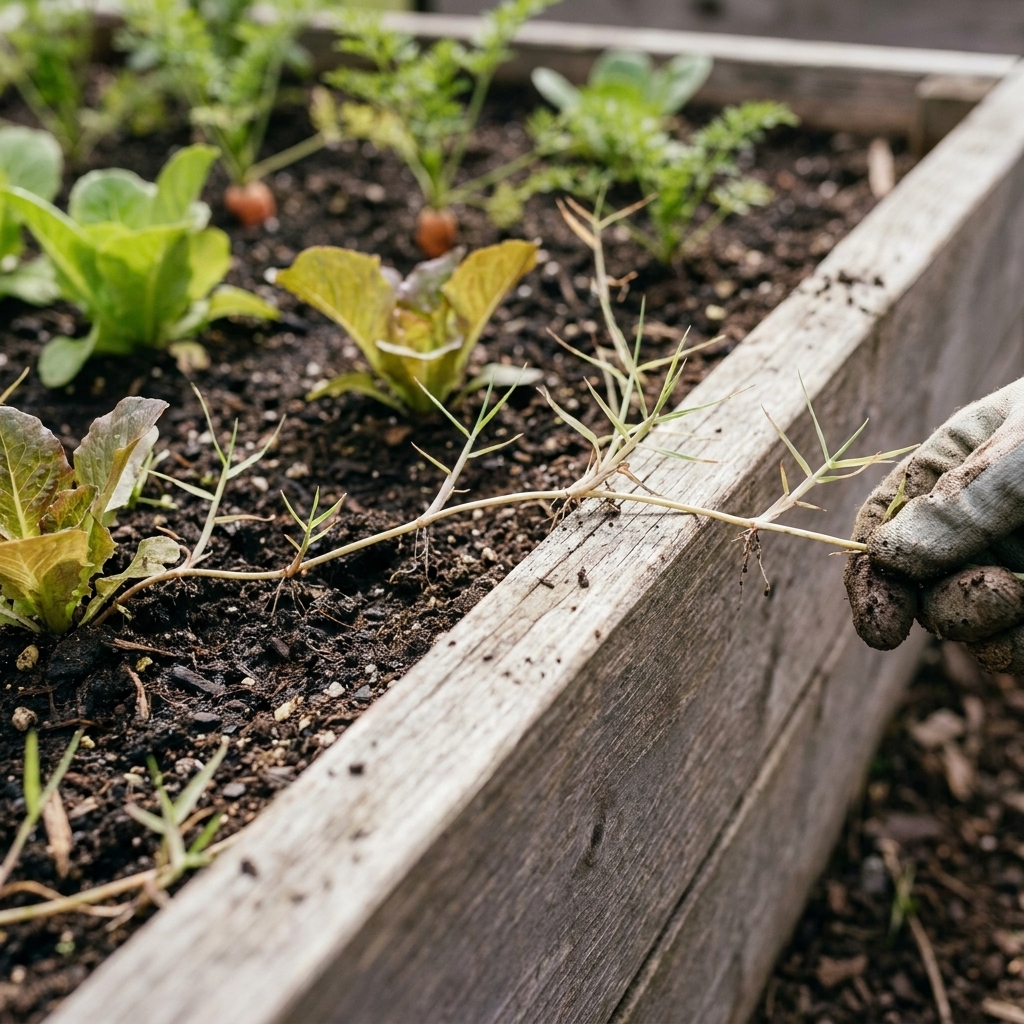
- Weeds coming up from below (especially Bermuda grass, bindweed, quackgrass, nutgrass): you need light-blocking layers like cardboard, and sometimes extra steps.
- General “unknown weed seeds” in soil: a simple smother layer plus good mulch on top is usually enough.
- Drainage worries: avoid anything that creates a bathtub effect, especially solid plastic.
Best for pests: hardware cloth
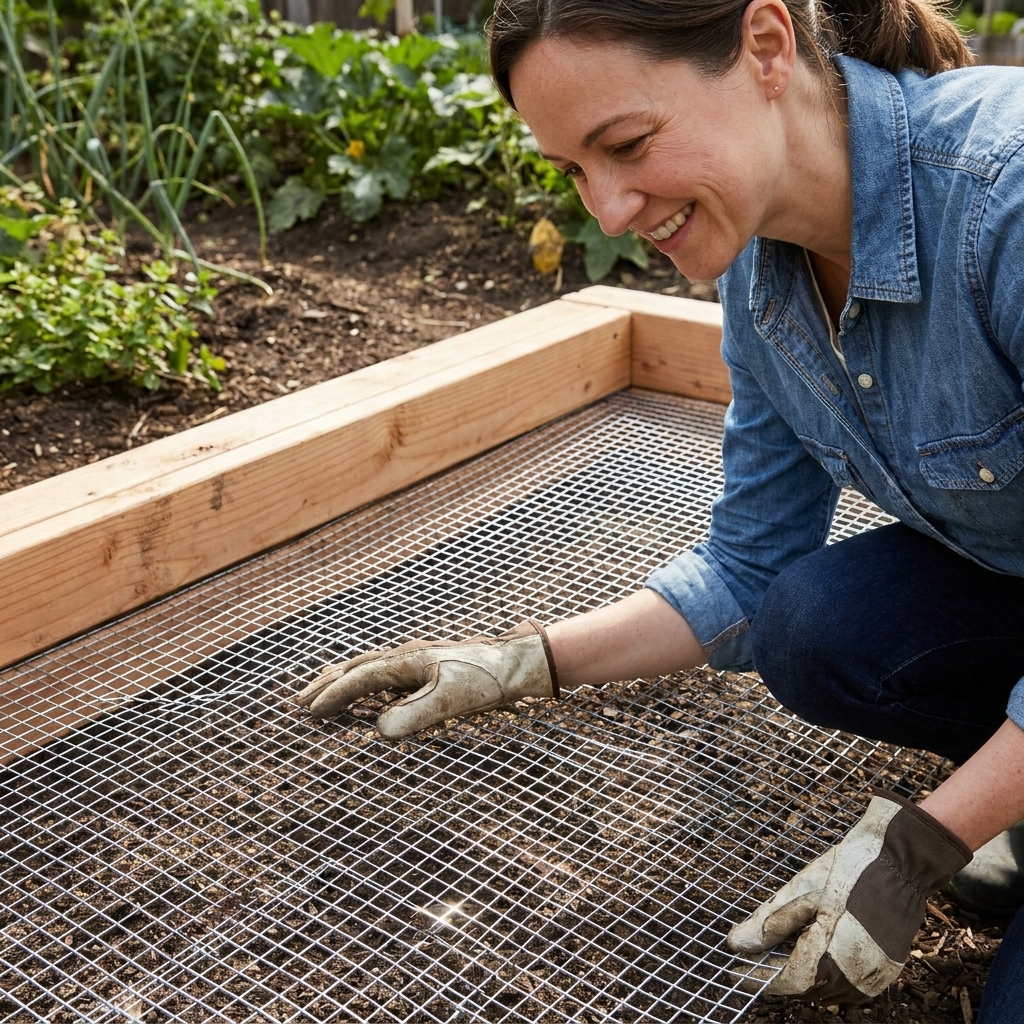
If you have had a vole tunnel turn your carrot row into a salad bar, this is the gold standard. Hardware cloth is a stiff galvanized wire mesh that blocks burrowers while still letting water drain freely.
What to buy
- Mesh size: 1/2 inch is the most common choice for raised beds and stops voles and many larger burrowers. If mice are a real issue where you live, go smaller: 1/4 inch is more reliable (it is pricier and a little harder to cut). Also worth saying: rodents exploit gaps at seams and edges more than they “cheat” the mesh, so installation matters as much as size.
- Material: galvanized, rust-resistant.
- Wire strength: heavier gauge lasts longer and resists bending. In gopher country, do not go flimsy.
- Roll width: wide enough to cover the whole footprint in as few pieces as possible.
How to install it
- Level the ground where the bed will sit. Knock down high spots so the cloth lies flat.
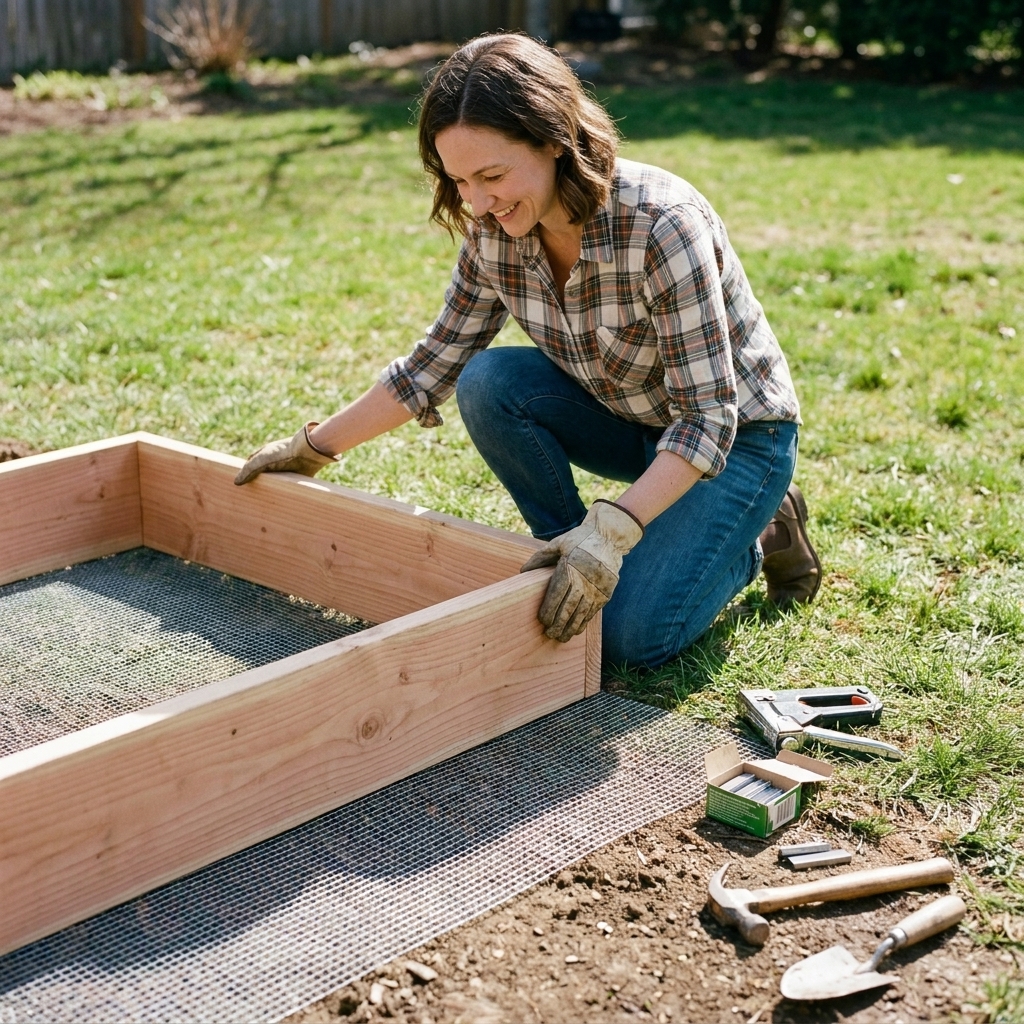
- Lay hardware cloth over the entire footprint. If you need two pieces, overlap them by at least 4 to 6 inches.
- Fasten it like you mean it. Attach it to the bed frame with heavy-duty staples or screws with fender washers. I aim for fasteners every 2 to 4 inches along the perimeter and at corners, because corners are where critters test you.
- Close seams. Where pieces overlap, add extra staples, wire ties, or hog rings so the overlap cannot flex open.
- Wrap edges up the inside walls an inch or two if you can, and staple that too. If the cut edges are nasty, fold the mesh over on itself first so you are not leaving a razor strip waiting for your wrist.
- Set the bed in place and fill as normal.
Tip: Wear gloves. Cut edges are sharp, and this is one of those projects where you always find the one pokey wire with your wrist.
Best for weeds: cardboard
If your main issue is weeds sneaking up from below, plain cardboard is my favorite first line of defense. It blocks light long enough to smother many weeds, then breaks down into the soil over time.
What kind to use
- Plain brown cardboard (shipping boxes) is ideal.
- Remove tape and plastic labels.
- Avoid glossy, heavily inked cardboard when you can. A little printing is usually fine, but I skip anything waxy or shiny.
How to lay it
- Mow or knock down existing vegetation as low as possible.
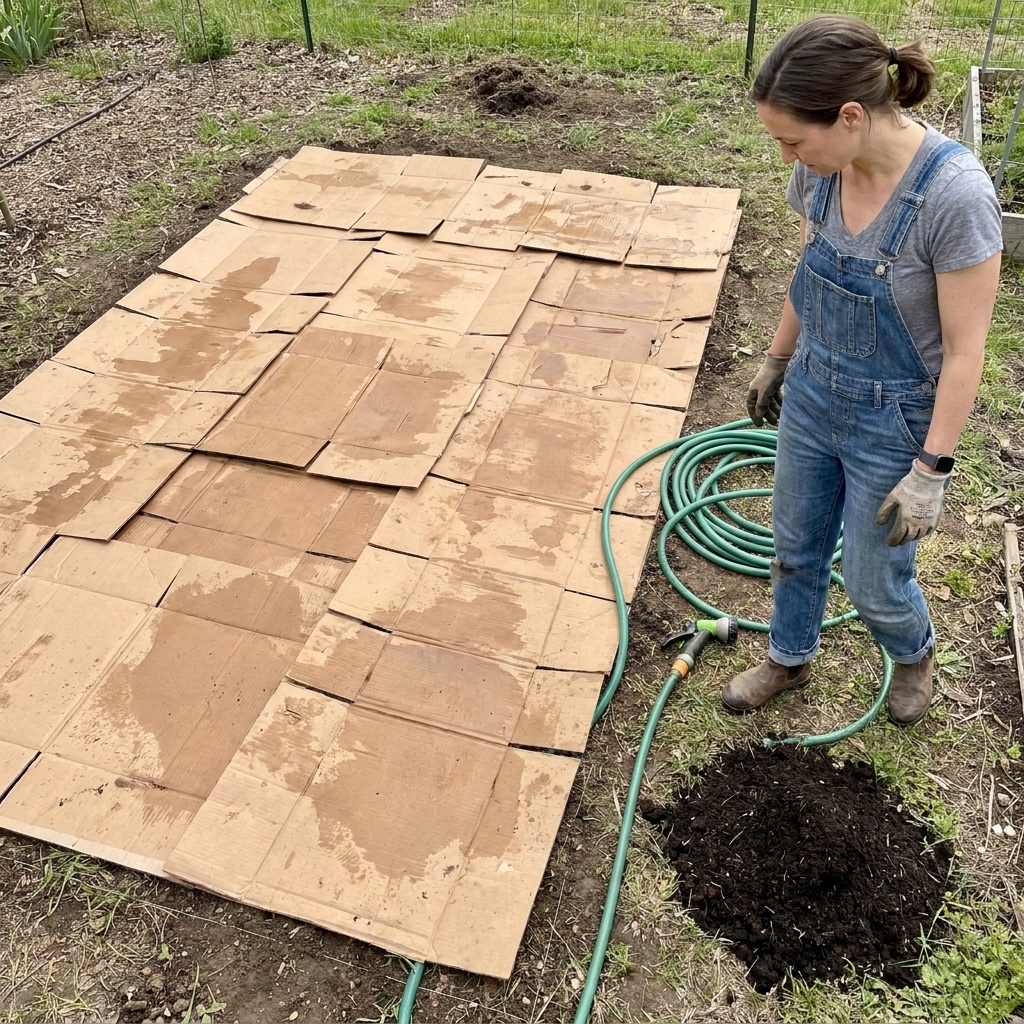
- Overlap pieces by 6 inches. Weeds love seams more than gardeners do.
- Wet it thoroughly with a hose or watering can. This helps it conform to the ground and start decomposing.
- Add 2 to 4 inches of compost or soil on top before you pour in the rest of your bed mix. This holds it down and jumpstarts breakdown.
Reality check: Cardboard is great for many weeds, but if you are battling aggressive runners like Bermuda grass, it is a delay tactic, not a forever fix. Pair it with a wider weed-free zone around the bed and keep a close eye on the perimeter.
Best all-around combo
If I am building a bed in a new spot and I do not want surprises, I use a layered approach:
- Hardware cloth directly under the bed for burrowers.
- Cardboard on top of the hardware cloth to smother weeds.
This combo gives you rodent protection without sacrificing drainage, plus a nice weed-suppressing layer that turns into organic matter over time.
Layer order
Ground → hardware cloth → cardboard (wet, overlapped) → a little compost or soil → raised bed mix
Landscape fabric: use with care
Landscape fabric is tempting because it feels “permanent.” In raised beds, I treat it as a specialty tool, not a default layer.
When it can help
- You are placing a bed over very weedy soil and you need a longer-lasting light barrier than cardboard.
- You plan to remove and refresh the barrier in a few years.
Downsides to know
- It can clog. Fine particles settle into it and reduce permeability over time, which can affect drainage.
- Roots can tangle. Perennial weeds may weave into it, making future removal frustrating.
- It does not block rodents. Burrowers can still tear, squeeze, or push under it.
If you use it, choose a woven, permeable fabric (not plastic sheeting), and still consider hardware cloth if pests are an issue.
What not to put at the bottom
Plastic sheets or tarps
A solid plastic layer can trap water and create a soggy, anaerobic mess. Raised beds work best when excess water can drain freely into the ground beneath.
Rocks or gravel “for drainage”
This is an old myth that hangs on like mint. Adding rocks at the bottom does not improve drainage in a raised bed. It often does the opposite: when you stack a fine-textured soil mix over a coarse layer like gravel, the change in pore size can hold water above that interface (a perched water effect). Save rocks for pathways, not bed bottoms.
Pressure-treated scrap wood
Modern pressure-treated lumber is much safer than it used to be, but scraps at the bottom do not help weeds or pests, and they break down unpredictably. Use wood where it belongs, in the frame.
Thick layers of uncomposted food waste
I love composting, but burying kitchen scraps at the bottom of a bed can attract rodents and create uneven settling. Compost first, then add it as a top dressing or mix-in.
Special situations
Open-bottom bed on a patio
If you are placing an open-bottom raised bed on concrete, pavers, or asphalt, it cannot drain into the ground. Build in drainage from the start: use a well-draining soil mix and make sure water has a way to exit around the base. Hardware cloth is usually not necessary on hardscape unless you are dealing with rats that can access the bed from the sides.
Planter box with a solid base
A true planter box or container bed with a solid bottom needs drainage holes. Do not add rocks. Use a chunky, well-draining mix, and consider a piece of mesh over the holes to keep soil in (not to “improve drainage,” just to prevent washout).
If you are dealing with gophers
Gophers are strong diggers. Use heavier-gauge hardware cloth, keep seams overlapped, and fasten it thoroughly to the frame. In gopher-heavy areas, 1/4 inch mesh can add peace of mind, especially for beds growing roots and tubers.
If you have bindweed or Bermuda grass
These are the garden equivalent of that one email you cannot unsubscribe from. In addition to cardboard:
- Widen the weed-free zone around the bed with mulch or a path barrier.
- Stay on top of edges. Most invasions happen from the sides, not straight up from the bottom.
- Hand-pull immediately when you see runners sneaking in.
My go-to setup
For a typical backyard raised bed on soil, here is my “sleep well at night” method:
- Bottom: 1/2 inch hardware cloth, stapled or screwed tightly to the frame
- On top of that: 1 to 2 layers of overlapped, soaked cardboard
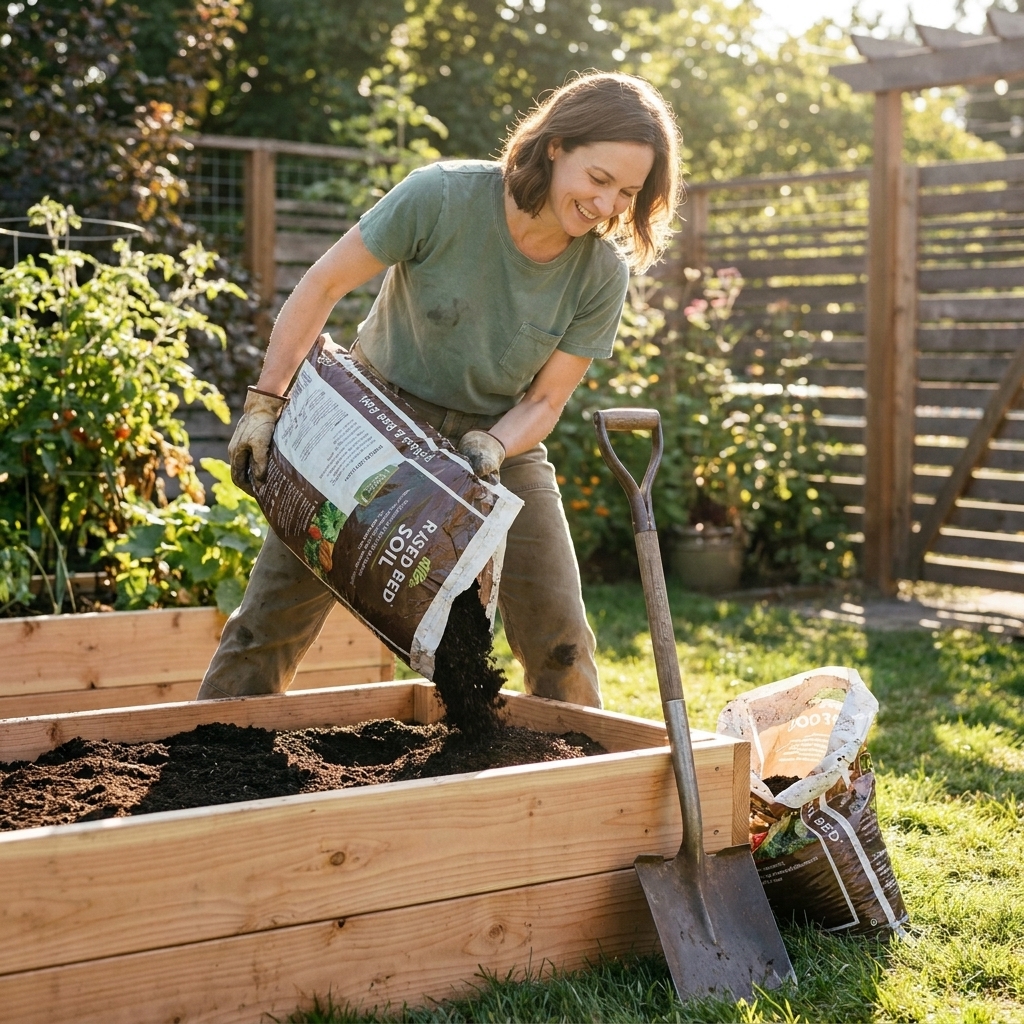
- Then: 2 inches of compost
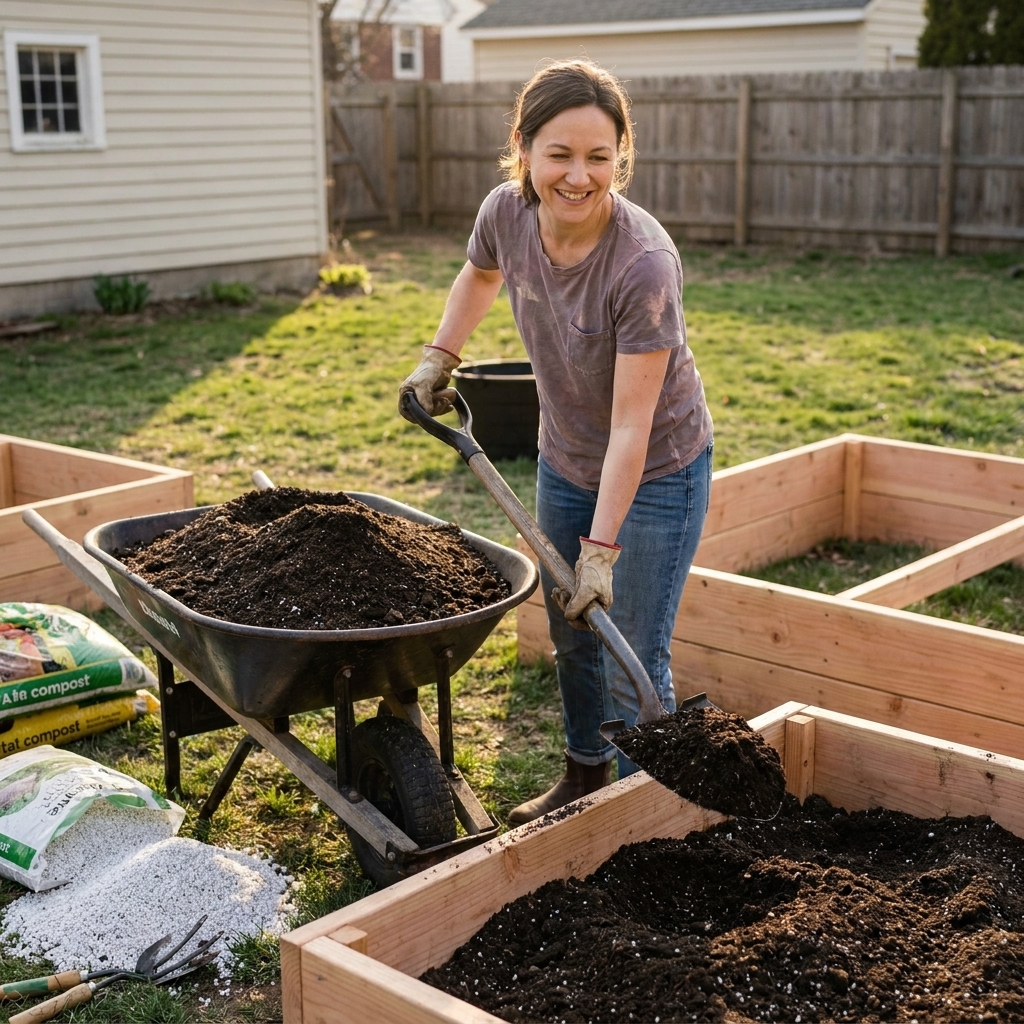
- Fill: raised bed mix (my usual is a blend of compost, coconut coir or peat, and an aeration component like pumice or perlite)
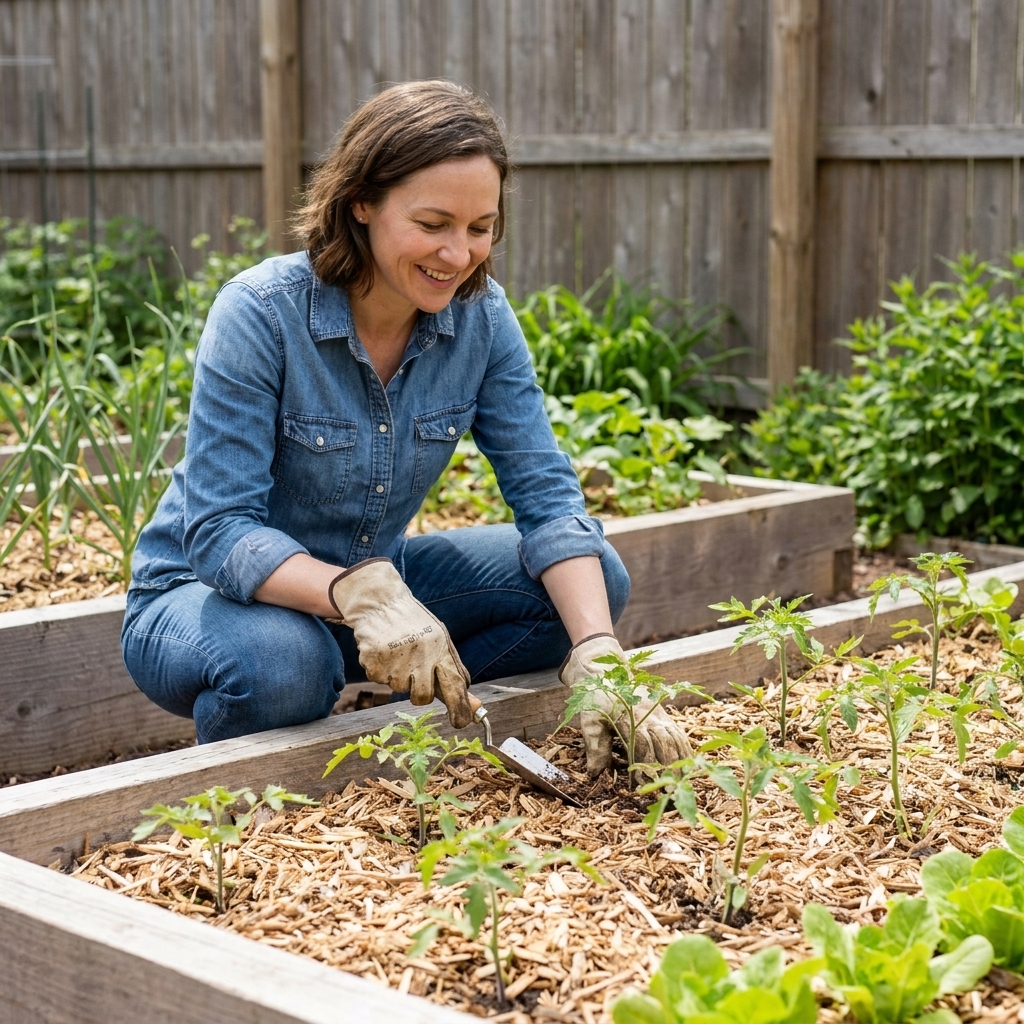
- Top: mulch (shredded leaves or straw) to reduce weed seed germination
Is it the cheapest possible setup? No. Is it the one that saves me the most time mid-season when I would rather be harvesting? Absolutely.
FAQ
Should I put newspaper under a raised bed?
You can. Newspaper works similarly to cardboard, but you need many layers and it shifts more easily when you add soil. If newspaper is what you have, wet it well and overlap generously, then top with compost before filling.
Will cardboard attract termites?
It depends on your local pressure. Cardboard is still cellulose, so yes, it can be a food source. In most gardens it breaks down fast enough that it is not the main driver of termites, but in high-termite areas it may increase activity, especially where moisture stays constant. If termites are a known issue where you live, keep wood bed frames well maintained, avoid chronically wet conditions, and consider skipping cardboard in favor of other weed strategies.
Do I need a bottom layer if my bed is very tall?
Taller beds help, but weeds can still creep in and rodents can still tunnel. If you are investing in a tall bed, it is worth protecting it properly, especially with hardware cloth if pests exist where you live.
Does hardware cloth limit deep roots?
In an open-bottom bed on soil, most veggie roots will be perfectly happy above hardware cloth, and fine roots can still explore through the openings. If you are growing something that truly wants depth (think big carrots or parsnips), the bigger limiter is usually bed height and soil texture, not the mesh. Build deeper if you want longer roots, and keep the mix loose.
How long does cardboard last?
It varies. In hot, wet, heavily irrigated beds it can soften and disappear in a few months. In cooler or drier climates it can hang on longer. Either way, it is doing its job while your bed establishes, then turning into organic matter.
Bottom line
If you want the simplest, most effective approach for both weeds and pests, go with hardware cloth plus overlapped cardboard. It is the combo that has given me the best harvest-to-headache ratio over the last decade of building beds, rebuilding beds, and occasionally muttering at whatever dug under them.
Set the foundation once, and the rest of the season gets to be the fun part.