The first time I tried “resting” my raised beds for winter, I did what a lot of us do. I left the soil bare, patted myself on the back, and went inside. By February, that bed looked like a tiny dust bowl. The surface crusted, the rain compacted it, and every time I pulled back the mulch I found less of that fluffy, crumbly texture I’d worked so hard to build.
Cover crops were my fix. They are living plants you sow when your veggies are winding down. Their job is to protect and feed your soil when you are not actively harvesting. In raised beds, cover crops are even more useful because we are gardening in a contained “soil battery” with limited volume and more exposure to rain and temperature swings. That smaller, more open system can lose structure and nutrients faster, especially if you top up with lightweight mixes.
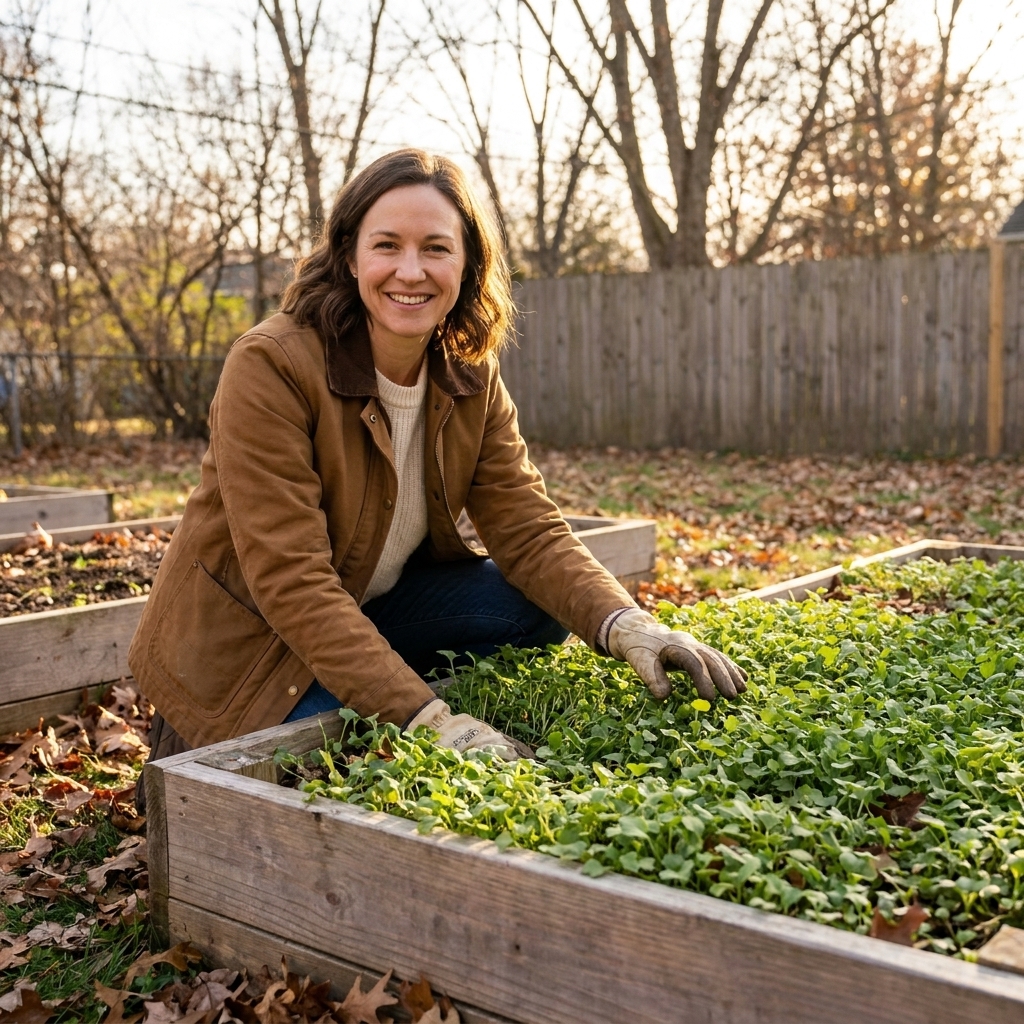
Below is how I use cover crops in small beds to prevent erosion, add organic matter, and, if you choose the right seeds, set the stage for better nitrogen availability after you cut them down in spring.
What cover crops do in a raised bed
Think of cover crops as a winter jacket and a slow-release soil builder all in one. Here’s what they’re doing under the surface while you’re sipping tea and dreaming of tomatoes:
- Prevent erosion and crusting: Roots hold soil in place and the leafy canopy softens heavy rain impact.
- Keep nutrients from washing away: Fast-growing covers act like a sponge, catching leftover nitrogen and minerals before they leach out.
- Build organic matter: When you cut them down and return them to the bed, they become “green manure” that feeds microbes and improves tilth.
- Improve soil structure: Roots create channels for air and water. In spring, those channels help seedlings establish faster.
- Fix nitrogen (legumes): Legumes like peas, vetch, and clover partner with soil bacteria to capture nitrogen from the air. Most of that nitrogen is stored in the plant and becomes available to future crops as the residue breaks down.
In a raised bed, you get a bonus benefit: a living cover helps keep the bed from becoming a soggy, compacted pan over winter, especially in climates with frequent rain.
Picking a cover crop: my checklist
You do not need a farm-style seed blend to get results. For raised beds, I choose based on four questions:
- How cold does it get? Some cover crops winter-kill, meaning they die after a hard freeze. Others overwinter and take off again in spring.
- Do I want nitrogen, biomass, or both? Legumes add nitrogen over time. Grasses and cereals make lots of carbon-rich biomass. Brassicas can help scavenge nutrients and punch through shallow compaction.
- How soon will I plant in spring? If you want to plant early, pick something easy to terminate or something that winter-kills.
- How much space can I spare? A 4x8 bed can only do so much. Sometimes a half-bed cover crop is the sweet spot.
Best winter cover crops for raised beds
Here are the cover crops I recommend most often for backyard beds, with the “why” and the “watch out.”
Crimson clover
Best for: Nitrogen fixing plus pretty winter coverage in mild to moderate climates.
- Pros: Great pollinator plant if it blooms, fixes nitrogen, manageable height in small spaces.
- Watch out: Needs time to establish before hard freezes. In very cold winters it may winter-kill.
Hairy vetch
Best for: Serious nitrogen contribution and thick spring biomass.
- Pros: Strong nitrogen fixer, vigorous growth, excellent green manure.
- Watch out: Can get tangly. In small spaces it is easy to underestimate how much vine you will have in spring. Cut it before it sets seed.
Winter rye (cereal rye)
Best for: Erosion control, nutrient capture, and lots of organic matter.
- Pros: Extremely hardy, fast to germinate, makes a dense root system that improves structure.
- Watch out: High-carbon residue can temporarily tie up nitrogen as it decomposes. Pair with a legume (like clover or vetch) or plan to add compost before heavy-feeding crops.
Oats (spring oats)
Best for: A low-fuss, winter-kill cover in cold climates.
- Pros: Easy, quick cover; often dies back after a hard freeze, leaving a mulch layer.
- Watch out: Winter-kill depends on variety and how cold it actually gets. Many oats reliably winter-kill somewhere around 10 to 20°F (about -12 to -6°C). In mild winters, they may limp along longer than expected, but they are still easy to cut down.
Field peas (Austrian winter peas)
Best for: Nitrogen fixing with easy spring handling.
- Pros: Softer stems than vetch, good nitrogen, pleasant to manage in small spaces.
- Watch out: Less hardy than rye. In very cold zones it can winter-kill, which is not a bad thing if you want a hands-off spring.
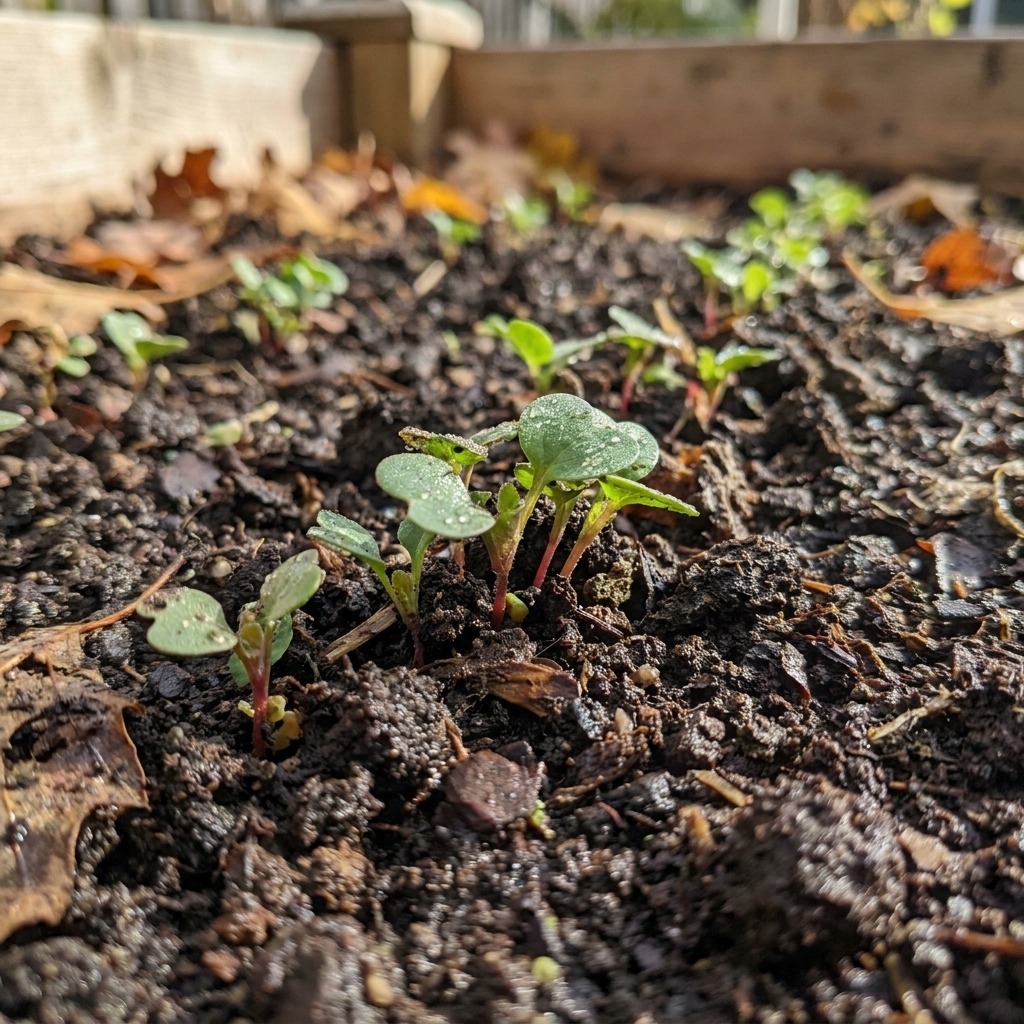
Daikon radish (tillage radish)
Best for: Scavenging leftover nutrients and helping with shallow compaction.
- Pros: Big taproots can create channels that improve drainage and root penetration.
- Watch out: The compaction benefit is biggest when you have enough soil depth for the taproot to size up. In shallow beds, or beds filled with chunky material, radish may not drill as deeply. Also, decomposing radishes can smell a little funky for a short time. Totally normal.
- Rotation note: Radish is a brassica. If you struggle with brassica diseases (like clubroot) or you grow a lot of cabbage, broccoli, and kale in the same bed, consider skipping brassica cover crops there.
My favorite simple mixes
Mixes help balance nitrogen and carbon, and they tend to cover soil more completely.
- Rye + crimson clover: Classic winter combo for structure plus nitrogen.
- Oats + peas: Great winter-kill mix for gardeners who want spring beds that are easy to replant.
- Rye + vetch: Heavy-duty soil building if you can give it time in spring before planting.
- Radish + oats: Quick fall coverage with compaction help.
When to plant cover crops
The right timing is less about a calendar date and more about giving seedlings enough warm days to establish before winter slows everything down.
- Rule of thumb: Many cover crops do best when sown about 4 to 8 weeks before your first hard frost.
- If you are late: Rye can be sown later than most, and oats often germinate fast enough to give you at least some coverage before cold weather hits.
- If you are planting legumes or brassicas: They often appreciate earlier sowing so they can size up before deep cold.
If you are gardening across regions, it is worth checking your local first frost date and remembering that overwintering varies a lot by microclimate. A bed beside a warm south-facing wall behaves differently than one out in the open.
In tiny spaces, I often do a two-step approach: I sow cover crop seed immediately after pulling a summer crop, even if it feels early. A cover crop can always be cut back if you want to plant a late round of lettuce or garlic.
How to sow cover crops (no-fuss)
Cover crops do not need perfection, but they do need seed-to-soil contact. Here’s the routine that gives me the most reliable germination.
- Clear the bed: Pull spent plants, remove big roots, and rake smooth. Leaving some fine roots is fine, and even helpful.
- Loosen the top inch: I use a hand cultivator or rake. I am not deep-digging, just scratching up the crust.
- Broadcast seed: Sprinkle evenly across the surface. In small beds, even coverage matters more than exact spacing.
- Rake in lightly: Aim for most seeds to be covered by about 1/4 to 1/2 inch of soil, depending on seed size.
- Water gently: Keep the top layer evenly moist for 5 to 10 days. In fall, that might mean watering every other day if it is dry.
- Optional compost dusting: A very light sprinkle of finished compost helps with moisture retention and early growth.
Seed rate note (to avoid the “patchy bed” problem): In raised beds, I follow the bag rate and then err slightly heavier for a fuller carpet. Thin stands let weeds sneak in and leave soil exposed. You are not trying to create rows. You are trying to cover ground.

Quick note on inoculant for legumes: If you are sowing peas, vetch, or clover, consider using the correct rhizobium inoculant for that legume group. It helps ensure the nitrogen-fixing partnership gets established, especially in newer beds or beds that have never grown legumes.
Winter care
Once the cover crop is up, your job is basically to leave it alone.
- Watering: Usually only needed during an unusually dry fall. After that, winter rain and snow handle it.
- Mulching: Skip heavy mulch on top of a living cover crop. You want light and airflow.
- Fertilizing: Not needed. The whole point is to use what’s already in the bed and build biology.
- Weeding: If weeds appear early, pull them. A thick stand will outcompete most winter weeds.
How to terminate cover crops (no tiller)
This is where raised bed gardeners sometimes get nervous. Good news: you do not need machinery. You just need timing.
Option 1: Chop-and-drop (my go-to)
Best for: Most beds, especially if you top with compost afterward.
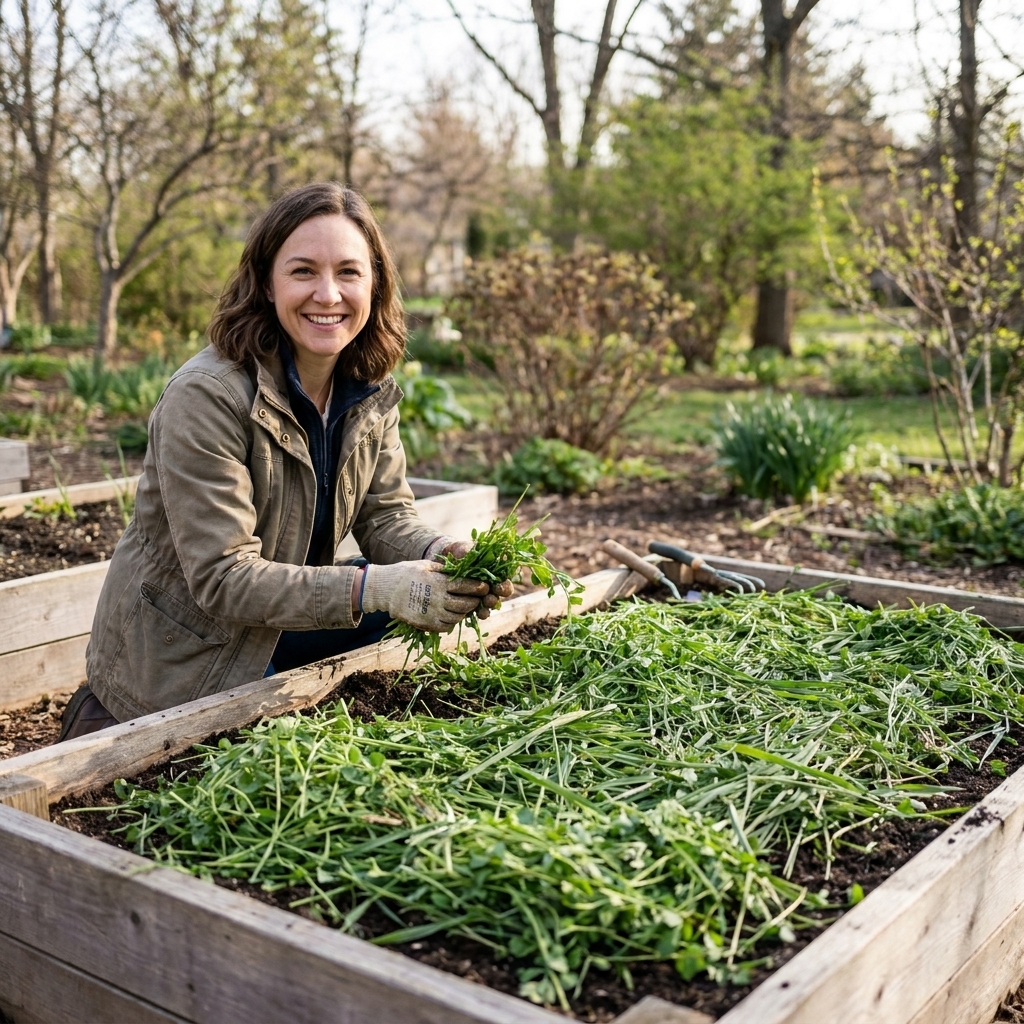
- On a dry day, cut the cover crop at the soil line using hand pruners, garden shears, or a serrated knife.
- Leave the chopped greens on the surface as mulch.
- If you want faster breakdown, chop smaller and water once.
Timing tip: Cut before the cover crop sets seed. For rye and vetch, cutting around early flowering is a common sweet spot, but in small beds I often cut earlier just to keep it manageable.
Slug tip: Fresh mulch is cozy slug habitat. If slugs are an issue for you, keep the residue thin, or pull it back from planting holes and add it back once transplants are established.
Option 2: Smother with cardboard or a tarp
Best for: Beds that got away from you, or if you want a clean surface for transplanting.
- Cut the growth down a bit, then cover the bed with cardboard (overlap seams) or a dark tarp.
- Wait 2 to 6+ weeks depending on temperatures and how vigorous the cover crop is.
This works well when spring is rainy and you do not want to be out there chopping repeatedly.
Option 3: Incorporate lightly (top few inches)
Best for: Fast spring planting when the cover crop is still young and tender.
Use a hand fork to tuck chopped material just under the surface. Keep it shallow to avoid disrupting deeper soil structure. Then wait about 2 to 3 weeks before planting seeds. Transplants can often go in sooner.
How long to wait before planting
- For transplants (tomatoes, peppers, brassicas): Often 1 to 2 weeks is fine if the residue is light or still young. I usually pull mulch aside, plant into a little compost pocket, then tuck the mulch back around the plant once it is settled.
- For direct-sown seeds (carrots, beets, greens): Give it 2 to 4 weeks after heavy chop-and-drop or incorporation so decomposition does not interfere with germination. Make a smooth strip of soil or compost for the seed row.
- After rye-heavy covers: Plan on more wait time, more chopping, or both. Rye is amazing, but it is not subtle. Pair it with a legume, add compost in spring, and consider planting transplants first instead of tiny seeds.
Planting into residue: what works
This is the part that makes or breaks the spring transition for beginners. These are the two methods I use most:
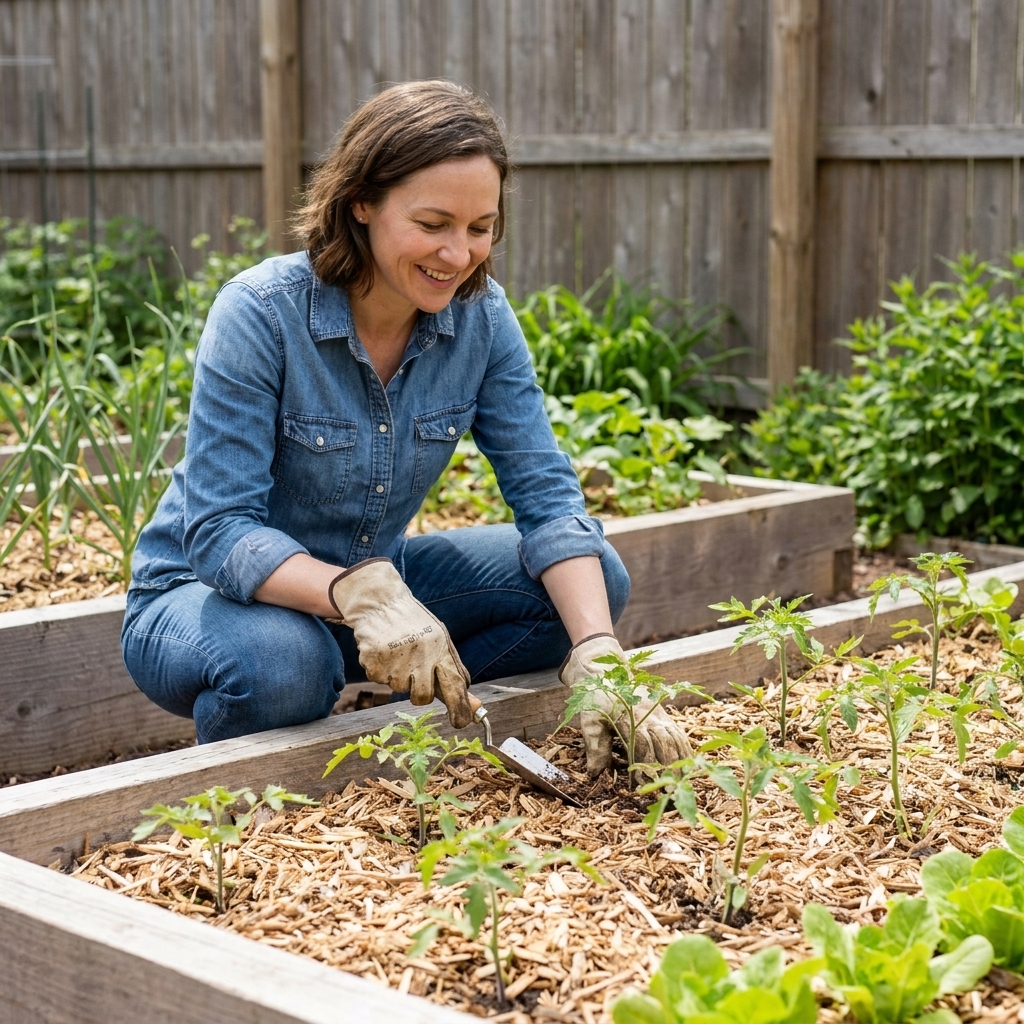
- Compost pockets for transplants: Chop the cover crop, then pull residue aside where each plant will go. Add a trowel-full of compost, plant, water, and keep the mulch a couple inches back from the stem for the first week or two.
- Clean strips for direct seeding: Rake aside residue in a 2 to 4 inch band, sprinkle a little compost, level it smooth, and sow your seeds into that clean, fine-textured strip. You can leave the rest of the bed mulched.
Sample fall cover crop plans
If your bed grew heavy feeders all summer
Think tomatoes, corn, squash.
- Best pick: Crimson clover or peas (or a mix with oats)
- Why: You are replenishing nitrogen over time and adding organic matter without creating a tough mat that delays spring planting.
If your soil is compacted or drains poorly
- Best pick: Daikon radish + oats
- Why: Radish roots can help open channels where there is enough depth; oats provide quick coverage and easy spring cleanup.
If you want maximum spring mulch for weeds
- Best pick: Winter rye (alone or with clover)
- Why: Rye makes a thick surface mulch when cut, which can reduce spring weeds dramatically.
If you want the easiest spring transition
- Best pick: Oats (winter-kill) or oats + peas
- Why: In colder areas, winter-killed covers leave a ready-made mulch layer and minimal chopping.
Common mistakes I’ve made
- Planting too late: Seeds sprout, then stall, leaving patchy coverage. Solution: aim for that 4 to 8 week window when you can, and lean on rye or oats if you are behind.
- Letting covers go to seed: Congratulations, you planted next year’s “volunteer cover crop.” Cut earlier.
- Expecting instant nitrogen: Nitrogen from legumes is real, but it is not a magic faucet. It becomes available as the residue decomposes. Add compost, and be patient.
- Planting tiny seeds into fresh, chunky residue: Carrot seeds do not love a rough surface. Rake a smooth strip, add a little compost, then sow.
- Skipping legume inoculant in new beds: Not always required, but it can make the difference between decent and excellent nitrogen fixation.
FAQ
Can I just mulch instead of planting a cover crop?
Yes. Mulch is absolutely better than bare soil. But a living cover crop does more: it grows roots, feeds soil microbes with root exudates, and can capture nutrients that would otherwise leach away. If you have the time and the bed is empty, cover crops are a big upgrade.
Will cover crops steal nutrients from my spring vegetables?
They can temporarily, depending on the type. Rye and other grasses are carbon-rich, and as they decompose soil microbes may use available nitrogen. The fix is simple: pair rye with a legume, add compost in spring, and consider transplanting into compost pockets if you have a lot of residue.
Do I need to pull the roots out?
No, and I recommend you don’t. Cutting at the soil line and leaving roots in place is one of the easiest ways to build structure. Those roots decompose and become pathways for water and air.
What if I still have crops growing in fall?
Interseed. You can lightly scratch seed into open spaces between slower fall crops (like peppers that are finishing up). Or cover-crop just half the bed. A partial cover is still worth it.
Are cover crops safe in small raised beds?
Yes, as long as you choose a manageable species and commit to cutting it down before it gets woody or sets seed. In small spaces, oats, peas, clover, and young rye are very forgiving.
My simple recommendation
If you want one low-stress starting point, try oats + peas if your winters are cold enough to winter-kill, or crimson clover if your winters are mild and you want a spring nitrogen boost after termination. You’ll protect the soil, add organic matter, and head into spring with a bed that feels alive instead of tired.
And when you cut your first cover crop down and see worms in February, you’ll understand why I stopped leaving my beds bare.