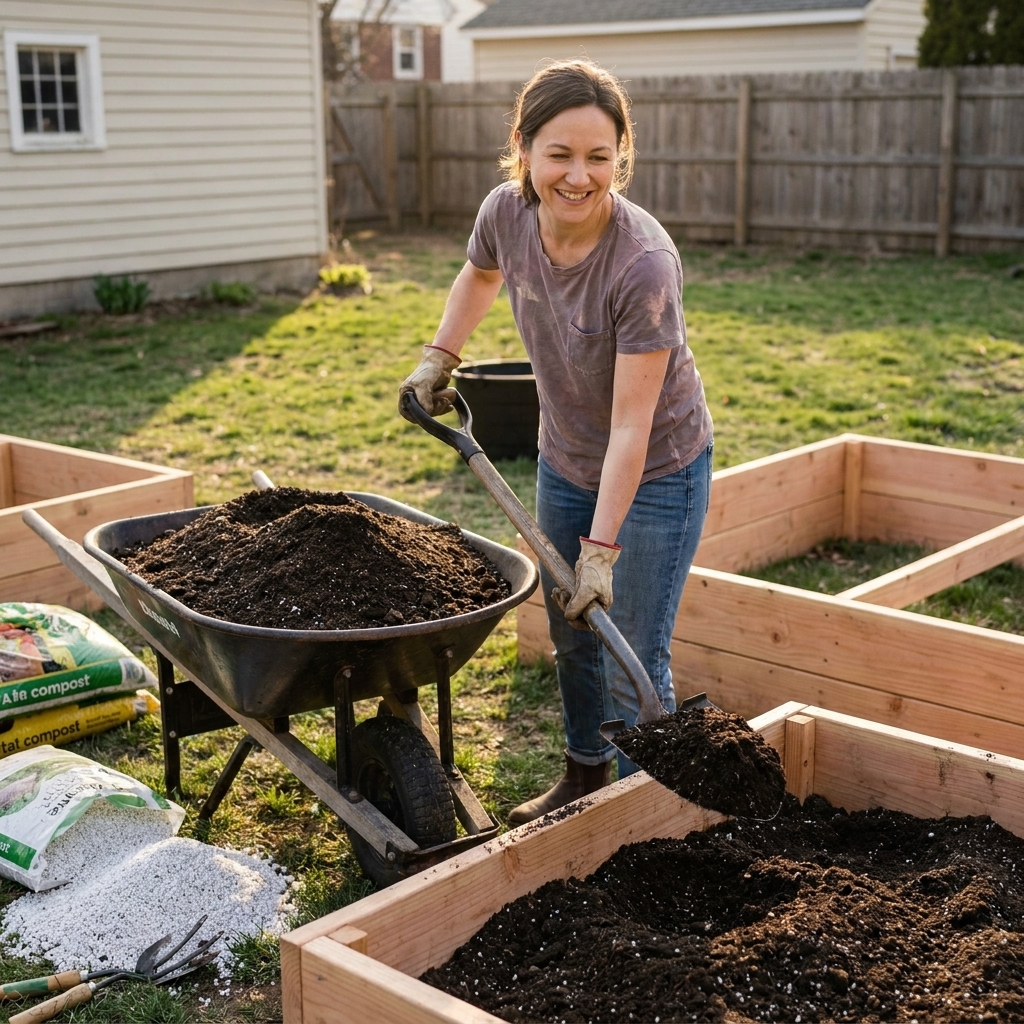
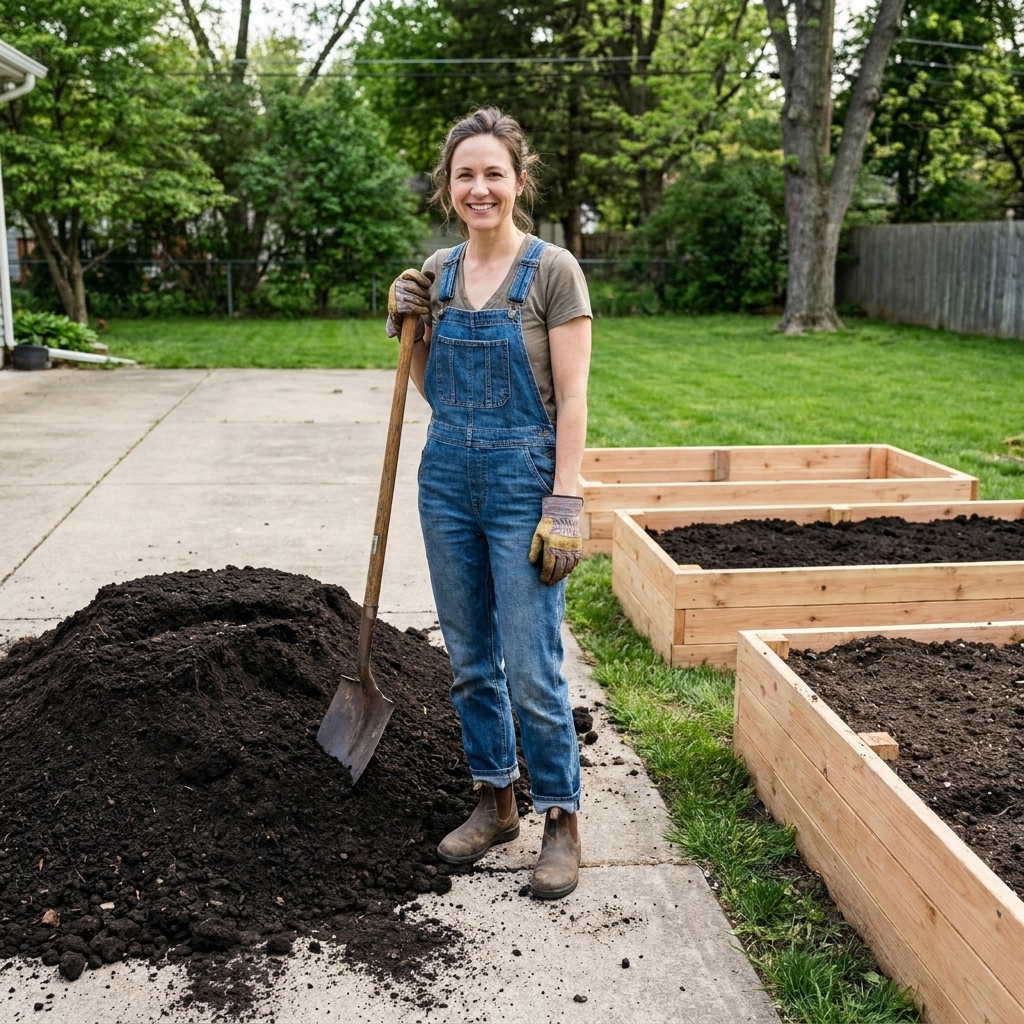
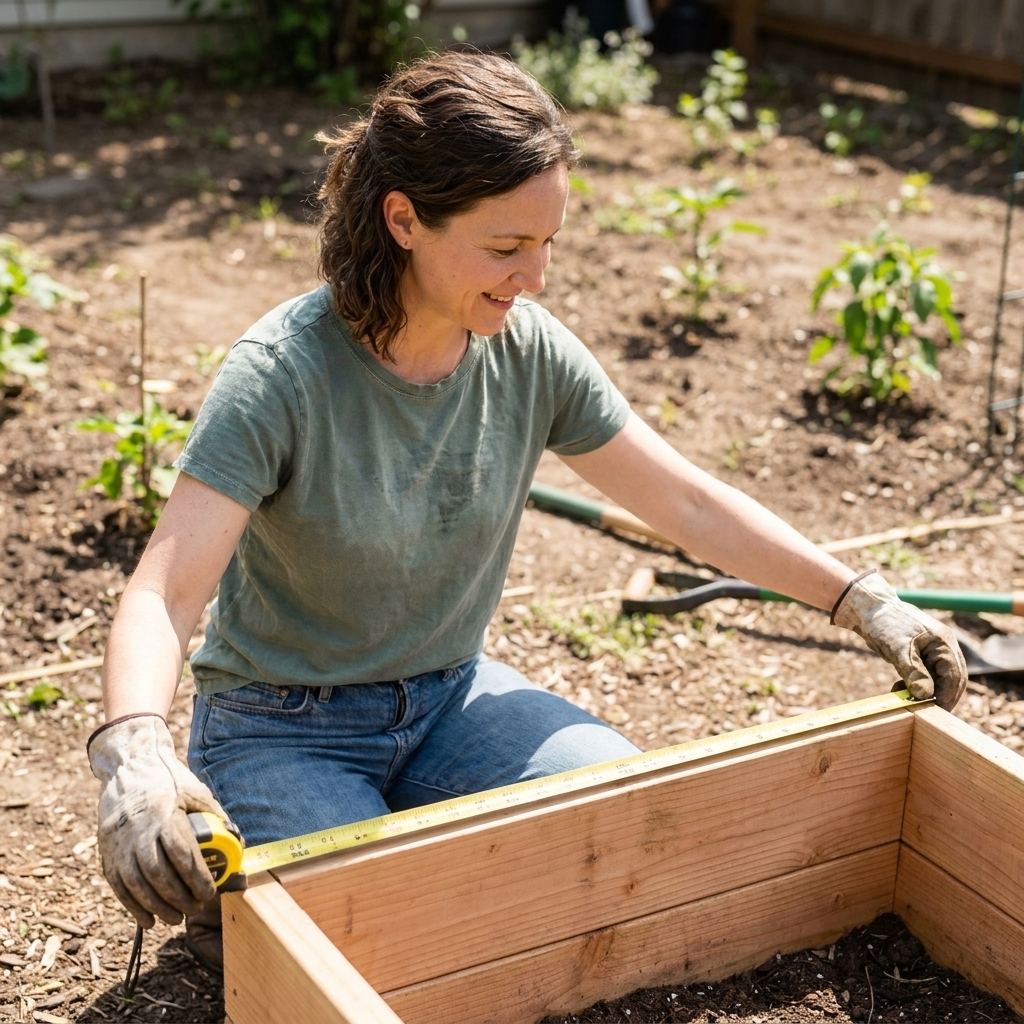
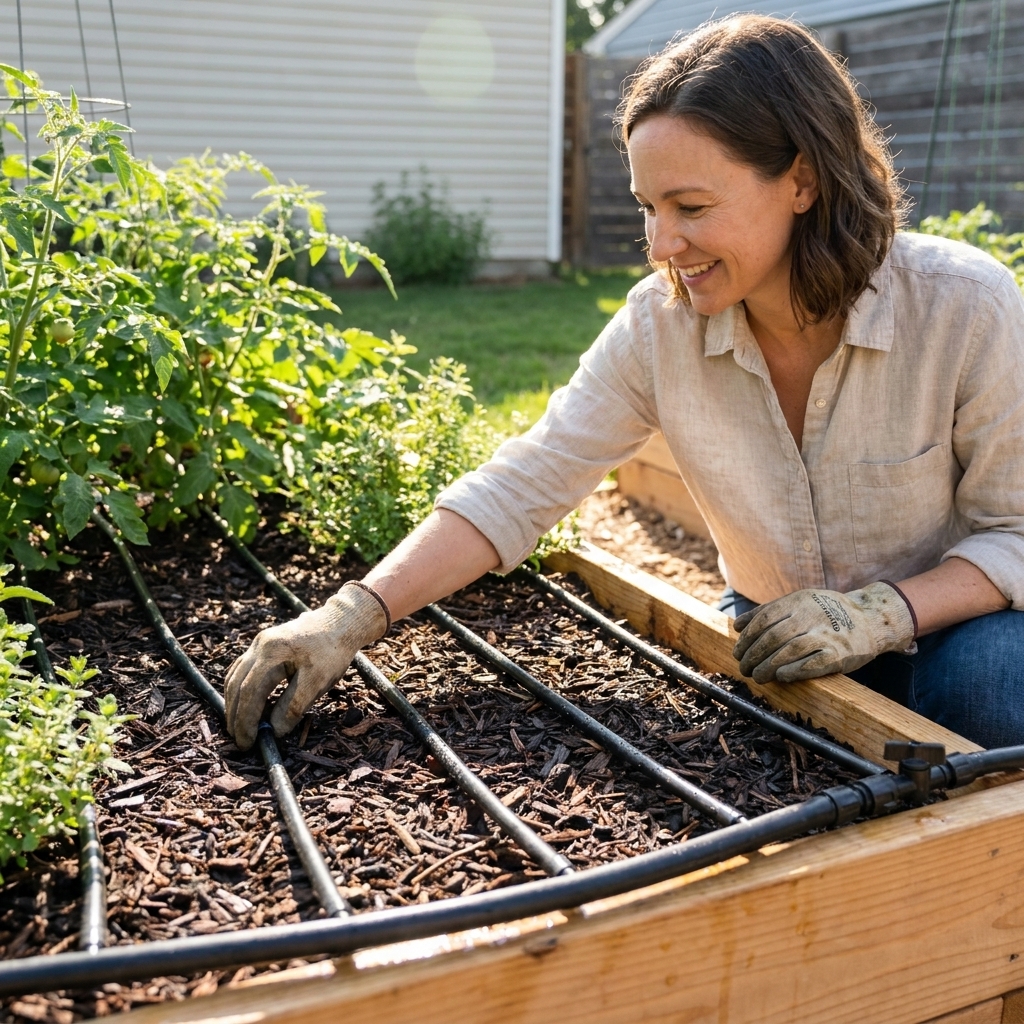
The first time I heard “your soil pH is off,” I took it personally. I was feeding my raised beds compost, babying seedlings, watering like a responsible adult, and still getting yellow leaves and sad harvests. Turns out my plants were not being dramatic. They simply could not access nutrients because the pH was out of whack.
Soil pH sounds technical, but it is one of the most beginner-friendly fixes in raised bed gardening once you learn the rhythm: test, interpret, adjust gently, then retest. I will walk you through exactly how I do it at home with inexpensive tools and natural amendments.
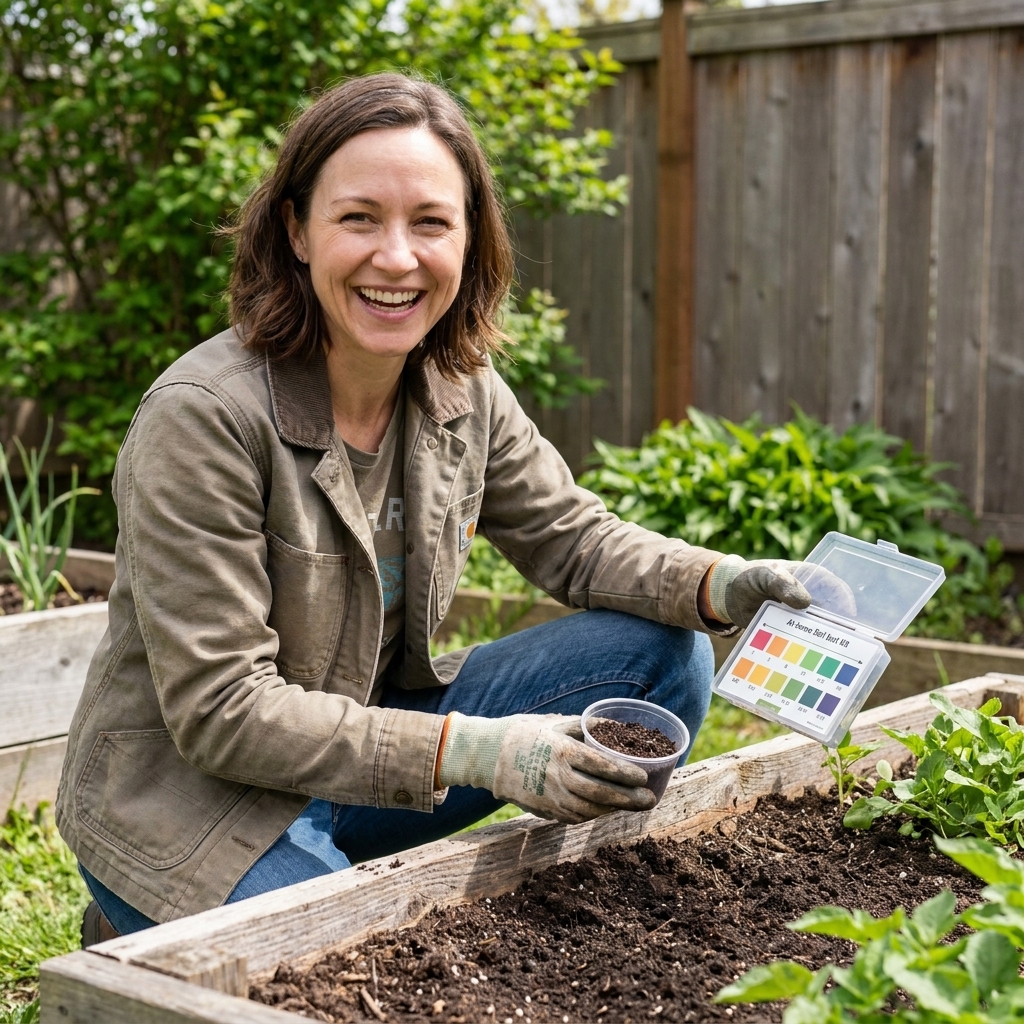
What soil pH does
Soil pH is a measure of how acidic or alkaline your soil is, on a scale of 0 to 14. Most vegetables prefer slightly acidic to neutral soil because that is where key nutrients are most available.
- Low pH (acidic): Some nutrients become too available (and can reach toxic levels), while others get harder for plants to take up.
- High pH (alkaline): Iron, manganese, and phosphorus can become less available, which often shows up as yellowing leaves even when you are fertilizing.
Raised beds are a little different than in-ground gardens because your soil mix, compost habits, and even your irrigation water can shift pH faster. The good news is you are working with a defined volume of soil. That means you can amend more predictably than an open in-ground system.
One more raised-bed reality check: many beds are filled with high-compost blends or soilless, potting-style mixes. Those can test a little differently than mineral soil and they can swing faster because they often have less buffering power.
Ideal pH by crop
If you only remember one number, remember this: most vegetables are happiest around 6.2 to 6.8. But a few crops lean one way or the other.
| Crop | Target pH range | Notes |
|---|---|---|
| Tomatoes | 6.2 to 6.8 | Outside this range you may see stalling, pale growth, or persistent nutrient deficiency symptoms even when you are feeding. Blossom end rot is usually more about uneven watering and calcium transport, but extreme pH can add stress. |
| Peppers | 6.0 to 6.8 | They tolerate slightly more swing than tomatoes but still prefer mildly acidic. |
| Lettuce | 6.0 to 7.0 | Fairly forgiving, but very high pH can trigger micronutrient issues. |
| Carrots | 6.0 to 6.8 | Very low pH can contribute to slow growth by limiting nutrient availability. Carrots tend to be pickier about soil texture and stones than pH details. |
| Beans | 6.0 to 7.0 | They fix nitrogen best when pH is not extremely acidic. |
| Cucumbers and squash | 6.0 to 6.8 | Often struggle with nutrient uptake in alkaline mixes. |
| Brassicas (broccoli, cabbage) | 6.5 to 7.0 | For general growth, slightly acidic to neutral is fine. If clubroot has been an issue, many gardeners aim closer to 7.2 over time. |
| Potatoes | 5.0 to 6.0 | More acidic soil can reduce scab. Do not lime potato beds unless you have to. |
| Blueberries | 4.5 to 5.5 | These are the pH divas. They usually need a dedicated bed or container. |
If you are growing a mix of vegetables in one bed, aim for the middle ground around 6.4 to 6.8. Specialty crops like blueberries do best in their own setup.
When to test pH
I test my raised beds at three moments:
- Early spring before I add fertilizers or big compost layers.
- Midseason if plants look nutrient-deficient even though watering and feeding are consistent.
- Fall after clearing beds, especially if I plan to make a pH change, since amendments work slowly.
In most backyards, testing once a year is enough. If you are actively adjusting pH, you will test more often until things stabilize.
How to test pH at home
You have three realistic options for raised beds. Each has a place, and you do not need anything fancy to get useful results.
Option 1: At-home test kit (my go-to)
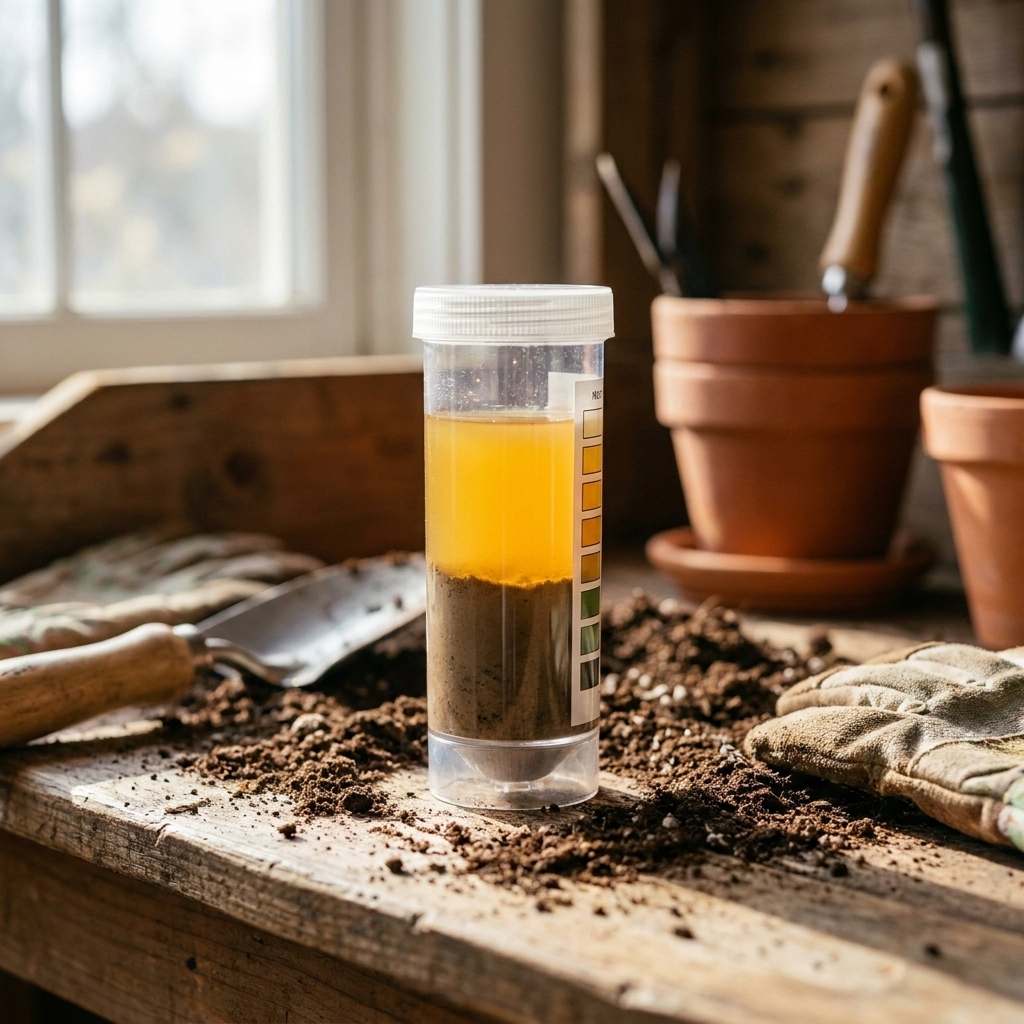
These are the little kits with a vial, powder or solution, and a color chart. They are affordable and accurate enough for gardening decisions.
- Collect soil from several spots in the bed, not just one corner. I take 5 to 8 small scoops.
- Sample the right depth: about 4 to 6 inches down, where most feeder roots live.
- Remove obvious bits like mulch chunks, big sticks, and fresh undecomposed compost.
- Mix the soil thoroughly in a clean container to make one “composite” sample.
- Follow the kit directions exactly on soil amount, water type, and wait time. Color timing matters.
Tip from my own mistakes: If you test right after adding compost or fertilizer, you can get confusing readings. Test before feeding, or wait a couple of weeks after major additions.
Option 2: Digital meters (convenient, but often unreliable)
Inexpensive probe meters are tempting. Some work fine, many are finicky, and plenty are simply inaccurate in low-salt potting-style mixes. Also, many bargain “soil pH” probes are not truly calibratable in the way a proper pH meter is.
- Moisten the soil evenly first. Dry soil often reads inaccurately.
- Clean the probe between beds.
- If your meter supports it, expect better results in a soil slurry (soil plus distilled water) than in dry-ish bed soil.
If you want consistent readings, the color kit is usually simpler. If you want digital accuracy, buy a quality meter designed for soil or slurry testing and follow its calibration instructions.
Option 3: Lab soil test (best for a full picture)
If you are troubleshooting recurring problems or building new raised beds from scratch, a lab test is worth it. You get pH plus nutrient levels and often organic matter. It can save you from guessing and over-amending.
How to read your result
Here is how I translate numbers into action for raised bed vegetables:
- Below 5.5: Too acidic for most vegetables. Plan to raise pH.
- 5.5 to 6.0: Okay for potatoes and a few crops, but many veggies will be sluggish. Consider a gentle nudge upward if this is a general-purpose bed.
- 6.1 to 6.9: The sweet spot for most raised bed crops.
- 7.0 to 7.5: Slightly alkaline. Many vegetables still grow, but micronutrient issues become more likely.
- Above 7.5: Strongly alkaline. Plan to lower pH and consider testing your irrigation water too.
Also look at patterns. If only one bed is off, it is probably the soil mix or what you have been adding. If every bed is high, your water source might be pushing pH up over time.
How to raise pH
To raise pH naturally, the standard amendment is garden lime. But “lime” comes in a couple forms, and it matters.
Choose the right lime
- Calcitic lime (calcium carbonate): raises pH and adds calcium.
- Dolomitic lime (calcium magnesium carbonate): raises pH and adds magnesium too. Handy if your soil mix is low in magnesium, but you do not want to overdo it.
Avoid quicklime or hydrated lime for raised beds. They are too strong and easy to misuse.
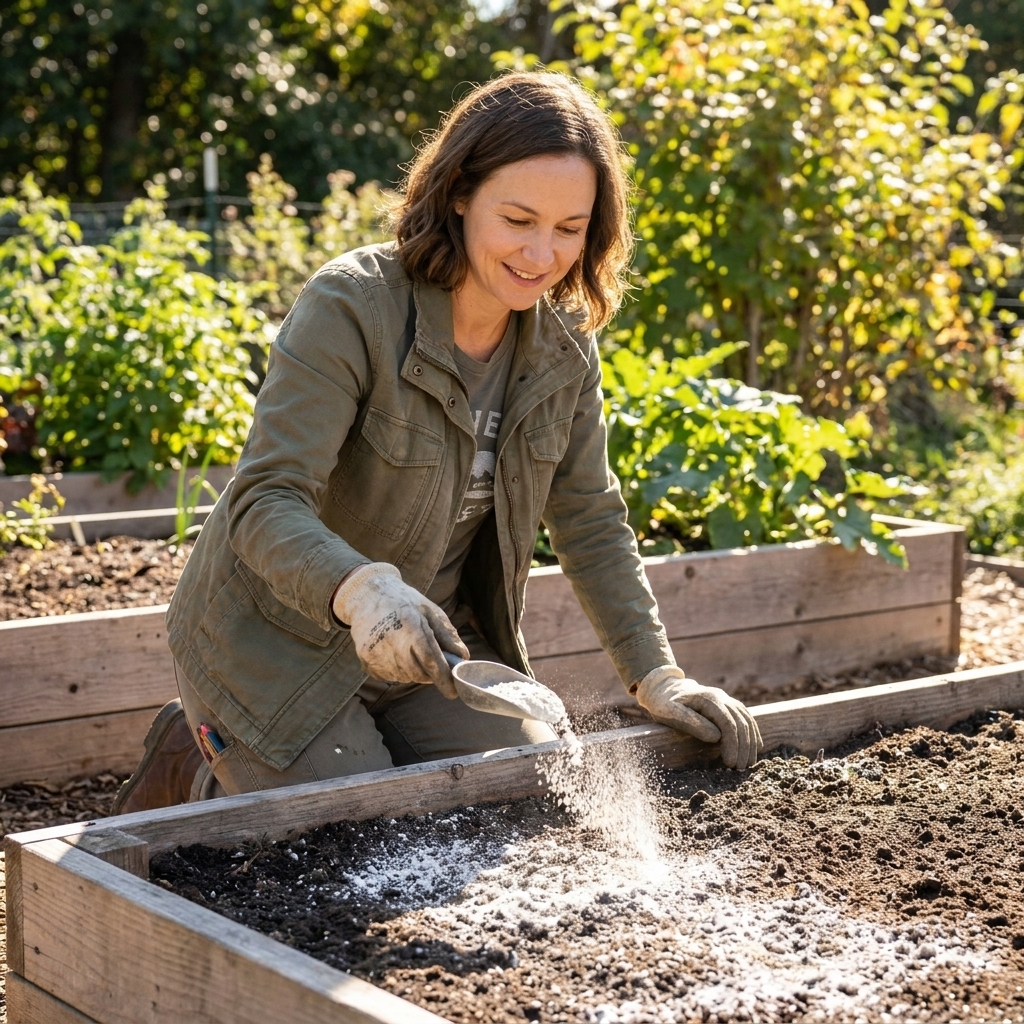
How to apply lime in a raised bed
Because raised beds vary wildly in soil blend, depth, and buffering capacity, I prefer a safe approach instead of chasing one magic number.
- Start with the label rate for your situation when available, then err on the lighter side for raised beds.
- As a cautious ballpark: for mild correction, many gardeners start around 1 to 2 cups of pelletized lime per 10 square feet, then reassess. If your label says something different, trust the label.
- Spread evenly over the bed.
- Mix it in to the top 4 to 6 inches. Leaving lime on the surface works slowly and can create odd little zones.
- Water it in and let the bed sit.
- Retest after 4 to 6 weeks for an early read. For a truer “did it really settle?” number, retest again around 8 to 12 weeks, especially in cool weather.
If your bed is very acidic, you may need more than one round. Going slowly prevents overshooting, which is much harder to fix.
Where I have tripped up: I once limed a bed in spring, then added a calcium-heavy fertilizer, then wondered why my leafy greens acted weird. Amend one variable at a time when you can.
Basic safety: Lime dust is irritating. I wear gloves, avoid windy days, and use a simple dust mask if I am spreading a powdery product.
How to lower pH
Lowering pH is doable, but it usually takes patience. If your raised bed soil is alkaline, these are the amendments I reach for.
Elemental sulfur (most effective)
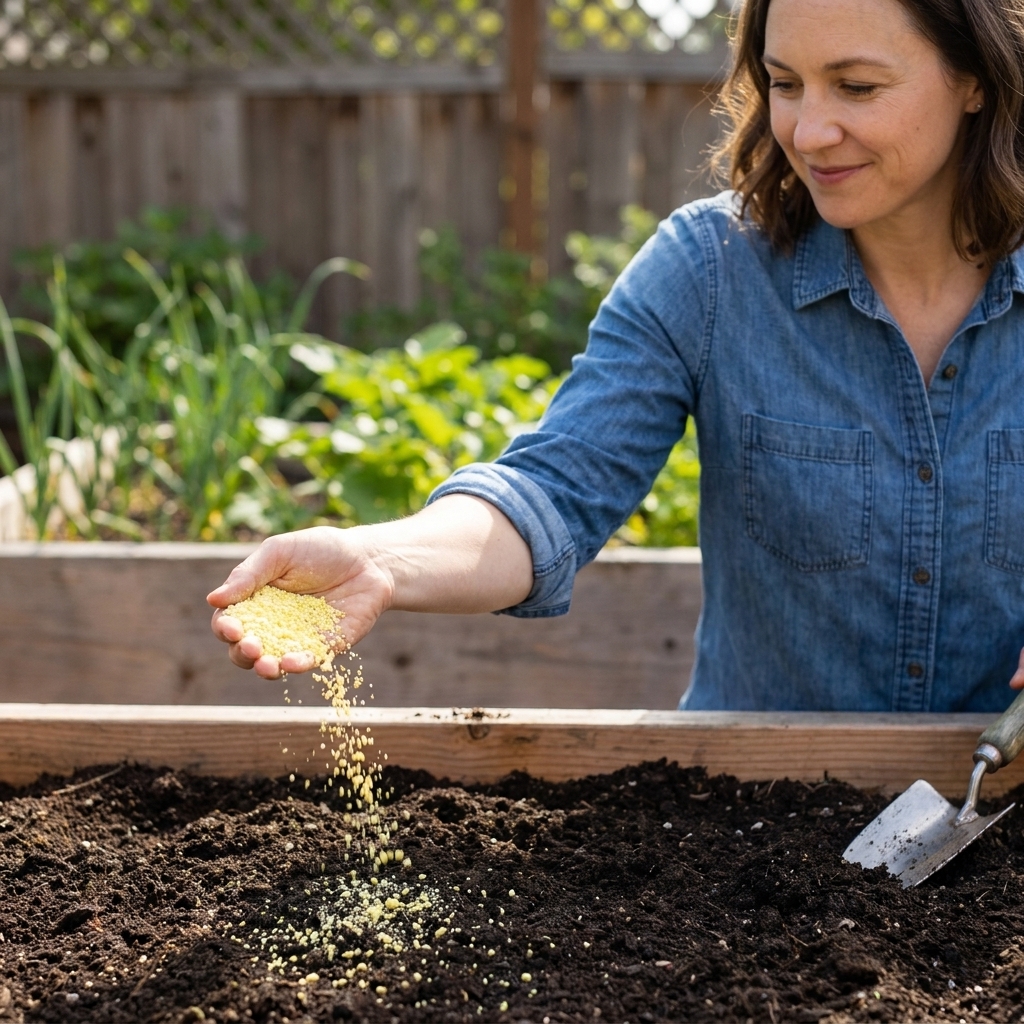
Elemental sulfur lowers pH as soil microbes convert it over time. It works best when soil is warm and moist, so spring through early fall is ideal.
- Apply according to the product label.
- Mix into the top few inches to avoid hot spots.
- Water well.
- Retest in 4 to 6 weeks to see if it is starting to move, then again later. Full change often takes longer, especially in cool conditions.
Go gently. Too much sulfur can stress roots.
Basic safety: Wear gloves, keep the granules out of your eyes, and avoid breathing dust when pouring or mixing.
Organic options (slower, but steady)
- Pine needles: better as a light mulch than a fast pH changer, but they can help a little over time.
- Peat moss: acidic and effective, but I use it sparingly. If you do use it, mix thoroughly so it does not form dry pockets.
- Compost: often nudges soil toward neutral. If your bed is alkaline, compost alone may not drop pH, but it improves nutrient availability and buffering so plants cope better.
A note on coffee grounds
Used coffee grounds are not a reliable pH-lowering tool. They are great for adding organic matter in small amounts, but do not expect them to correct alkaline soil on their own.
Fixes that work without chasing numbers
Sometimes the smartest move is not a dramatic pH correction. It is improving how your soil behaves so plants can access what is already there.
Add organic matter for buffering
Compost, leaf mold, and well-rotted manure improve soil structure and help stabilize swings. In raised beds, this is huge because potting-style mixes and high-organic blends can drift faster than mineral soil.
Know your bed’s buffering power
The same amount of lime or sulfur can shift pH a lot in a light, sandy or soilless mix, and barely move the needle in a heavier, mineral-rich blend. That is why I adjust in steps and retest instead of going big all at once.
Check your water if pH keeps creeping up
If you have hard water, repeated watering can slowly raise pH and add minerals that lock up nutrients. If your beds are always reading high, consider:
- Collecting rainwater for your most sensitive crops.
- Adding organic matter regularly to improve buffering.
- Using targeted sulfur applications rather than big one-time changes.
Grow to your bed’s reality
If one bed sits around 7.2 no matter what, it might be your brassica bed. Save your pH perfectionism for the tomato bed.
How long pH changes take
- Lime: you may see some movement in 4 to 6 weeks if it is well mixed and kept moist, but the more complete change often takes 2 to 3 months (or longer in cool weather).
- Elemental sulfur: often 4 to 6 weeks to begin shifting in warm, moist soil, and longer for a full change depending on temperature and microbial activity.
- Organic approaches: months to seasons.
This is why I love fall pH work. You can adjust, let winter and spring moisture do their thing, then plant into a more stable bed.
Common raised bed pH mistakes
- Testing one scoop of soil: you can get a completely different number six inches away.
- Changing pH and fertilizing heavily at the same time: if plants react badly, you will not know which change caused it.
- Using wood ash casually: ash can raise pH fast and can add salts. Use it only if you truly need to raise pH and in small, measured amounts.
- Trying to force blueberries into a veggie bed: blueberries want a totally different pH range. They are much happier in their own acidic container or dedicated bed.
- Overshooting: it is easier to go up or down in small steps than to recover from an extreme swing.
Quick troubleshooting symptoms
These issues can have other causes, but if you see them consistently, pH is worth checking.
- Yellow leaves with green veins (chlorosis), especially on new growth: often tied to high pH locking out iron and manganese.
- Stunted growth even with adequate sun and water: can happen when pH limits nutrient uptake.
- Purple-tinged leaves in cool weather: can be phosphorus uptake issues, which can worsen when pH is too high or too low.
- Blossom end rot on tomatoes: usually driven by inconsistent moisture and calcium transport. If your pH is far outside the ideal range, it can add to overall nutrient stress, but it is not a stand-alone diagnosis.
FAQ
What is the best pH for a mixed vegetable raised bed?
Aim for 6.4 to 6.8. It keeps most nutrients available and keeps a wide range of crops happy.
Can I adjust pH while plants are growing?
Yes, but do it gently. Top-dressing with small amounts and watering in is safer than heavily mixing amendments into a bed full of roots. If your pH is way off, consider a bigger correction at the end of the season.
How deep should I sample soil in a raised bed?
For most vegetables, collect soil from 4 to 6 inches deep. If your bed is very deep and you suspect layering issues, test the top layer and a deeper layer separately.
Does compost change pH?
Usually compost pushes soil toward neutral and improves buffering. It is fantastic for soil health, but not a precise tool for lowering a high pH or raising a low pH on its own.
Should I use vinegar to lower soil pH?
I skip it. Vinegar can temporarily acidify water or soil surface, but it is not a stable, predictable way to change bed pH and it can harm soil life in stronger doses. Elemental sulfur is the more reliable long-term option.
A simple yearly plan
- Test in early spring using a composite soil sample.
- Aim for 6.4 to 6.8 for most veggie beds.
- Adjust slowly with lime to raise pH or elemental sulfur to lower pH, and mix amendments into the root zone when possible.
- Retest after 4 to 6 weeks for direction, and again later if you are making bigger changes.
- Keep it steady with annual compost additions and mindful watering.
If you want, tell me what you are growing and what your pH test reads. I can help you pick a target range and the gentlest correction plan for your raised bed setup.