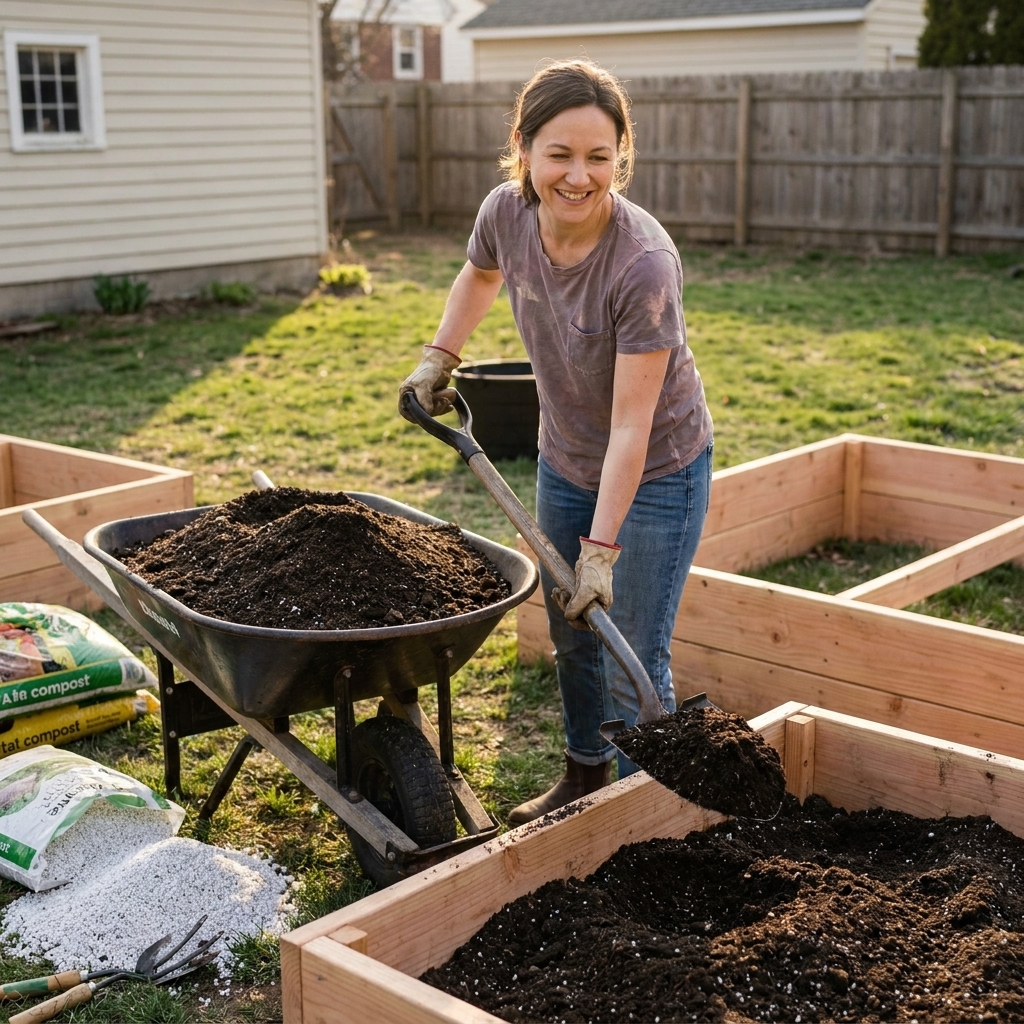
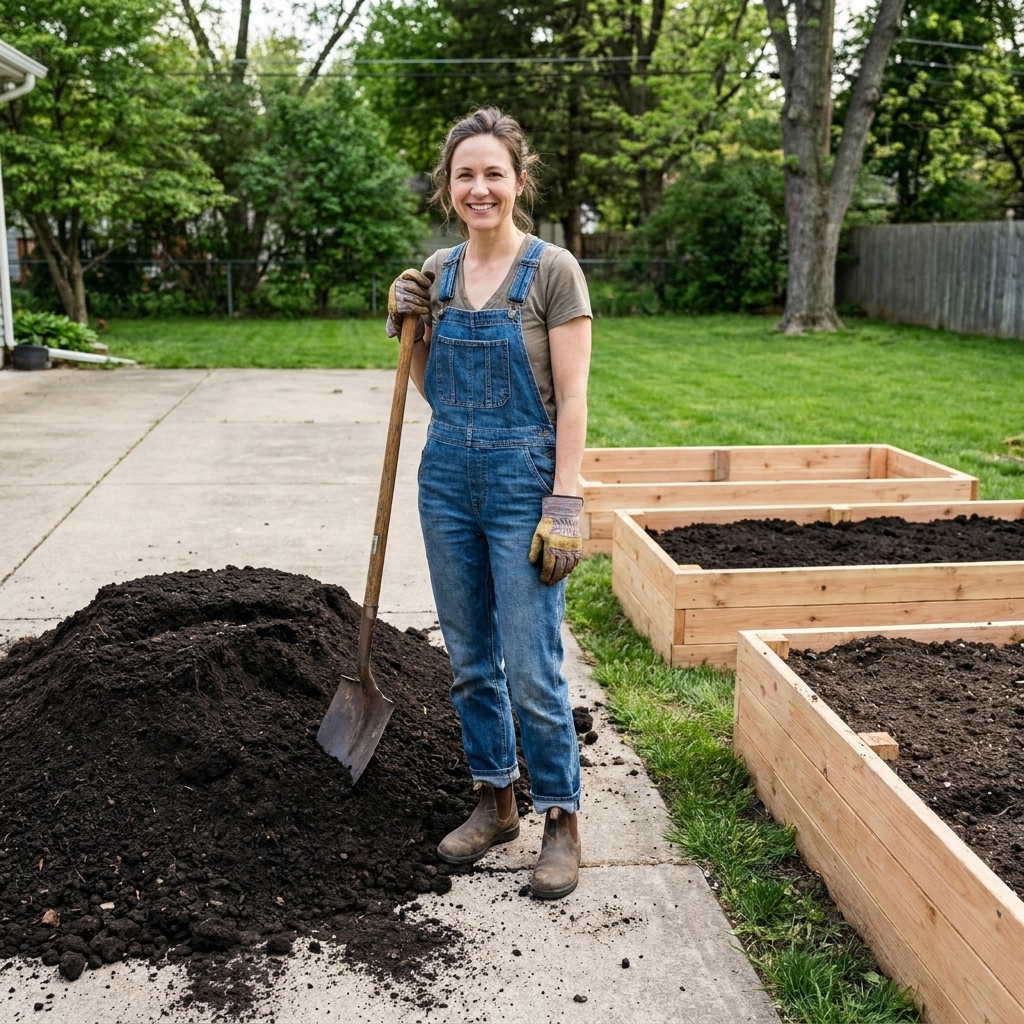
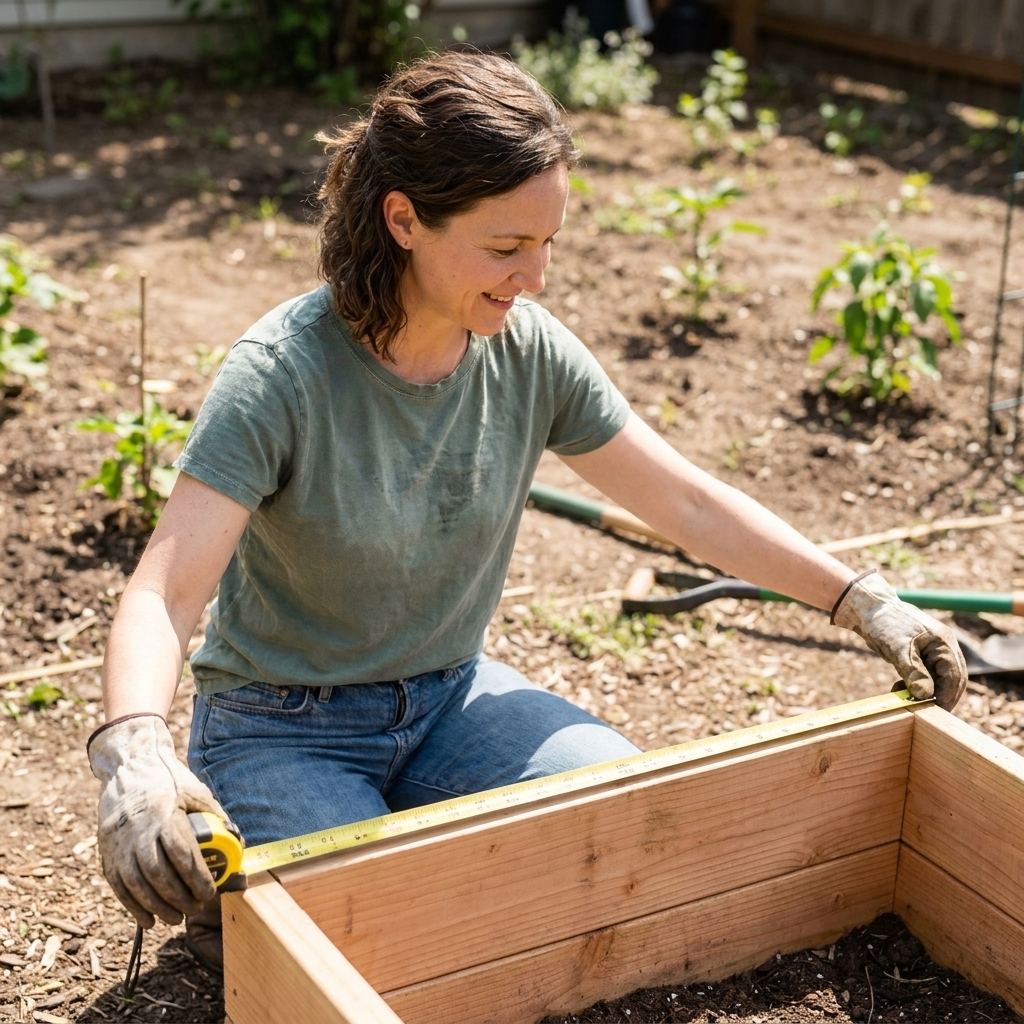
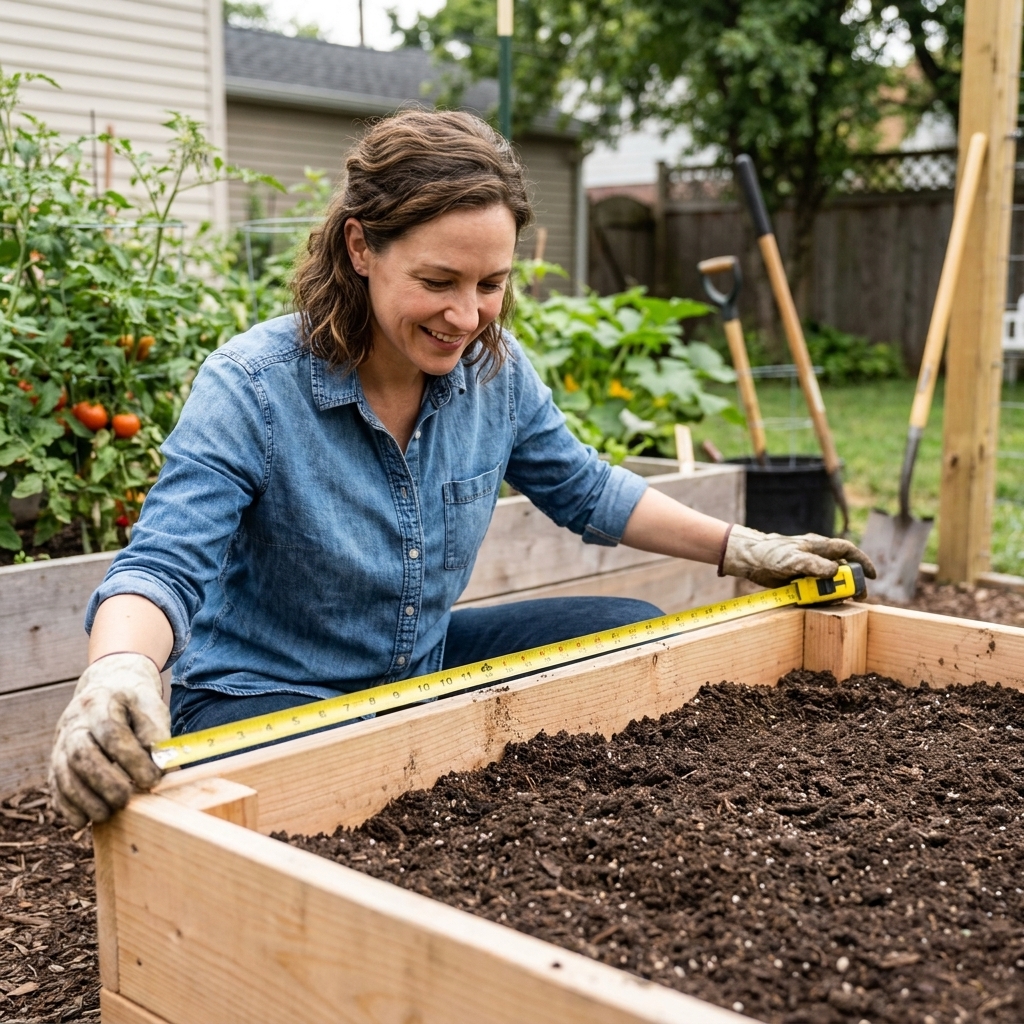
If you have ever priced out enough soil to fill a 24 to 36 inch tall raised bed, you already know the pain. The good news is you do not need to pay for a whole bed of premium mix. The hugelkultur method lets you use logs, branches, and yard waste as a long-lasting base layer so you only buy or blend the soil you actually need near the top where most feeder roots do their work.
I started using hugelkultur after I built my first tall bed and immediately realized I had basically created a very expensive sandbox. My first attempt was not perfect, but the bed held moisture better than my fully soil-filled beds and it became one of my most productive spots a couple seasons later. Let me walk you through a version that works beautifully for raised beds, keeps costs down, and avoids the common gotchas.
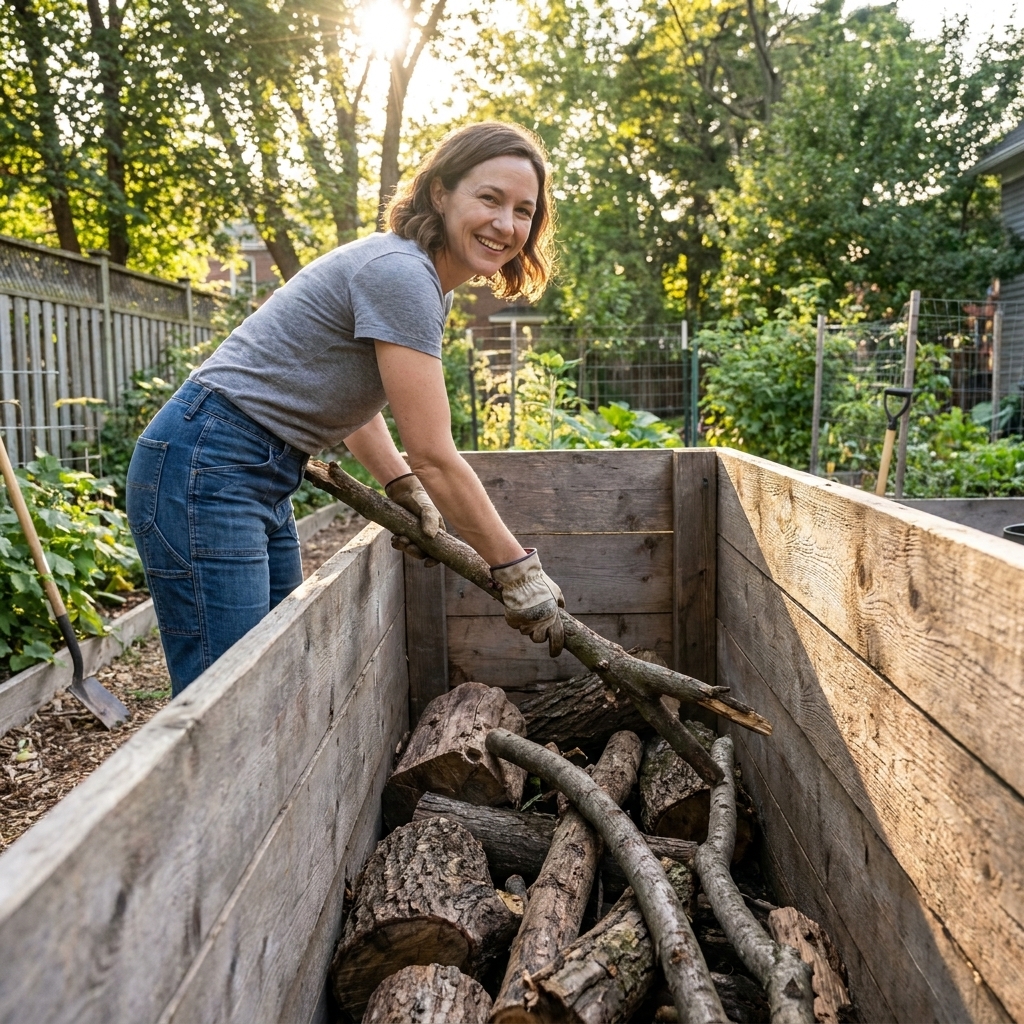
What hugelkultur does in a raised bed
Hugelkultur is basically “decomposing in place.” You build a woody base (logs, branches, twigs), then layer nitrogen-rich materials and soil on top. It is not hot composting. Think slow breakdown that turns wood into a long-term sponge and a steady source of organic matter.
- Saves money: Wood and yard waste take up volume so you buy less soil.
- Holds moisture: Decaying wood absorbs water and releases it slowly during dry spells.
- Feeds the bed over time: As the base breaks down, it adds organic matter and supports soil life.
- Improves structure: You end up with lighter, airier soil than a bed filled with dense topsoil alone.
In tall raised beds, hugelkultur is especially useful because most vegetables do not need 30 inches of perfect, fluffy mix. Many crops can root much deeper when conditions allow, but a large share of feeder roots and most day-to-day water and nutrient uptake happens in the upper portion of the bed. That is why it pays to make the top 10 to 16 inches really good.
When it works (and when it doesn't)
Great fit
- Tall beds (18 inches and up) where filling with bagged mix would be costly.
- Hot or dry climates where moisture retention matters.
- Gardeners with access to wood: pruned branches, storm fall, firewood scraps, untreated lumber offcuts.
- Long-term beds: you want to keep in place for several years.
Skip it or modify if
- Your bed is short (under 12 inches): you need that entire depth for root zone, so use quality soil and compost instead.
- You grow lots of carrots, parsnips, or long daikon: you can still do hugelkultur, but keep the top layer deeper and rock-free so roots stay straight.
- You have termite concerns near your house: risk varies a lot by region and construction. In high-pressure termite areas, follow local extension advice, keep beds away from wooden structures, and avoid burying wood right next to foundations or siding.
- You only have treated or painted wood: do not use it. Stick with natural, untreated materials.
How deep should the wood layer be?
This depends on bed height and what you plan to grow, but here is a practical rule I use in my own backyard beds.
- 18 inch tall bed: 4 to 6 inches of wood base
- 24 inch tall bed: 8 to 12 inches of wood base
- 30 to 36 inch tall bed: 12 to 18 inches of wood base
Then aim for at least 10 to 12 inches of high-quality planting mix on top. For root crops, I prefer 12 to 16 inches of fine, rock-free mix.
Materials: use this, skip that
Best woody fillers
- Hardwood logs: maple, oak, birch, fruitwood. Long-lasting and sturdy.
- Softwood logs: pine, fir. Break down faster, still very usable in raised beds.
- Branches and sticks: perfect for filling gaps between larger logs.
- Wood chips: fine in small amounts as a gap-filler, but do not make them the entire base.
Good “green” nitrogen layers
- Fresh grass clippings (thin layers so they do not mat)
- Kitchen scraps (bury well to avoid pests)
- Manure that is aged or composted
- Spent coffee grounds mixed into other materials
- Fresh weeds that have not gone to seed
Carbon-rich “in-between” layers
- Fall leaves (shredded if you have them)
- Straw (not hay, which is usually full of seeds)
- Finished compost
- Partially decomposed mulch
A couple quick safety notes
- Manure: use aged or properly composted manure for food beds. If you are unsure, keep it deeper in the bed and top with clean compost and soil for the planting layer, especially for crops you eat raw.
- Kitchen scraps: skip meat, dairy, and oily foods. Bury scraps deep in the center of the bed, not near the edges where rodents like to dig.
Avoid
- Treated lumber, painted wood, or plywood: keep chemicals out of your food garden.
- Black walnut: can suppress plant growth for sensitive crops, especially when the wood, chips, or hulls are fresh. Aging and composting can reduce the effect, but I still avoid it for raised beds.
- Cedar or redwood in large amounts: not dangerous, just slow to break down. They are less effective as that “decomposing sponge” layer.
- Thick layers of uncomposted sawdust or pure wood shavings: these can tie up nitrogen intensely.
- Diseased or pest-infested wood: do not bury anything you suspect is carrying problems into your bed.
- Weeds with mature seed heads or aggressive roots (bindweed, Bermuda grass): you may regret it later.
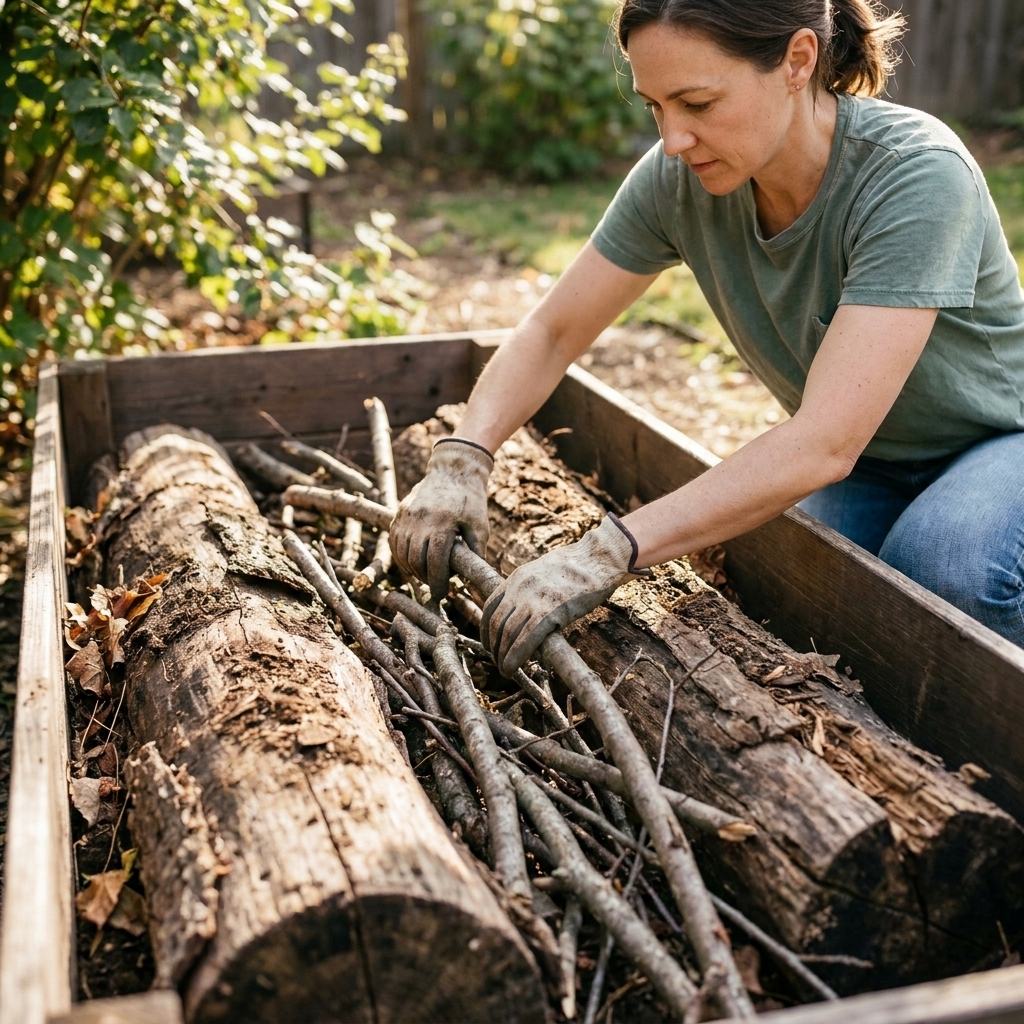
Step by step: fill a tall bed
This is the approach I use for tall beds that I want productive quickly, not just “someday when the logs finally rot.”
1) Prep the base
If your raised bed sits on soil, I like to remove any thick sod layer and loosen the ground a bit. That helps roots and water move between native soil and your bed.
If you are placing the bed on a hard surface (patio, compacted gravel), hugelkultur can still work, but moisture management becomes more important and you will be relying entirely on what is in the bed.
2) Add the big wood
Lay logs lengthwise, then wedge smaller branches between them to reduce air pockets. You are building a stable foundation, not a Jenga tower.
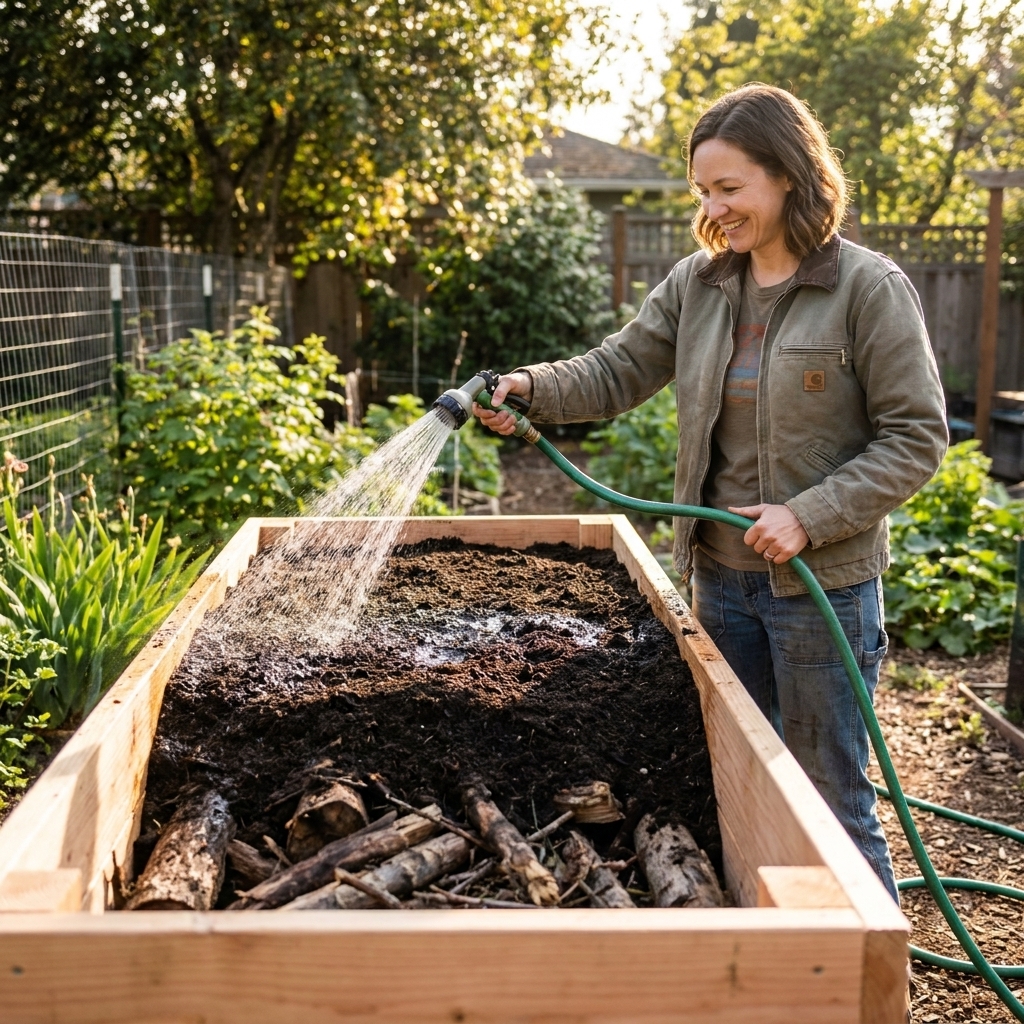
Pro tip: If your wood is very dry, soak it with a hose as you build. Dry logs can absorb a lot of water at first.
3) Fill gaps
Think of this like packing a moving box. Big pieces first, then progressively smaller stuff to fill the voids.
4) Add a nitrogen layer
This step matters. As wood breaks down, microbes use nitrogen. If you do not provide any, your plants can look pale and hungry the first season.
- 2 to 4 inches of grass clippings mixed with leaves
- or a generous layer of aged manure or composted poultry litter
- or a mix of kitchen scraps and finished compost
Quick nuance that saves frustration: Nitrogen drawdown is most noticeable when a lot of small, high-surface-area wood (chips, shavings, sawdust) gets mixed into the same zone as your plant roots. Big logs buried deep tend to cause less immediate tie-up, especially when your top layer is compost-rich. Still, I never skip the nitrogen layer because it makes the first year easier.
5) Add a buffer layer
I like a couple inches of partly finished compost, leaf mold, or old potting soil here. It helps keep the top soil layer from settling down into big cavities.
6) Top with planting mix
Finish with 10 to 16 inches of a high-quality blend. My dependable raised bed mix is:
- 40% topsoil (screened if possible)
- 40% compost
- 20% aeration (pumice, perlite, or rice hulls)
If you already have a favorite raised bed mix, use it. The key is that the top layer is where seedlings and feeder roots will live right away.
7) Water, then top off
Give the bed a slow, deep watering to settle layers. Expect settling in the first few weeks. In very tall beds, it is normal to lose a few inches of height the first season, depending on how chunky your fill materials were. Keep a bag or two of compost or soil on hand so you can top up after the first big rain.
How much soil can you save?
Even a modest woody layer makes a big dent in cost. Here is a rough example for a common tall bed size.
Example: 4x8 bed, 24 inches tall
- Total volume: about 64 cubic feet
- If you build a 10 inch woody base, you replace roughly 26 to 27 cubic feet of soil volume
To put that in bag terms, that is roughly 13 to 18 bags if you are buying common 1.5 to 2 cubic foot bags of raised bed mix. In my experience, the money you save usually buys you better compost and a nice mulch layer, which pays you back in fewer problems later.
Planting year one
Fresh hugelkultur beds can be immediately productive, but the first season is when nitrogen drawdown is most likely if the wood is fresh and you went heavy on it, especially if you used lots of small wood pieces closer to the root zone.
Easy wins
- Squash, zucchini, cucumbers (they love steady moisture)
- Tomatoes and peppers with compost and a little organic fertilizer mixed into the top layer
- Beans (they help with nitrogen, though they still appreciate good soil)
- Herbs like basil, dill, parsley
- Potatoes in deeper beds, especially if you mound
Extra care
- Heavy-feeding leafy greens (lettuce, spinach, kale) unless you add extra nitrogen-rich compost up top
- Long straight root crops unless you kept a deep, fine-textured top layer
If you want to grow greens right away, you can. I just recommend mixing in a richer dose of compost and keeping an eye on leaf color. Pale leaves often mean “feed me,” not “the bed is failing.”
Mistakes to avoid
All wood, thin soil
That classic mound hugelkultur style is awesome in the right context, but raised beds do best with a real planting layer. Give your plants a proper top zone.
Skipping the nitrogen layer
Wood-heavy beds without “green” materials can stunt growth early. Add grass clippings, manure, kitchen scraps, or extra compost to balance it.
Big air pockets
Large voids lead to dramatic settling. Pack in sticks, leaves, and smaller debris between logs, then water to help everything seat.
Questionable materials
If you would not compost it, do not bury it. Avoid treated wood and anything you would not want in your food garden.
Maintenance over time
A hugelkultur base is not a one-and-done fill forever. The wood breaks down and the bed settles. That is normal and honestly, it is part of what makes the bed improve with age.
- Year 1: Watch nitrogen and water. Top off settling.
- Years 2 to 3: Soil becomes spongier and more forgiving. Many beds hit a sweet spot here.
- Years 4+: You may notice more settling and a richer, darker soil. Plan to add compost yearly as a top-dress.
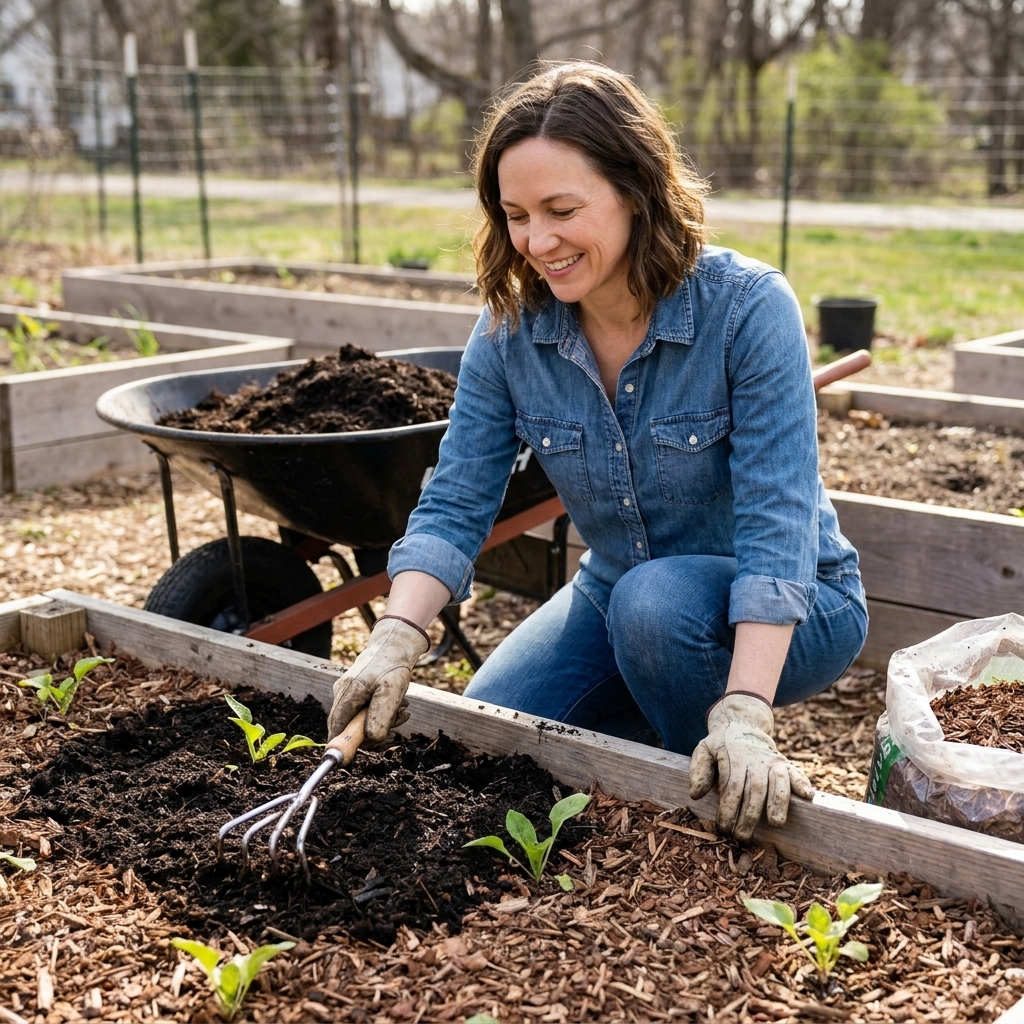
My routine is simple: each season, I add 1 to 2 inches of compost on top and re-mulch. That keeps the bed level and keeps fertility steady without tearing everything apart.
Quick FAQ
Will hugelkultur attract pests?
Buried wood can attract decomposers, which is what you want. Termite pressure varies a lot by region. If you live in an area known for termites, follow local extension guidance, keep beds away from wooden structures, keep wood fully buried, and avoid creating damp wood-to-house contact zones. Also, do not bury food scraps near the edges where rodents can dig.
Can I use rotting logs?
Yes. Partially rotted wood is actually fantastic because it acts like a sponge right away and breaks down faster. Just make sure it is not from treated lumber.
Do I need cardboard at the bottom?
If your bed is on soil and you are battling grass or weeds, cardboard can help smother them. But it can also slow water movement temporarily. If you use it, overlap pieces well and soak it before layering.
Will the bed dry out more or less?
Usually less over time. In the first few weeks, very dry wood can absorb water, so water deeply as the bed gets established. After that, moisture retention is one of hugelkultur’s best features.
Can I do hugelkultur in metal raised beds?
Absolutely. The method is about what is inside the bed, not the bed material. Just pay attention to watering during hot weather since metal beds can warm up faster.
My go-to budget stack
If you want a simple, reliable plan, here is my go-to stack for a 24 to 30 inch bed:
- Bottom: logs and thick branches (8 to 14 inches)
- Gap filler: sticks, twigs, leaves (3 to 6 inches)
- Nitrogen layer: grass clippings plus compost or aged manure (2 to 4 inches)
- Top: 12 to 16 inches of quality raised bed mix
- Finish: 2 to 3 inches of mulch to lock in moisture
This setup keeps the cost sane, grows food right away, and gets better every season. And if your bed settles? Congratulations. That means the hidden engine underneath is doing its job.