Trench composting is my favorite kind of “lazy smart” gardening. Instead of hauling kitchen scraps to a pile and waiting months to move finished compost back into the beds, you bury the scraps right where you want fertility. Microbes, worms, and soil moisture do the rest.
If you have raised beds, trench composting is especially satisfying because every inch of soil is precious. Done correctly, it builds a darker, loamier bed by spring, reduces food waste, and gives next season’s seedlings a gentle slow-release boost.
What trench composting is (and why it works)
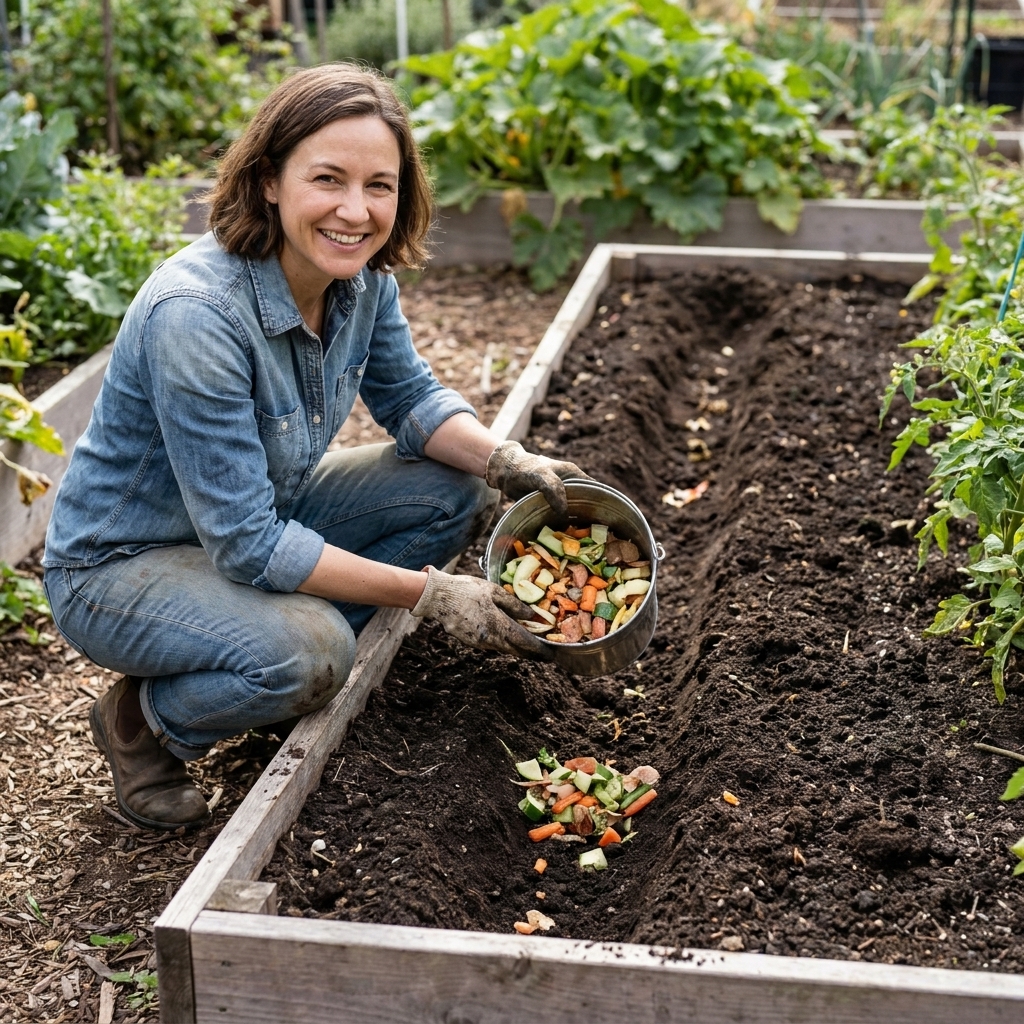
Trench composting is exactly what it sounds like: you dig a trench (or a series of small holes), add kitchen scraps, then cover them with soil. Underground, scraps break down with help from soil organisms. Because everything is buried, it stays out of sight and usually out of reach of critters.
In raised beds, trench composting shines in the off-season. Cold weather slows decomposition dramatically, and in long hard freezes it may pause while the soil is frozen. But once things thaw, soil life picks right back up where it left off. By late winter into early spring, much of the material has softened and partially decomposed, ready to finish turning into humus as the soil warms.
Why I like it for raised beds
- No turning. Your “turning” is just the act of digging and planting.
- Fertility where you need it. Nutrients stay in the bed instead of being moved around.
- Better soil structure. As scraps decompose, they encourage crumbly soil and more worm activity.
- Less mess. No open pile attracting flies in the warm months.
When to trench compost in raised beds
You can trench compost any time the soil is workable, but timing changes how you do it.
Best time: fall and early winter
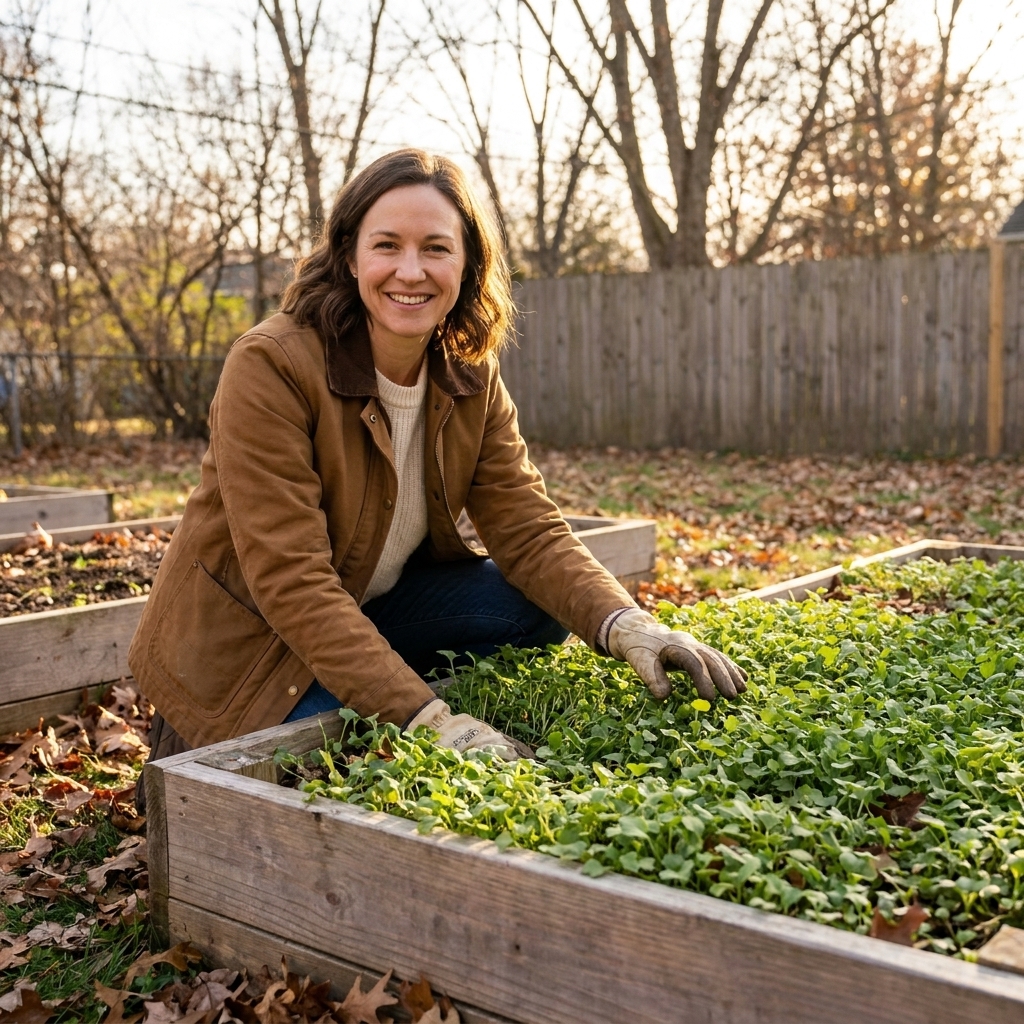
This is the sweet spot. You are cleaning up garden beds, you have fallen leaves for “browns,” and you are not trying to plant around a fresh trench. Bury scraps in fall and they will be well on their way by spring.
Also works: winter thaws
If your beds are not frozen solid, you can still bury scraps during warmer breaks. Just keep trenches deep and covered well.
Spring and summer: possible, but be pickier
Warm soil breaks scraps down faster, which sounds great until you remember that fast decomposition can also mean smells and pests if the trench is too shallow. In the growing season, use smaller amounts, chop scraps more finely, and bury deeper.
What you can bury (and what you should not)
For trench composting, I stick with scraps that break down predictably and do not create a rodent buffet.
Good trench compost materials
- Vegetable and fruit scraps (peels, cores, trimmings)
- Coffee grounds and paper filters
- Tea leaves and paper tea bags (remove staples and any plastic “silky” bags)
- Crushed eggshells (best if rinsed and dried)
- Wilted greens and thinned seedlings
- Small amounts of plain rice, pasta, or bread (only if buried deep and mixed well)
Skip these in raised beds
- Meat, fish, bones, grease. High odor and high pest risk.
- Dairy. Same issue, plus it can go rancid before it breaks down.
- Pet waste. Pathogen risk in food gardens.
- Oily foods. Slow to decompose and attracts animals.
- Diseased plant material. If you suspect blight or fungal disease, do not bury it in the bed you plan to grow in next season.
- Weeds with seeds or aggressive roots. Some seeds survive and some roots re-sprout.
- Woody stuff (sticks, wood chips). Too slow in a raised bed trench and more likely to cause nitrogen tie-up if you plant right on top of it.

Tools and supplies
You do not need anything fancy, but a couple items make the process smoother.
- Garden trowel or a narrow shovel (a trenching shovel is amazing if you have one)
- A bucket or compost pail for scraps
- “Browns” to balance moisture: dry leaves, shredded paper, straw, or unfinished leaf mold
- Optional: a hand cultivator to rough up soil before covering
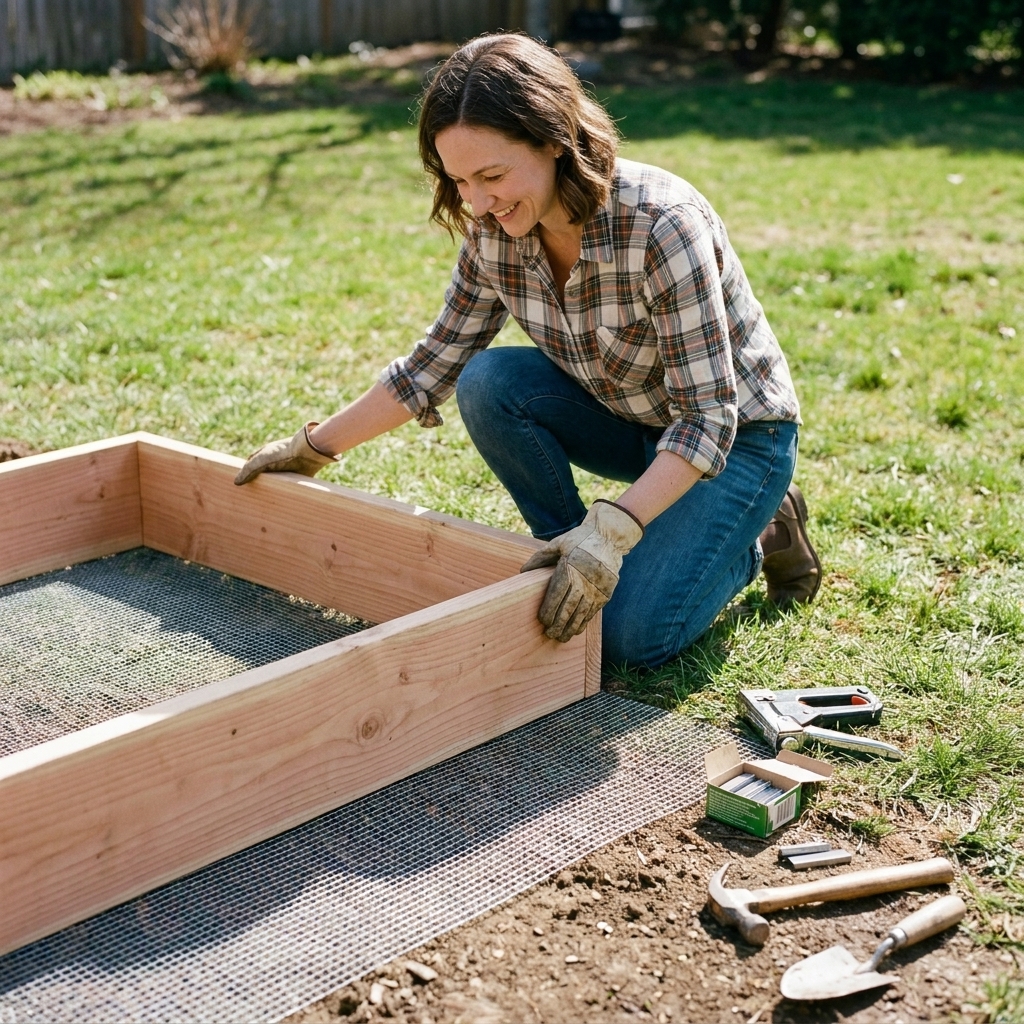
- Optional: a piece of hardware cloth if you have persistent rodent pressure (more on that below)
Step-by-step: trench composting in your raised bed
Here is the method I use most often in my own beds.
1) Pick the right spot
If the bed is currently planted, trench compost in an empty strip or between rows where roots are not densely packed. If the bed is done for the season, pick any area you will not be planting into immediately.
Rule of thumb: keep fresh trenches at least 8 to 12 inches away from the base of living plants to avoid disturbing roots and to prevent any temporary nutrient tug-of-war right at the root zone.
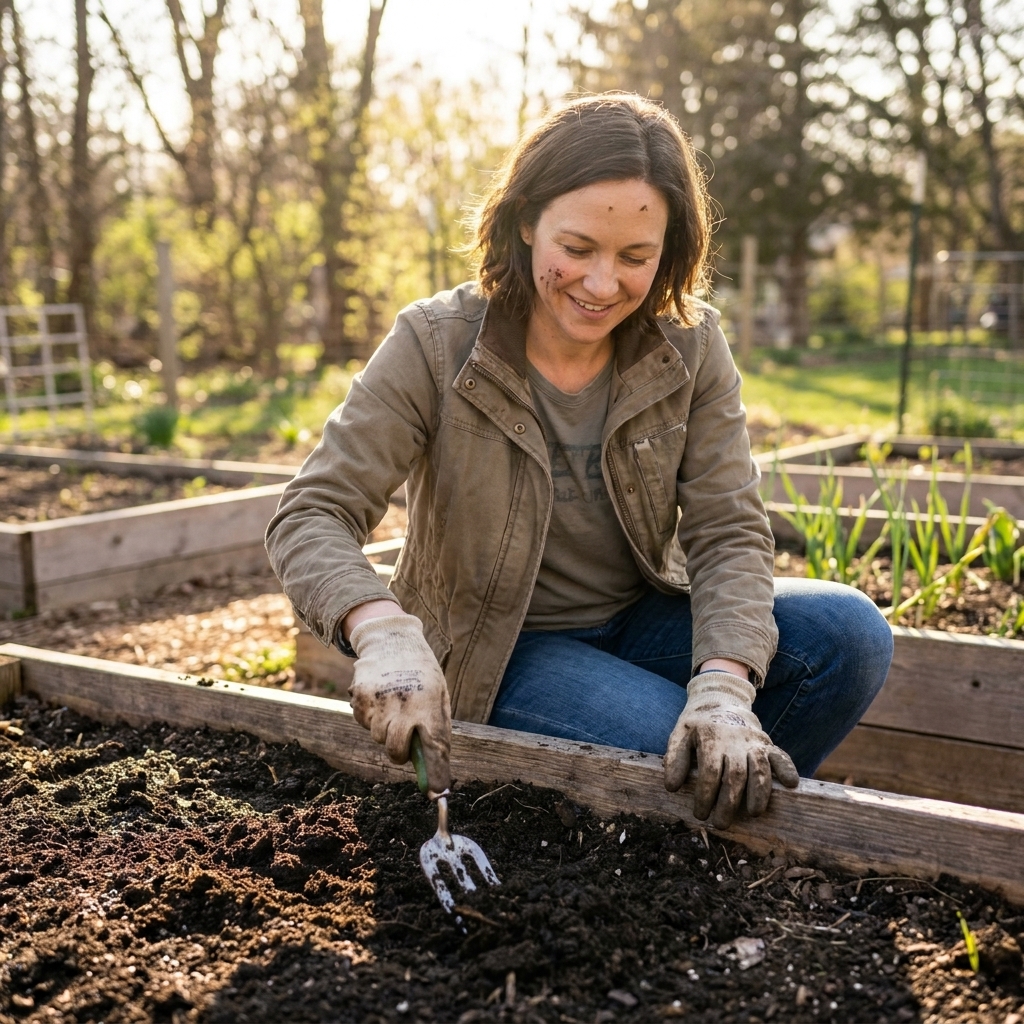
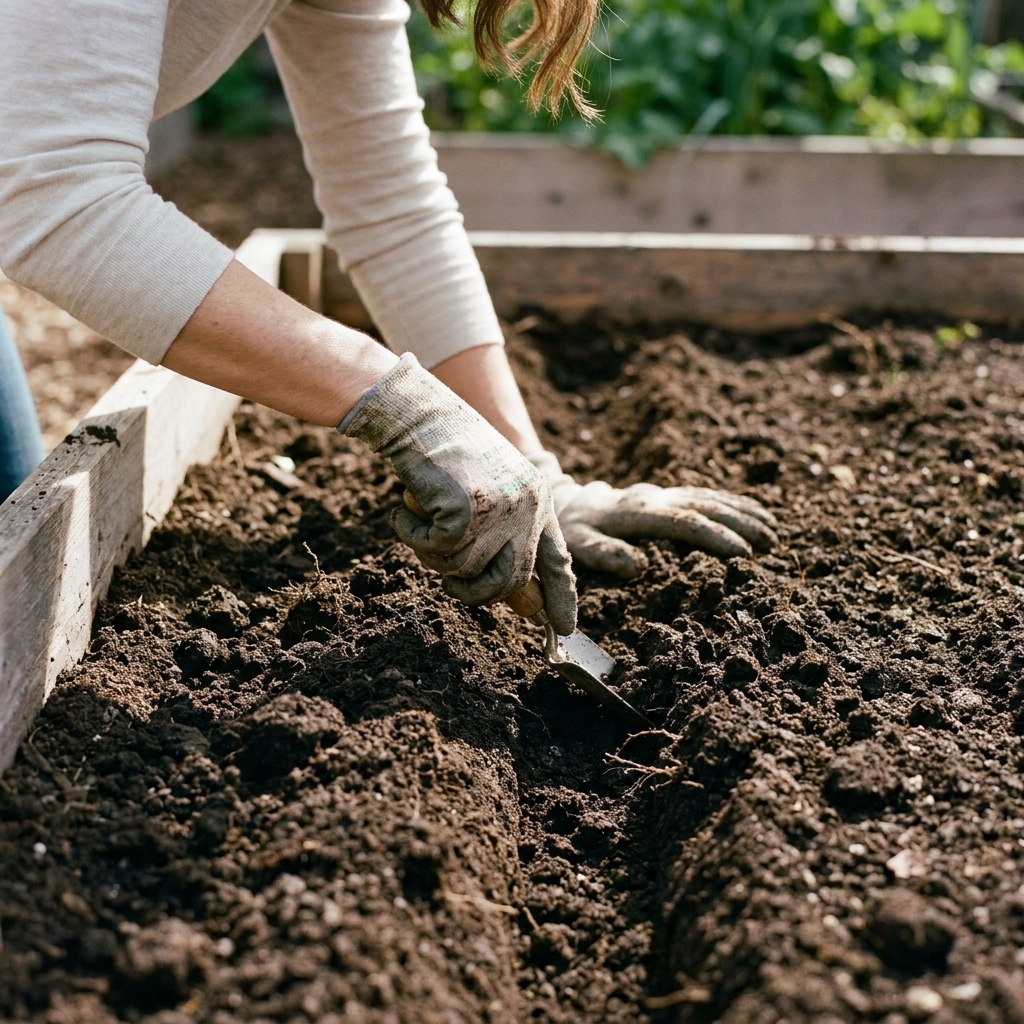
2) Dig a trench deep enough (without breaking your bed)
Depth is your pest control. For most raised beds, aim for 8 to 12 inches deep. But do not force it.
- If your bed is shallow (less than about 10 inches of soil), switch to smaller “pocket” holes rather than one deep trench.
- If your raised bed has a liner, landscape fabric, hardware cloth, or sits over questionable native soil, do not dig through that barrier. Work within the soil depth you have.
Make the trench about 6 to 8 inches wide. You do not need a canyon, just enough room to distribute scraps in a thin layer.
3) Add a thin layer of browns first
I like to sprinkle a handful of dry leaves or shredded paper in the bottom. This helps soak up moisture, reduces odor, and creates air pockets that speed decomposition.
4) Add kitchen scraps in a thin layer
Spread scraps out rather than dumping them in a dense clump. The thinner the layer, the faster it breaks down. If you have lots of scraps, do multiple smaller trenches across the bed instead of one overstuffed trench.
Plant-nerd confession: the first time I tried trench composting, I buried a thick “lasagna” of scraps in one spot. By spring it was a slimy, recognizable layer that smelled like regret. Thin layers solve that.
5) Cover with browns, then soil
Add another light layer of browns on top of the scraps, then backfill with the soil you removed. Lightly firm it with your hands or the back of the shovel so there are no easy air channels for smell to travel. No stomping. You want a sealed cap, not a compacted bed.
6) Water lightly (if soil is dry)
Decomposition needs moisture. If the soil is dusty, water the area enough to dampen it, not soak it. In fall and winter, rainfall often does the job for you.
7) Mark the trench
I stick in a small stake, a plant label, or even a twig “X” so I remember where the fresh trench is. In spring, you can plant near it, not directly into it, unless everything is fully broken down.
How to place trenches without wrecking your planting plan
Trench composting inside raised beds is easiest when you treat it like part of your crop plan.
Option A: Rotate a compost lane
Pick a strip of the bed to trench compost in fall, then plant heavy feeders near that area the following year. Next fall, move the compost lane to a different strip. Over a few seasons, the whole bed benefits.
Option B: Use pockets between future spacing
If you garden in a grid, bury scraps in small holes where you will not be planting, like the spaces between big plants (tomatoes, squash, peppers). Come spring, those pockets are often softened enough that you can plant around them easily.
Option C: Feed the edge
In larger raised bed layouts, some gardeners keep a permanent access strip at the edge. A trench along that edge can feed the bed without being right under the main planting area.
Keeping pests away
Most trench composting problems come down to two issues: burying too shallow, or burying the wrong foods.
My pest-proofing checklist
- Go deep: aim for that 8 to 12 inch zone when your bed depth allows.
- Skip animal products: no meat, dairy, fats.
- Chop scraps: smaller pieces break down faster and smell less.
- Use browns: dry leaves or shredded paper reduce odor.
- Seal the soil cap: lightly firm the soil so it does not smell like an easy dig site.
If you have rats, raccoons, or dogs that dig
In some neighborhoods, “bury it” is not enough. You have a couple options:
- Use hardware cloth as a temporary lid: lay a piece of hardware cloth flat over the trench area and pin it down with landscape staples for a couple weeks. Remove once decomposition starts and odors drop.
- Switch to micro-trenches: bury very small amounts in multiple spots rather than a bigger deposit that smells stronger.
- Stick to cold months: less smell, slower but safer.
How long it takes to break down
Decomposition speed depends on temperature, moisture, and what you bury.
- Fall to spring: Many fruit and veggie scraps will be unrecognizable or mostly broken down by planting time, especially in mild climates.
- Cold winters: You may still see bits (like citrus peels or onion skins). That is fine. Just plant beside them, not directly on top.
- Eggshells: These linger the longest. I still bury them because they add calcium over time, but expect pieces to persist for a while.
If you dig in spring and find a pocket of still-fresh scraps, simply rebury it deeper and plant a few inches away.
Planting over a trenched bed in spring
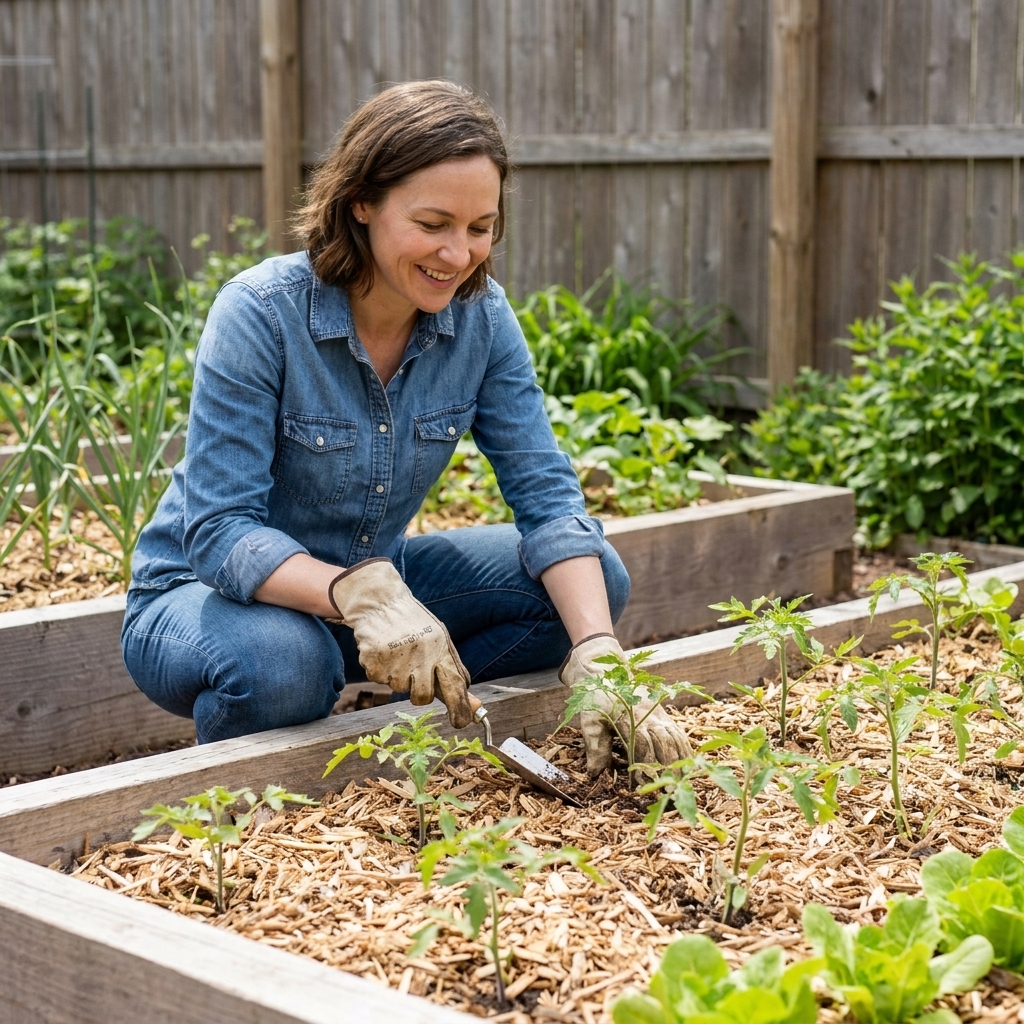
This is where trench composting really pays off. The soil above and around old trenches often feels fluffier and darker.
Best crops to follow trench composting
- Heavy feeders: tomatoes, peppers, cucumbers, squash, corn
- Leafy greens: lettuce, kale, chard (once scraps are mostly broken down)
- Brassicas: broccoli, cabbage, cauliflower
Be cautious with these
- Direct-sown carrots and other root crops: if chunks are still present, roots can fork or twist. If you want carrots, trench compost in a different bed or trench in fall and give it plenty of time.
- Seed starting rows: tiny seedlings like consistent soil texture. Plant seedlings a few inches away from any still-active pocket.
Quick hygiene note for food gardens
Trench composting is still composting, just in place. Bury scraps well, avoid anything oily or animal-based, and do not tuck fresh scraps right next to harvest-ready crops. And yes, wash your produce like you normally would.
My favorite winter trench routine
If you want a simple rhythm, this is the one I recommend to beginners.
- In late fall, clear the bed and pull any weeds.
- Dig one trench down the center, about 10 to 12 inches deep if your bed depth allows.
- Add scraps in a thin layer, sprinkle in a handful of leaves, then backfill and close it up. When you have more scraps later, open only the next section of that same center line (like unzipping the trench a foot at a time), add scraps, and re-cover. You are not keeping a long trench open all winter. You are burying small deposits as you go.
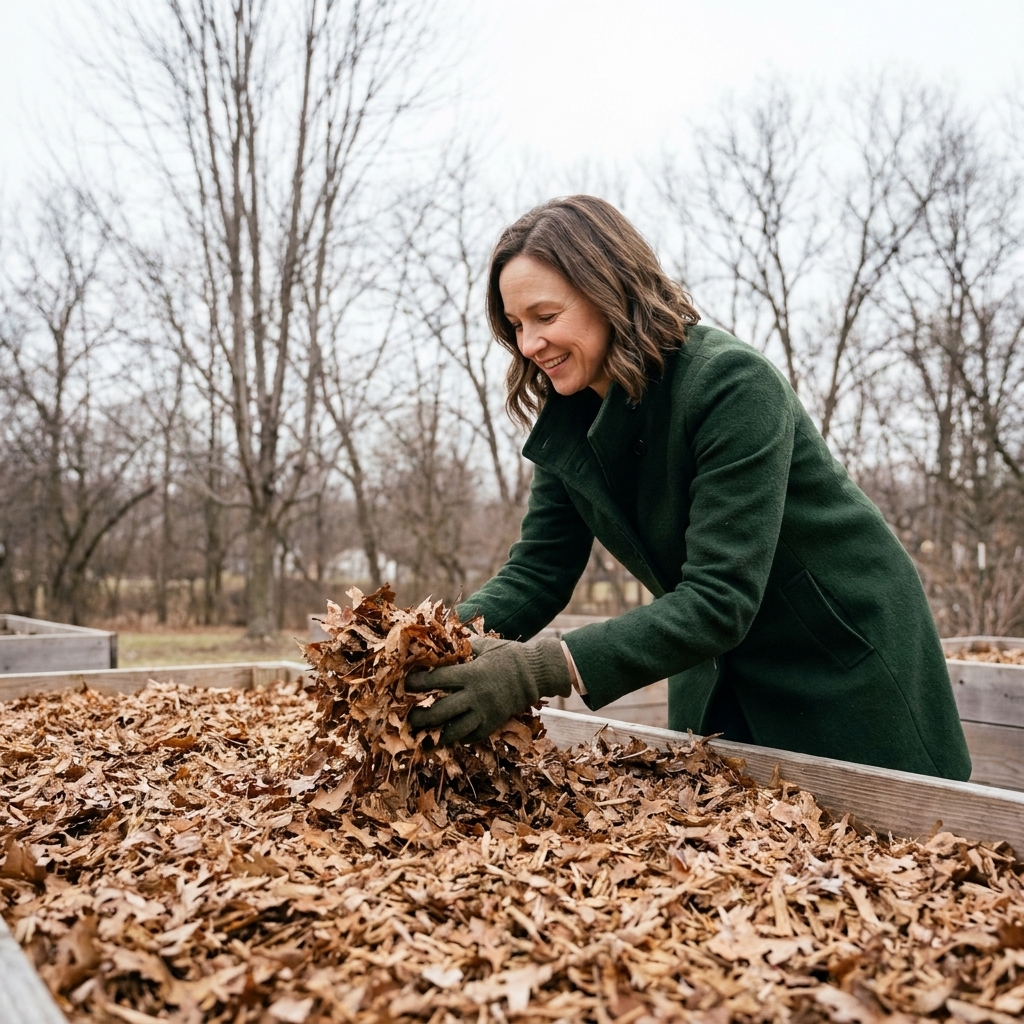
- Top the bed with 2 to 4 inches of shredded leaves as winter mulch.
- In early spring, rake mulch aside where you are planting and let the bed warm.
It is tidy, low-effort, and by spring the bed feels like it has been quietly upgraded.
Troubleshooting
My trench smells bad
Usually it is too shallow, too wet, or too dense. Dig it back up, mix in dry leaves or shredded paper, spread the scraps out, and rebury deeper with a thicker soil cap.
Animals dug it up
Next time, bury deeper and avoid high-attraction foods like bread, grains, and anything oily. Add browns, seal the soil cap, and consider hardware cloth for the first couple weeks.
I found slimy layers in spring
That is the overstuffed trench problem. Use smaller amounts per trench, chop scraps, and add browns. You can rebury slimy material deeper and plant elsewhere in the bed until it finishes.
Will trench composting steal nitrogen from my plants
Most of the time, kitchen scraps are not the big nitrogen thief. The risk goes up when you bury a lot of very dry “browns” (like loads of shredded paper or leaves) or when you plant directly into an actively decomposing pocket. The fix is simple: keep the scrap layer thin, balance it with just a little brown material, and do not plant right on top of a fresh trench.
Quick FAQ
Can I trench compost citrus and onions
Yes, in small amounts. Citrus peels and onion skins decompose slowly, so chop them up and mix them with other scraps. If your soil is very cold, expect to see bits linger into spring.
Do I need to add finished compost too
Trench composting is not a full replacement for compost, but it is a great supplement. I still top-dress beds with finished compost when I can, and trench composting helps stretch what I have.
Will this attract flies
Not if scraps are buried deeply and covered immediately. If you leave scraps exposed even briefly, you can attract gnats or fruit flies, especially in warm weather. The fix is simple: bury and cap right away.
Can I trench compost in a brand-new raised bed
You can, but go easy the first season. New beds often have fluffy, airy soil that makes it easier for animals to sniff out and dig. Start with small pockets, bury as deep as your bed allows, and keep the food choices simple.
Bottom line
Trench composting inside raised beds is one of the easiest ways to turn kitchen scraps into better soil without extra bins, turning, or hauling. Keep it deep, keep it balanced with browns, skip the smelly foods, and treat trenches like part of your bed plan. Come spring, you will notice the difference when your trowel slides in like it is cutting through chocolate cake soil.