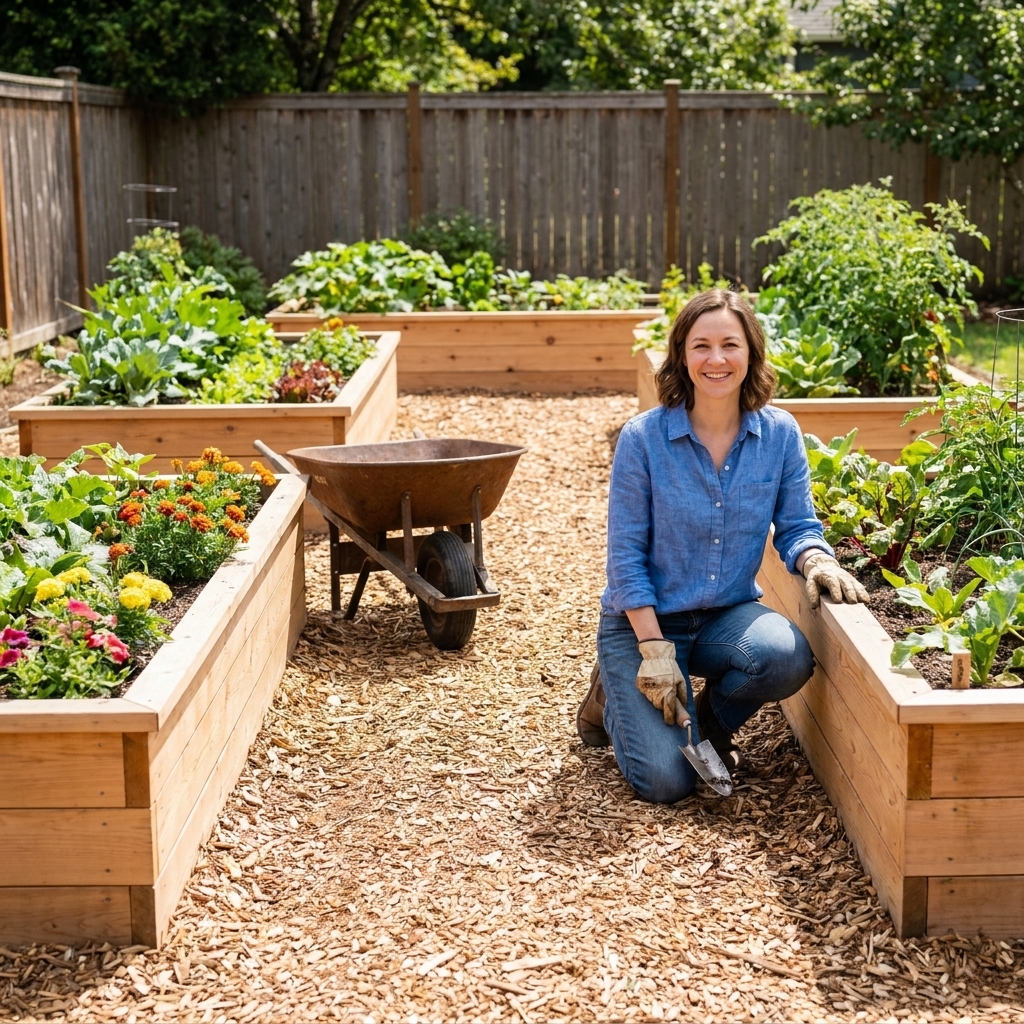
My very first “U-shaped” raised bed happened by accident. I built two straight beds, realized I hated stepping over them to harvest, then wedged a third bed across the back like a little garden hug. Suddenly I could reach everything, plant more, and stop doing that awkward tomato cage limbo.
A U-shaped raised bed is basically three beds connected into a wraparound shape with a walkway inside the U. It is one of my favorite small-yard moves because you get a lot of linear planting edge (the easiest space to manage) while keeping every plant within arm’s reach.
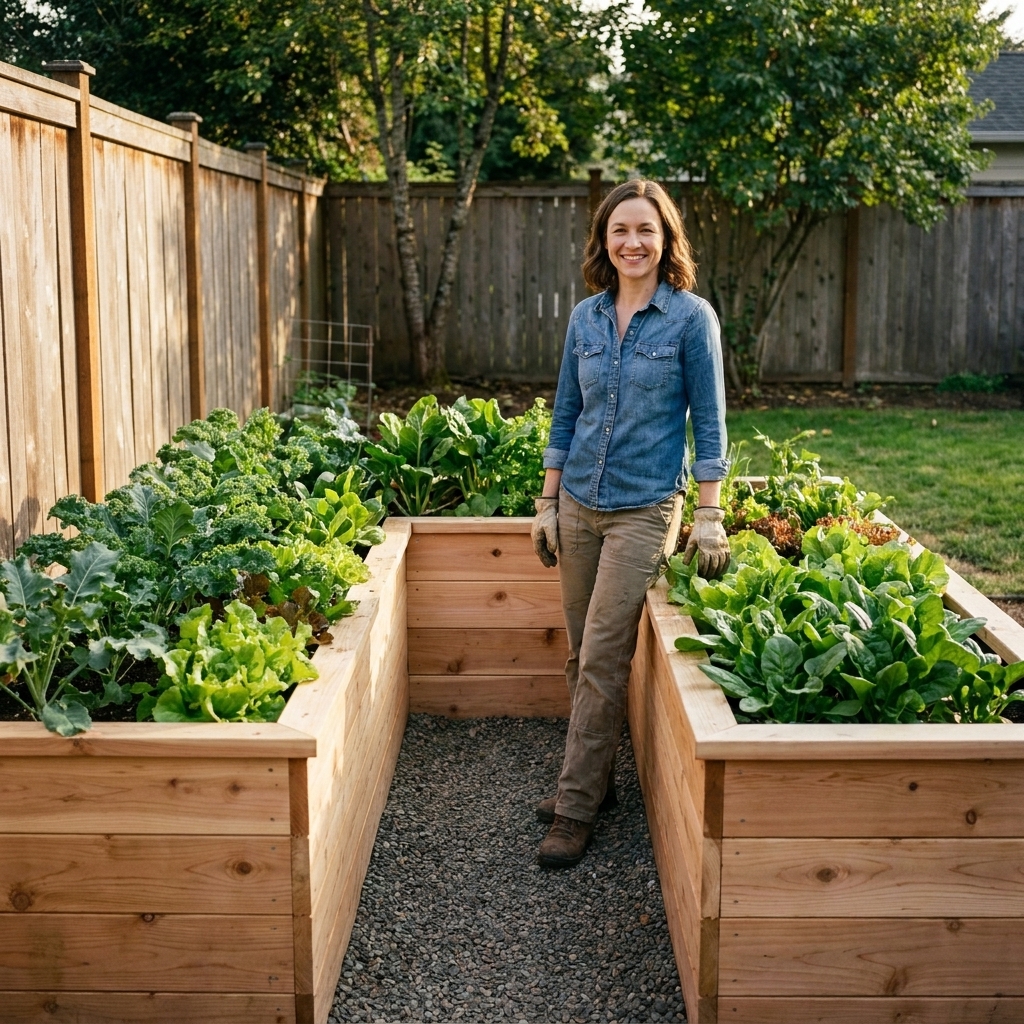
Why U-shaped beds feel bigger
In a compact yard, the problem is not just how much soil you can fit. It is whether you can actually tend it without compacting soil, bruising plants, or giving up halfway through July. A U bed solves that with access.
- Arm’s-reach gardening: You can work from the inside path and the outside perimeter, so the bed can be wider overall without becoming unreachable.
- More edge, more harvest: Many productive crops (salad greens, herbs, bush beans, strawberries) love living along an edge where light and airflow are best.
- Natural shelter (often): Depending on wind, fencing, and placement, the inside of the U can be a bit more protected. That is helpful for basil, lettuce, and seedlings that appreciate less wind.
- Easy to cover: Hoop tunnels and shade cloth are easier to span across straight runs than odd shapes. A U gives you three straight runs.
Plan first: three key numbers
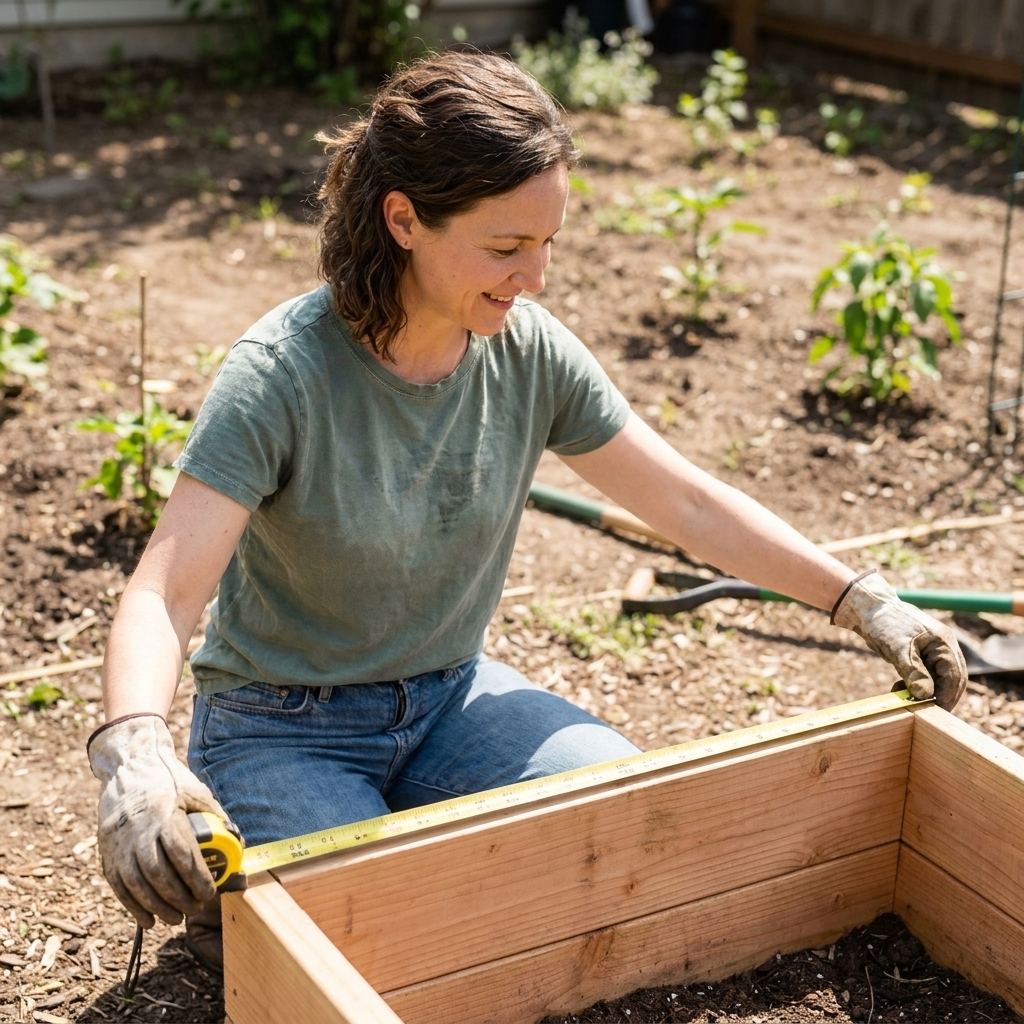
If you take nothing else from this page, take these measurements. They prevent the most common build regrets.
1) Bed height
- 10 to 12 inches: Budget-friendly, great if you already have decent soil underneath.
- 16 to 18 inches: My sweet spot for vegetables. Deep enough to buffer heat and dry spells.
- 24 inches: Luxurious for roots and back comfort, but more soil cost.
2) Bed width
Choose width based on whether you will access the bed from one side or both.
- Access from one side only: Keep width at 24 to 30 inches.
- Access from both sides (common with a U): You can go 36 to 48 inches because you can reach from inside and outside.
My personal rule: if I cannot comfortably touch the center without leaning my ribs into the soil, it is too wide for me.
3) Inside path width
The inside walkway is where you will spend your time planting, pruning, and harvesting.
- 24 inches: Minimum for comfortable walking and a small bucket.
- 30 to 36 inches: Ideal for kneeling, turning with a harvest basket, and not feeling cramped.
- 40 to 48 inches: Wheelbarrow or wheelchair friendly, or if you just like space.
If you use a wheelbarrow, measure its widest point and add at least 4 inches. That prevents daily scraping and swearing.
Three layouts for small yards
Below are reliable starter plans you can scale up or down.
Important note on measurements: The run lengths listed below are the inside planting footprint (soil area), not including lumber thickness. The “overall footprint” numbers are approximate and assume a simple rectangle from outside edge to outside edge. If you are tight on space, mock it up with a hose or stakes and measure your real outside-to-outside footprint.
Layout A: Compact patio U
- Approx overall footprint: about 8 ft wide x 8 ft deep
- Bed runs (inside lengths): two sides at 8 ft long, back run at 6 ft long
- Bed width: 2 ft
- Inside path: 2 ft
This is a fantastic first U bed because it fits in tight corners and still gives you a satisfying amount of soil. The 2-foot bed width is very manageable if you mainly access from the inside.
Visualize it: Think of a big U drawn on graph paper. The two long legs run away from the opening. The back run connects them. The inside path is the empty space you walk in.
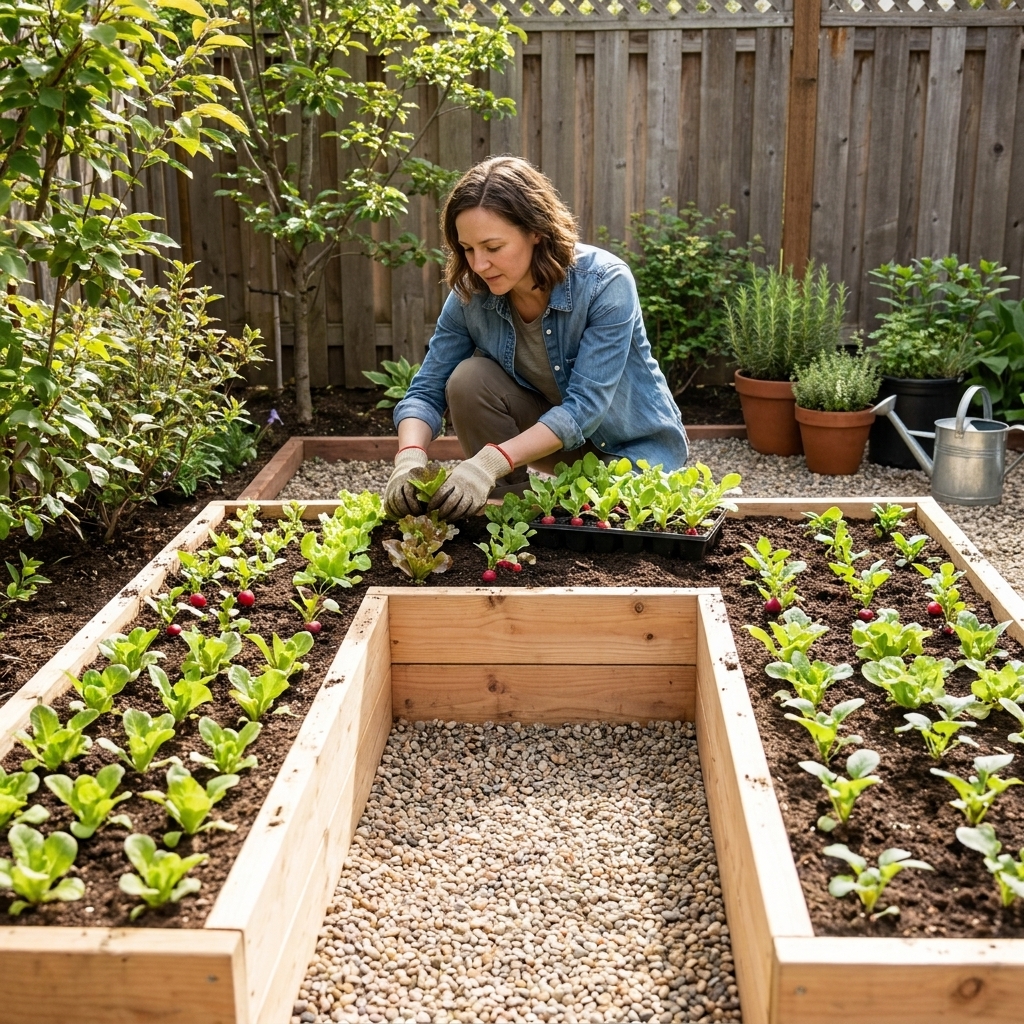
Layout B: Small-yard workhorse
- Approx overall footprint: about 12 ft wide x 10 ft deep
- Bed runs (inside lengths): two sides at 10 ft long, back run at 8 ft long
- Bed width: 3 ft
- Inside path: 3 ft
If you have room for it, this one hits my favorite balance: plenty of growing area, comfortable access, and enough path space to set down a harvest basket without stepping on your own toes.
Layout C: Serious producer U
- Approx overall footprint: about 16 ft wide x 12 ft deep
- Bed runs (inside lengths): two sides at 12 ft long, back run at 12 ft long
- Bed width: 4 ft
- Inside path: 4 ft
This is the “I want tomatoes, peppers, cucumbers, herbs, and still room for flowers” layout. It also works beautifully with drip irrigation manifolds and trellises on the outer edges.
Placement
U beds can go in the middle of a yard, but they shine when they solve an awkward space problem.
In a corner
A corner placement lets the outside of the U act like a boundary, and it can keep your interior path more sheltered. Just be mindful of shade from fences or trees.
Along a fence (with a gap)
If you place the back run near a fence, leave 12 to 18 inches between the bed and fence if possible. That gap helps airflow, gives you a place for a soaker hose line, and keeps fence boards from staying damp all season.
Facing the house
If your yard is open, point the open end of the U toward your house or patio. You get a welcoming view of your most productive plants, and harvesting feels like stepping into a little edible nook.
Sun and wind orientation
If you are in the Northern Hemisphere, it often helps to keep your tallest crops toward the north side or on the outside edge so they do not shade the rest of the bed. Also, notice your prevailing wind. If the opening of the U points straight into it, the inside can act like a wind tunnel. A small rotation can make seedlings much happier.
Build tips
A U-shaped bed is three straight beds that must stay aligned. The connections are where wobble and bowing like to start, especially once you fill with wet soil.
Choose a build style
- One continuous U frame: Clean look, fewer seams, takes more careful squaring.
- Three separate beds butted together: Easiest to build, easier to adjust, seams can shift over time if not anchored.
Use corner posts and bracing
For beds taller than 12 inches, I strongly recommend 4x4 posts (or 2x4 laminated posts) at corners and at the U junctions. For long runs (8 feet and up), add a mid-span brace or tie to reduce bowing.
- Inside corners of the U: Treat these like structural corners. Reinforce them. They carry stress from two directions.
- Long sides: Use a brace every 4 to 6 feet for tall beds, especially if you are stacking boards.
Square it up before you dig
Set the boards in place on the ground first, then measure diagonals. If the diagonals match, you are square. If they do not, nudge the frame until they do.
Think about the bottom
- No bottom (most common): Great for drainage and soil life. Remove sod and loosen the native soil beneath before filling.
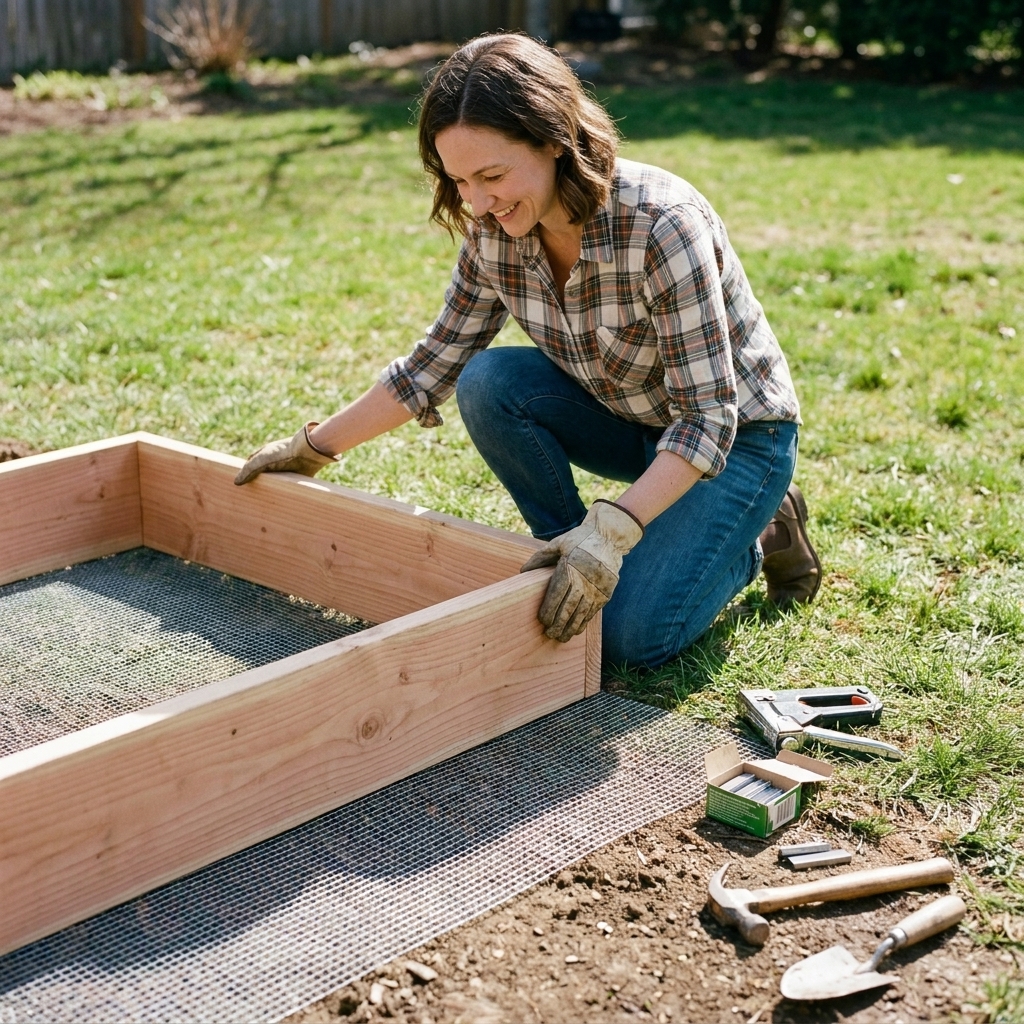
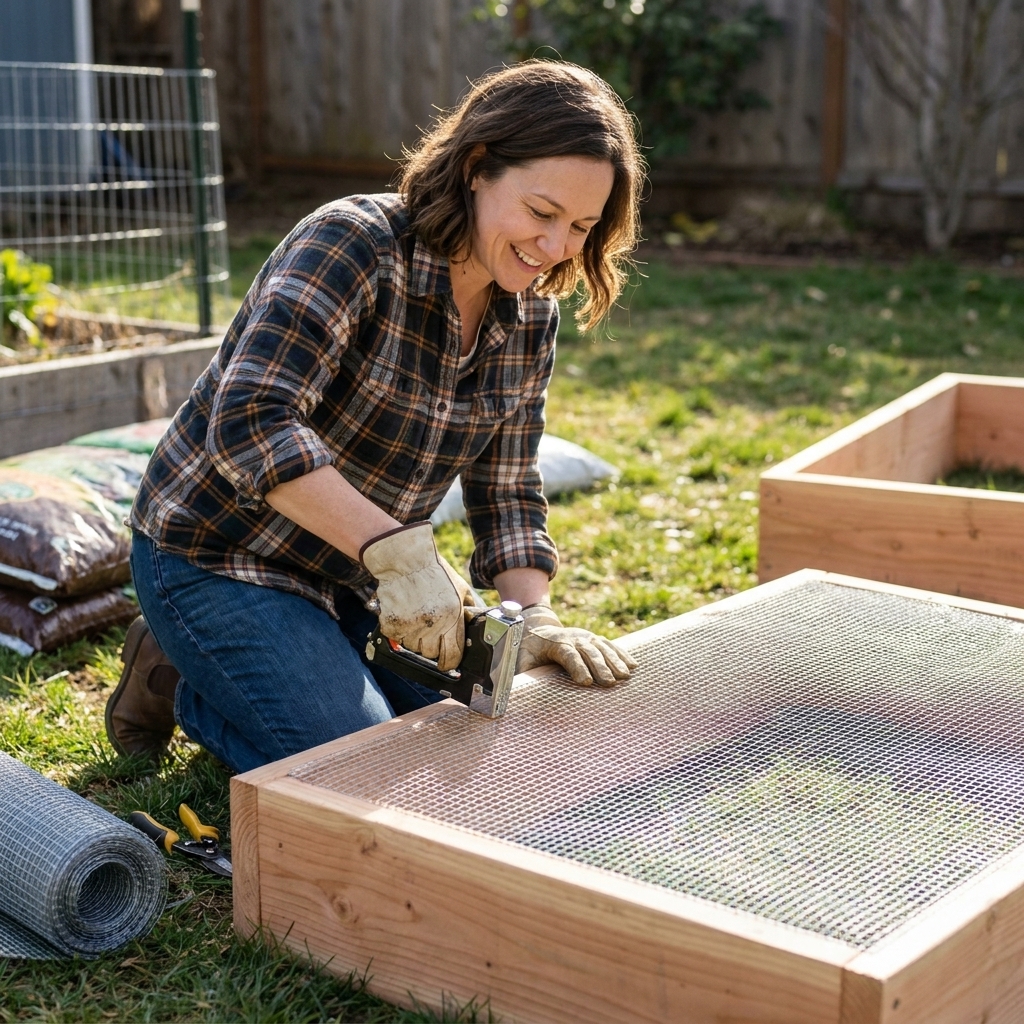
- Hardware cloth layer: Worth it if you have gophers, voles, or determined rats. Staple it to the inside bottom edges before filling.
- Cardboard weed barrier: A few layers of plain cardboard (no glossy print) suppress grass while allowing water movement.
Materials
Good lumber options
- Cedar: Naturally rot-resistant, lightweight, easy to work with.
- Redwood: Excellent but often pricey.
- Douglas fir: More affordable, decent lifespan if you accept that it may need replacing sooner.
About pressure-treated wood
Modern pressure-treated lumber is widely used for raised beds. If you choose it, look for current treatments (commonly ACQ or CA) and avoid using old salvaged lumber of unknown history (especially anything from the era of CCA). Use it as intended, avoid burning scraps, and consider lining the inside with a physical barrier if it helps you feel comfortable. Personally, I reach for cedar first, especially for beds that touch edible roots.
Fasteners
Use exterior-rated screws, ideally deck screws or structural screws for thick posts. Cheap interior screws snap at the worst moment, usually when you are already sweaty and committed.
Inside path options
The inside path is the living room of your U bed. Make it pleasant and low maintenance.
Mulch (wood chips or shredded bark)
Soft underfoot, suppresses weeds, and easy to top off. Put down cardboard first for best results.
Gravel
Excellent drainage and very tidy. Use landscape fabric only if you are okay with future maintenance, because weeds eventually root in the gravel layer anyway. A thick base is your friend.
Pavers or stepping stones
Great if your soil is muddy or you garden year-round. Leave gaps for drainage and plan where you will kneel.
Keep it from pooling
If your yard is even slightly low in that spot, the inside of a U can collect water. Before you commit, check grade after a heavy rain. When you build the path, aim for a gentle slope (even 1 to 2 percent helps) and consider edging so mulch or gravel stays put instead of drifting into the beds.
Soil math
U beds are generous. That is the point. But you do not want to guess and end up hauling extra bags around your driveway.
Quick volume formula
Cubic feet = length (ft) × width (ft) × height (ft)
Then divide by 27 to get cubic yards (what bulk soil is sold in).
Example: Layout B soil estimate
Let’s estimate using inside footprint:
- Two side runs: 10 ft × 3 ft each = 30 sq ft each, so 60 sq ft total
- Back run: 8 ft × 3 ft = 24 sq ft
- Total area: 84 sq ft
- If height is 1.5 ft (18 inches): 84 × 1.5 = 126 cubic ft
- 126 ÷ 27 ≈ 4.7 cubic yards
Real life note: soil settles. If you fill to the top on day one, you will still probably be a few inches lower after a couple good rains. I usually order a little extra or plan to top up with compost after settling.
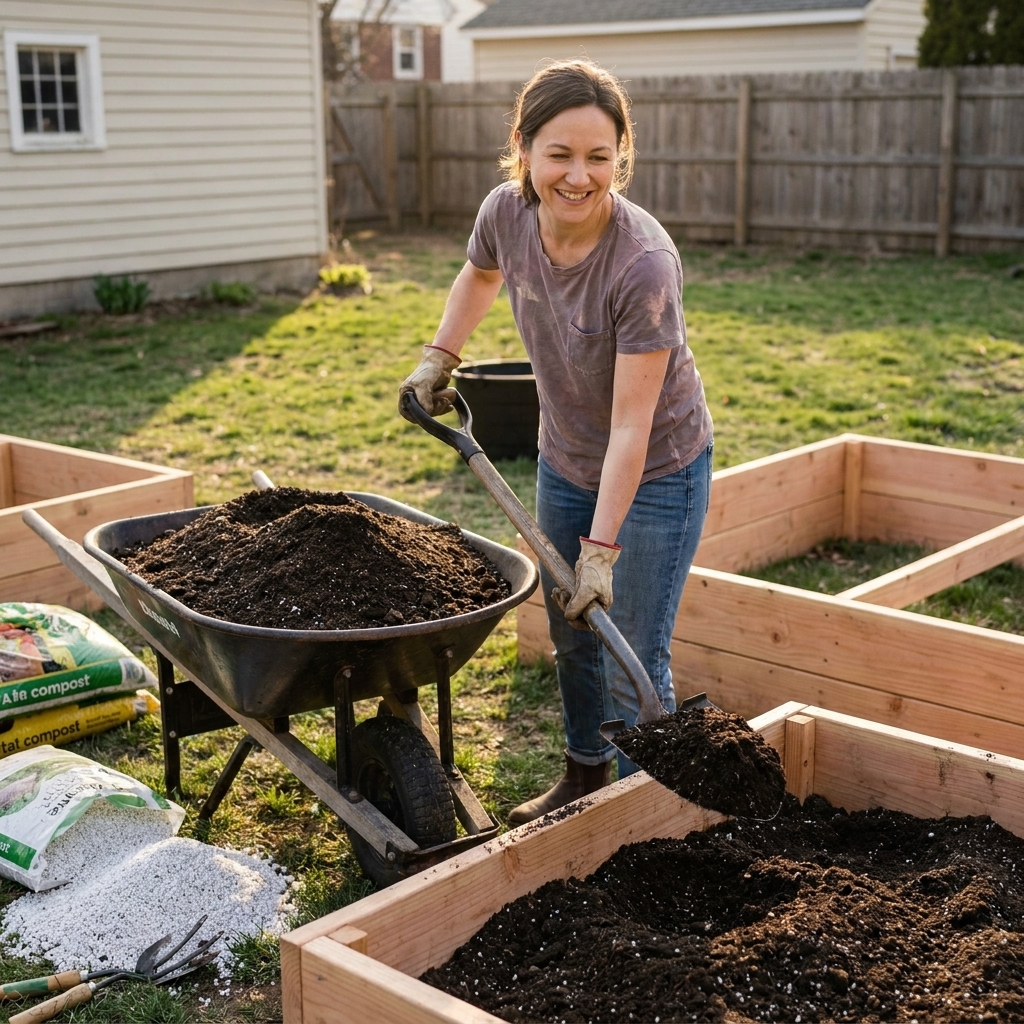
My reliable raised bed blend
- 50% screened topsoil
- 30% finished compost
- 20% aeration (pumice, perlite, or pine fines depending on what is available)
In hot climates, I lean more toward moisture-holding ingredients. In wet climates, I lean more toward aeration. Either way, compost is your long-term engine.
Planting strategy
A U-shaped bed gives you three long edges. Use them intentionally.
Put tall crops on the outside edge
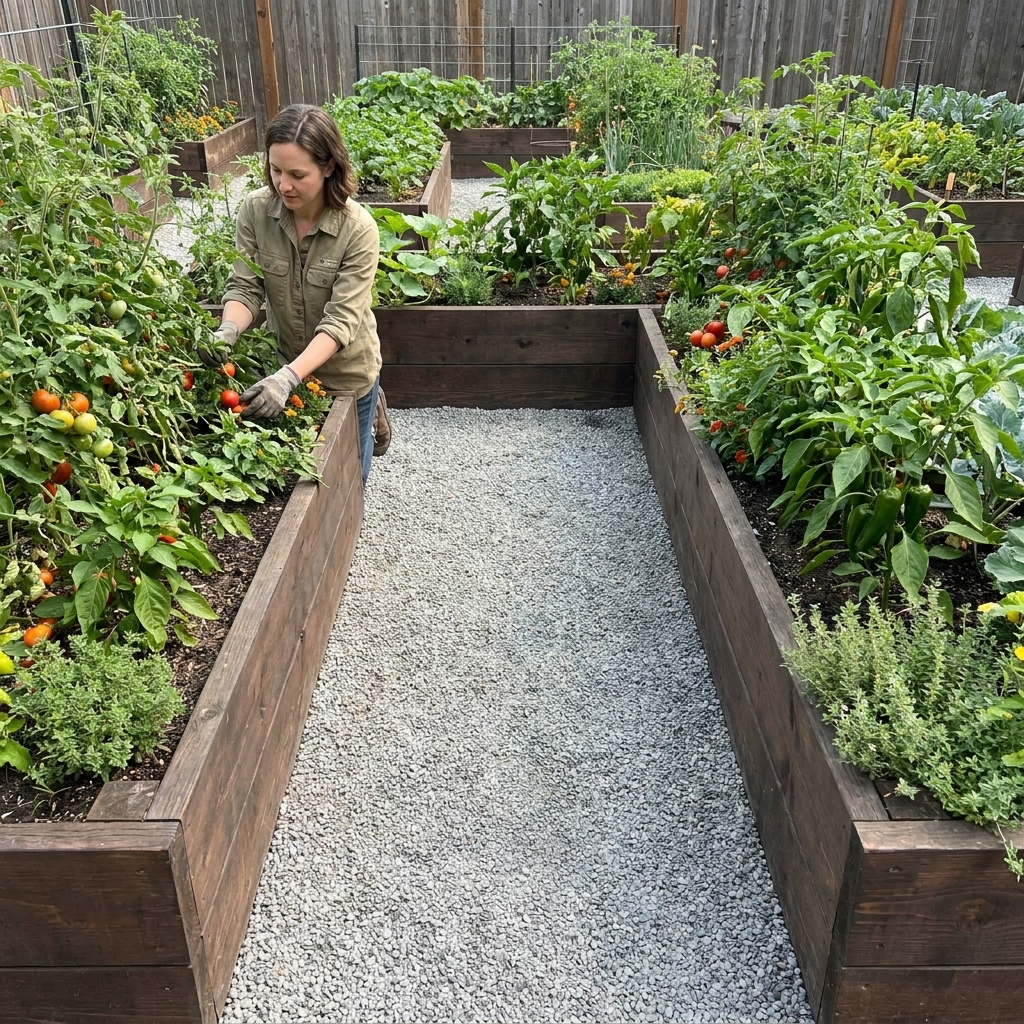
Tomatoes, pole beans, cucumbers, and peas do best when they do not shade the interior path. Train them outward or along the back run so you are not fighting a wall of leaves to get inside.
Use inside edges for frequent harvests
Salad greens, herbs, scallions, radishes, and strawberries are perfect along the interior because you will harvest them constantly.
Use the back run for trellises
The back is ideal for a sturdy trellis line, especially if you can anchor posts at the ends. It also makes it easier to net against pests if needed.
Succession planting gets simpler
I like to assign each run a seasonal role:
- One run: spring greens into summer basil and bush beans
- One run: tomatoes and peppers with underplanting of lettuce early, then mulch
- One run: cucumbers or peas on a trellis, then fall carrots or spinach
This is how you get that “massive planting area” feeling without turning your garden into chaos.
Nice add-ons
Cap rails
If you add a flat cap board on top, the bed becomes a bench. You will use it constantly. Bonus: it stiffens the structure.
Trellis posts
Set 4x4 posts at the ends of a run and you have instant trellis support for cattle panel arches, netting, or shade cloth.
Drip irrigation
U beds work really well with drip. Put a simple manifold near the opening of the U, then run one line down each leg and one across the back. It is clean and easy to troubleshoot.
Fence the outside
If deer or rabbits are a problem, fencing the perimeter of the entire U is usually easier than fencing each bed. Leave yourself a gate at the opening.
Accessibility tweaks
If you are planning for a wheelchair, walker, or just future-proofing your knees, aim for a minimum 48-inch path where possible, use a firm surface (compacted gravel or pavers), and make the opening gate wide enough to enter comfortably. Gentle turns matter. A tight 36-inch path can feel fine walking but frustrating to pivot in.
Common mistakes
- Making the inside path too narrow: It feels fine on paper and cramped with a bucket and a hose in real life.
- Skipping bracing: Wet soil is heavy. Long runs will bow eventually without support.
- Pointing the opening into the wind: The inside can become a wind tunnel and seedlings suffer. Rotate the opening if you can.
- Putting tallest crops on inside edges: You end up gardening through a curtain of tomatoes.
- Forgetting water access: Plan where your hose reaches or where your irrigation supply line will enter before you build.
Quick FAQ
What is the best width for a U-shaped raised bed?
For most small yards, 3 feet wide bed runs with a 3-foot interior path is a very comfortable sweet spot. If you know you will access both sides consistently, 4-foot runs can work well.
How wide should the U opening be?
Aim for at least 3 feet so you can enter comfortably with tools. If you want wheelbarrow access, go wider, especially if the opening also functions as a main yard walkway.
Can I build a U bed from inexpensive kits?
You can, but most kits are designed as separate rectangles. If you connect them into a U, reinforce the joints and anchor them so the beds do not drift apart as the soil settles.
Do U-shaped beds need a liner?
Not usually. If your lumber choice or soil contamination concerns make you want a barrier, use something durable that will not trap water against wood. Avoid thin plastic sheeting that creates a soggy layer.
Pick your final plan
If you are stuck, do this: grab a tape measure and mark out a U on the lawn with stakes or even a garden hose. Walk the inside path like you are harvesting. Turn around. Set down an imaginary basket. If it feels easy, you nailed it.
U-shaped raised beds are one of those designs that look fancy but garden like a dream. Once you have one, it is hard to go back to straight rows that make you step over everything. Your knees, your soil, and your harvest basket will thank you.