Blight has a way of making you question every gardening decision you have ever made. I have been there, staring at collapsing tomato vines and thinking, Do I need to rip out my whole bed and start over? The good news is that raised bed soil is absolutely salvageable in many cases. The key is to treat it like a cleanup job, not a quick reset. You remove the infection sources, reduce the pathogen load near the surface, and then plant in a way that does not invite round two.
This is my practical, raised-bed-specific approach for treating and sanitizing soil after a blight outbreak, with options ranging from simple cleanup to full solarization.
First: confirm what it is
Gardeners use the word blight for a few different problems, and the right level of soil sanitation depends on which one hit you.
- Early blight (Alternaria): common on tomatoes and potatoes, shows concentric ring spots and gradual yellowing. It survives on infected plant debris. Spores can persist in soil associated with that debris, especially near the surface.
- Late blight (Phytophthora infestans): fast, devastating collapse with water-soaked lesions, often in cool, damp weather. In many colder regions it does not reliably overwinter in bare soil without living host tissue, but this varies by climate and situation. Infected tubers, cull piles, and volunteer potatoes are the biggest carryover risks, and mild winters can increase survival.
- Southern blight and stem rots: white fungal growth and mustard-seed-like sclerotia at the soil line. This is a heavier hitter for soil persistence.
- Bacterial spots and blights: often move via splashing water and hands and can persist on residue, seed, transplants, tools, and surfaces. Survival in soil is typically shorter without plant tissue, but debris left in the bed keeps the risk alive.
If you are unsure, treat it as debris-borne and soil-adjacent: clean aggressively and reduce risk with heat, time, and smart planting. If you suspect southern blight, verticillium, fusarium, or a recurring soilborne issue that keeps returning to the same bed, lean toward solarization and longer crop rotation.
What to do now vs later
If you want the simplest decision point, it is this.
- This week: remove infected plants and all debris, strip contaminated mulch, and sanitize anything that touched the crop. If you need to replant right away, switch families and focus on splash control and airflow.
- Next season: rotate away from the host family, start clean (transplants, cages, ties), and consider resistant varieties.
- If you can spare the bed in peak heat: solarize for 4 to 6 weeks (longer in cooler or foggier areas). That is the closest thing to a real “reset” you can do at home without replacing soil.
Step 1: Remove infected plants
The biggest mistake I see after a blight blow-up is “tidying” infected plants in place. That shakes spores everywhere and leaves little problems behind for next time.
How to pull and bag without spreading
- Choose a dry afternoon. Wet foliage spreads spores and bacteria more easily.
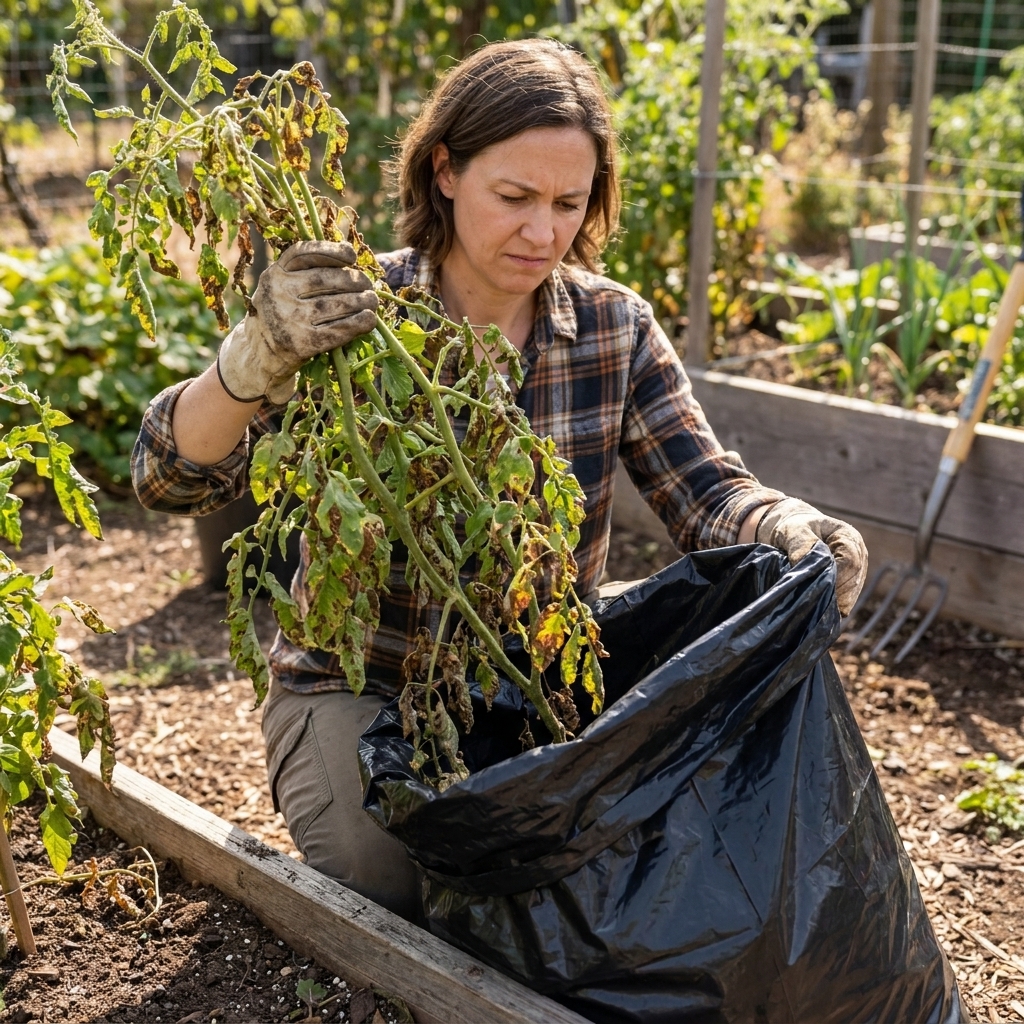
- Bring a trash bag to the bed. I open it wide and set it right next to me.
- Cut, then lift. Snip plants at the base first, then gently lift roots. Less thrashing, less spread.
- Bag everything affected. Leaves, stems, fallen fruit, and any visibly contaminated mulch.
- Do not compost diseased material at home unless you maintain a reliably hot compost pile for long enough to kill pathogens. When in doubt, trash it or use municipal composting that is managed at high temperatures.
Also remove volunteers. If blight involved tomatoes or potatoes, pull volunteers and “mystery sprouts” later on. A volunteer plant can act like a bridge that keeps pathogens alive.
Potato-specific note: if late blight was involved, do not save questionable tubers for replanting and do not toss infected tubers in a cull pile. Dispose of them. Watch for volunteers next season, and keep harvested potatoes dry and sorted so a sick one does not spoil the whole stash.
Step 2: Remove surface contamination
In raised beds, the top couple inches are where infected leaves land, splash happens, and spores settle. You can lower the pathogen load quickly by removing a thin layer.
What to remove
- All leaf litter and fallen fruit. Be picky. This is not the moment for “good enough.”
- Mulch that sat under infected plants. Straw, shredded leaves, wood chips. Bag it and remove it.
- Optional but helpful: remove the top 1 to 3 inches of soil where the plants were worst, especially if disease was severe or keeps recurring in the same bed. Replace with fresh compost and bed mix.
If your bed is small and the outbreak was intense, pulling the top few inches can be a very reasonable middle ground between “do nothing” and “replace the entire bed.”
Common mistake
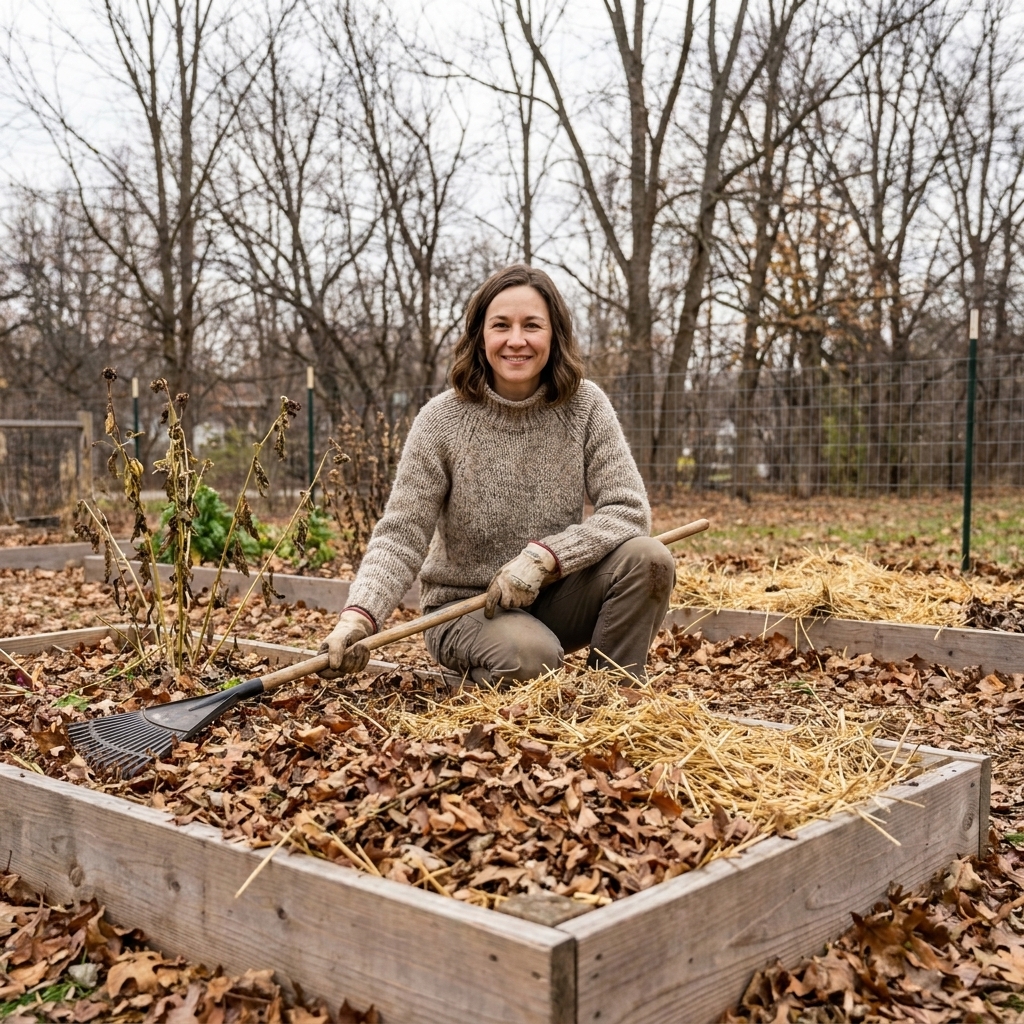
Do not rake debris into the bed and call it cleanup. If you bury infected leaves, you are storing trouble where it can survive longer.
Step 3: Sanitize tools and supports
This step is boring, and it is also one of the highest-return habits you can build. Blight and other pathogens hitchhike on pruners, tomato cages, trellis clips, gloves, and even bed boards.
What to clean
- Pruners, loppers, knives
- Tomato cages, stakes, trellis netting and clips
- Twine, plant ties (toss and replace if cheap)
- Reusable pots that were near infected plants
Simple sanitation options
- Soap and water first. Scrub off soil and plant gunk. Disinfectants work better on clean surfaces.
- Disinfect. Use a registered garden disinfectant per label, or a bleach solution (commonly 1 part household bleach to 9 parts water) for hard surfaces. Give it at least 1 minute of wet contact time.
- Rinse, dry, and protect metal. Bleach can corrode tools, so rinse well, air dry fully, and lightly oil metal parts afterward.
If your bed has wooden sides, brush off stuck soil and plant bits. You do not need to “sterilize” wood, but you do want to remove debris and avoid storing dirty cages pressed against boards all winter.
Step 4: Solarize the soil
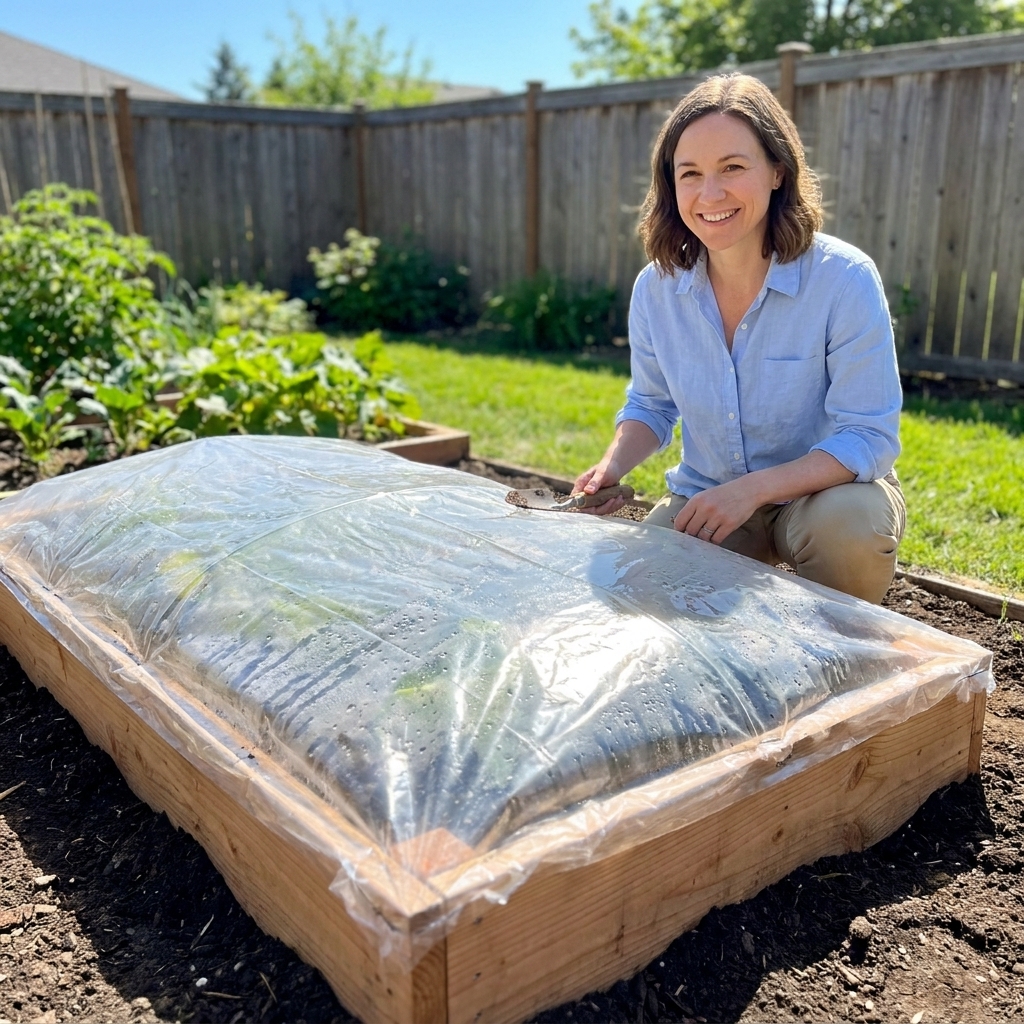
Solarization uses trapped solar heat to reduce fungi, bacteria, nematodes, and weed seeds in the upper soil layer. It is not magic and it does not reach deep like a kiln, but in a raised bed it can be surprisingly effective because beds warm faster than in-ground soil.
When solarization works best
- During the hottest, sunniest stretch of your year
- When the bed can sit unused for 4 to 6 weeks (sometimes 8 in cooler or cloudier climates)
- When you can seal plastic tightly to hold heat and moisture
Results hinge on heat. Many guides cite roughly 110 to 125°F (43 to 52°C) in the top few inches for meaningful suppression, which is why full sun and a tight seal matter so much.
How to solarize a raised bed
- Clear the bed completely. No vines, no mulch, no leftover stems.
- Rake smooth and water deeply. Moist soil conducts heat better than dry soil.
- Cover with clear plastic (not black).
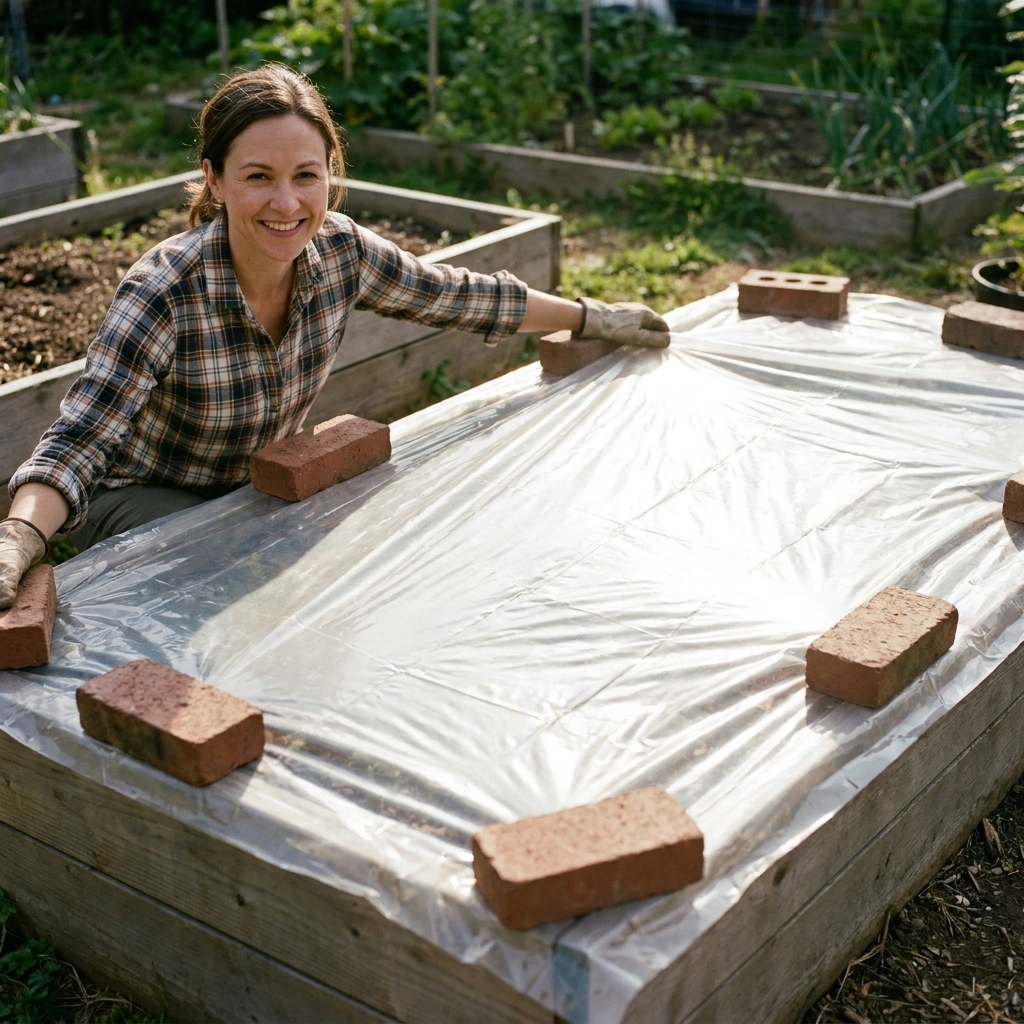
- Seal the edges. Bury edges in soil or weigh down with boards, bricks, or sandbags. The seal is what turns plastic into an oven.
- Leave it in full sun. Aim for 4 to 6 weeks of peak heat.
- After solarization, disturb the soil as little as possible. Deep digging can bring untreated soil to the surface.
Common mistakes
- Solarizing in partial shade and expecting the same results
- Leaving edges loose so heat and moisture leak out
- Skipping the deep watering step
Raised bed tip: If your bed is 12 inches deep and you fill it with a very airy mix, solarization mainly treats the upper zone. That is still useful because splash and debris-driven disease pressure is concentrated near the surface.
Step 5: Lower disease pressure
There is no single organic product that will sterilize soil safely in a home garden. What you can do is reduce pathogen pressure and protect new growth during vulnerable periods.
After cleanup: soil-friendly moves
- Compost top-dress (thin layer). High-quality, fully finished compost supports beneficial microbes that compete with pathogens. This is not a cure, but it helps the soil ecosystem rebound after a stressful season.
- Avoid heavy nitrogen right away. Too much lush, soft growth can be more susceptible to foliar diseases. Balance fertility rather than overfeeding.
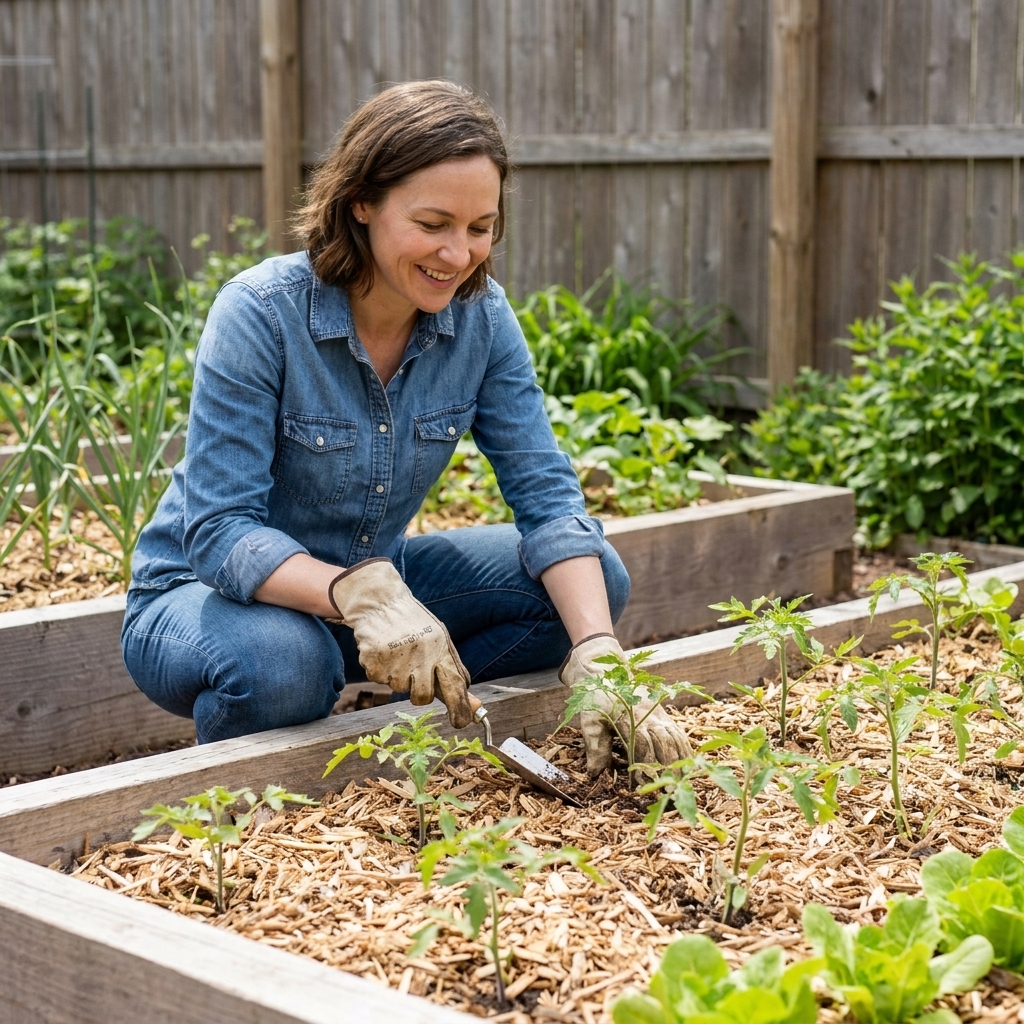
- Mulch with clean material. Once you replant, use fresh straw, leaf mold, or shredded leaves that did not sit under infected plants. Mulch reduces soil splash, which is a big deal for blight spread.
Organic fungicides: what they can and cannot do
Most organic fungicides are protectants, not eradicators. They work best when used to prevent new infections on healthy leaves, not to “fix” heavily infected soil.
- Copper-based fungicides: effective protectants for many blights when used correctly, but copper can accumulate in soil over time. I treat it as an occasional tool, not a routine habit.
- Sulfur: more commonly used for powdery mildew than blight. It can burn plants in hot weather and is not a general soil sanitizer.
- Biofungicides (beneficial microbes such as Bacillus-based products): these can help occupy leaf and root surfaces and suppress some diseases. Results vary with weather and application timing, but they are gentle on the garden system.
Important: Always follow label directions for any product, organic included. More is not better, and timing matters.
Do you need new soil?
Sometimes, yes. Often, no.
Replace the bed mix if
- You had severe, repeated disease in the same bed for multiple seasons
- You suspect a persistent soilborne problem (southern blight, sclerotia present, chronic wilts)
- Your mix is compacted, poorly draining, or exhausted and you were planning a reset anyway
You can usually keep the soil if
- This is the first major outbreak and you can remove debris thoroughly
- You are willing to solarize or rest the bed, then rotate crops
- The disease appeared late in the season and you caught it before everything melted down
If you do replace, you do not have to dump every last crumb. Many gardeners remove and replace the top 6 to 8 inches, then refresh with compost and a new blend. For a lot of raised bed setups, that is the sweet spot between cost and risk reduction.
Make it safer next time
After sanitation, your goal is to avoid giving blight an easy target. Think in layers: crop choice, spacing, watering, and prevention. Most blights take off when leaves stay wet for long stretches, which is why airflow, pruning, and watering at the base work so well together.
1) Rotate plant families
If tomatoes or potatoes were hit, avoid planting nightshades (tomato, potato, pepper, eggplant) in that bed next season if you can. In a small yard, I know rotation is tricky, but even a one-year break helps.
- Try beans, peas, lettuce, onions, carrots, beets, or brassicas depending on your season.
2) Plant for airflow
- Increase spacing a bit, especially for tomatoes.
- Prune lower leaves so foliage is not touching soil.
- Use sturdy trellises so plants grow up, not out.
3) Water with intention
- Drip irrigation or soaker hoses beat overhead watering for blight-prone crops.
- Water early in the day so leaves dry quickly.
- Keep mulch between soil and foliage to reduce splash.
4) Start clean
- Buy disease-free starts when possible.
- Do not reuse potting mix from diseased containers for seedlings.
- Clean and disinfect cages and stakes before they go back into storage.
5) Use resistant varieties when you can
Resistance is not immunity, but it can buy you time. If blight is a recurring problem where you garden, look for tomato varieties with better tolerance to early blight and, where available, late blight resistance. Even resistant plants still need spacing, pruning, and smart watering to stay ahead.
Quick checklist
- Pull infected plants on a dry day and bag them
- Remove fallen leaves, fruit, and contaminated mulch
- Optionally remove top 1 to 3 inches of soil in the worst zone
- Scrub and disinfect tools, cages, stakes, and clips
- Solarize with clear plastic for 4 to 6 weeks during peak heat
- Top-dress with finished compost and re-mulch with clean material
- Rotate crops and improve airflow and watering habits
FAQ
Can blight live in soil in a raised bed?
Some blight pathogens can persist on plant debris and residues that end up in soil, and some diseases commonly called “blight” are truly soil persistent. That is why debris removal is step one. In raised beds, the top layer and leftover mulch are often the highest-risk zones.
Will winter kill blight in my bed?
Cold helps, but it is not a reliable sanitation plan on its own, especially if infected debris remains. Clean beds going into winter are much less likely to restart the problem in spring.
Is it safe to plant leafy greens after blight?
Often, yes, especially after thorough cleanup. Greens are not nightshades, and they can be a great rotation choice. Still, keep splash down with mulch and water at the base.
Should I add lime or change pH to stop blight?
Correcting pH for plant health is great, but pH changes are not a dependable blight cure. Focus on sanitation, airflow, watering, and rotation first.
If you want a simple rule to remember, it is this: remove the sources, then change the conditions. Blight loves wet leaves, tight spacing, and last season’s leftovers. A clean bed plus smarter planting habits is usually enough to get you back to harvesting instead of spiraling over every spot.