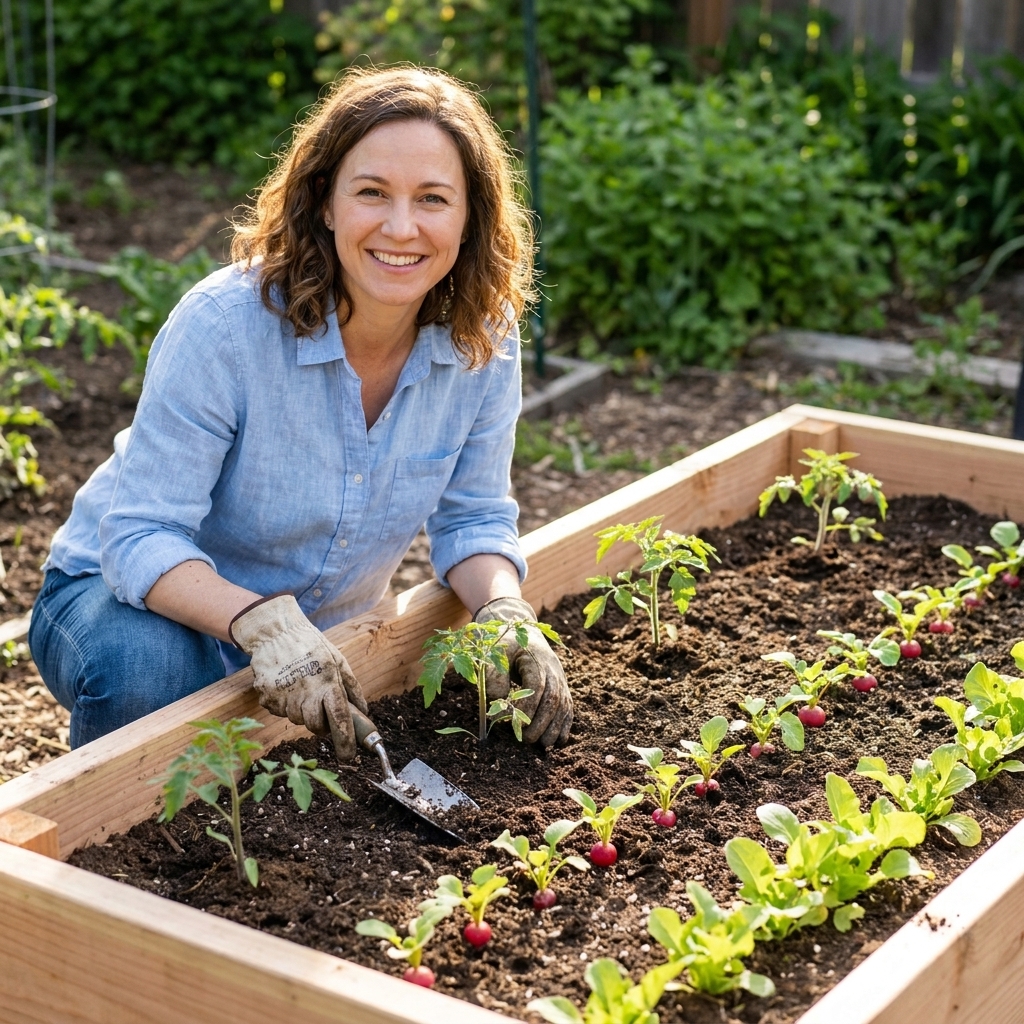
One of the weirdest little heartbreaks of raised bed gardening is staring at all that “empty” soil around tiny tomato and pepper transplants in late spring. You did everything right, and still it looks like wasted space for weeks.
The fix is interplanting: sowing quick-to-finish or small-footprint crops in the gaps while slow-maturing plants get established. Done well, it feels like cheating. You harvest radishes and salad greens before your tomatoes even think about shading the bed, and you get more food without adding a single new box.
What it is (and is not)
Interplanting is simply sharing the same bed space at the same time by pairing crops with different speeds and growth habits.
- Quick harvest crops finish fast, stay relatively small, and often have shallow roots: radishes, arugula, spinach, leaf lettuce, baby bok choy.
- Small-footprint fillers do not always mature fast, but they stay narrow and do not hog light: scallions, cilantro, dill.
- Slow crops take their time and eventually claim a lot of light and airflow: tomatoes, peppers, eggplant, broccoli, cauliflower, Brussels sprouts.
Interplanting is not cramming plants so tightly that nothing can breathe. If your tomato is going to be a leafy jungle by July, it still needs its final spacing. You are just borrowing the open real estate during the early weeks.
Why raised beds help
Raised beds are great for this trick because they warm up early and often drain better than in-ground soil, especially when the mix is loose and the base is not compacted. That matters because interplanting is basically a timing game: you want the quick crop to mature and move out before the slow crop starts demanding the whole neighborhood.
The big benefits
- More harvests per square foot: You get an extra round of food from the same bed.
- Less bare soil: Living plants shade the surface, reducing moisture loss and suppressing weeds.
- Better succession rhythm: Interplanting naturally pushes you into staggered sowing and steady harvests, which is how small gardens feel abundant.
My timing rule
Here is the rule I use when I am tempted to sow “just one more row” around a tomato: your fast crop must be ready to harvest (or mostly harvested) before your slow crop starts casting serious shade and needing airflow.
In practice, that often looks like this, with a big asterisk that weather, variety vigor, and day length change everything. In warm, fast-growth conditions, this window can be shorter.
- Weeks 0 to 4 after transplanting tomatoes or peppers: Plenty of sun hits the soil. Great window for radishes and baby greens.
- Weeks 4 to 7: Tomatoes start bulking up. Stick to quick, cut-and-come-again greens at the edges, or harvest what you already planted.
- After week 7 (varies a lot): The canopy closes. Stop sowing in the middle of the tomato zone. Shift to bed edges or pathways, or move to another bed.
If you are not sure, look at your plants, not the calendar. When the tomato’s leaves are about to overlap the next plant over, your interplanting window is closing.
Good fillers for tomatoes and peppers
These are my most reliable gap fillers because they germinate fast, stay polite, and do not mind being pulled or cut back when the main crop takes over.
Radishes
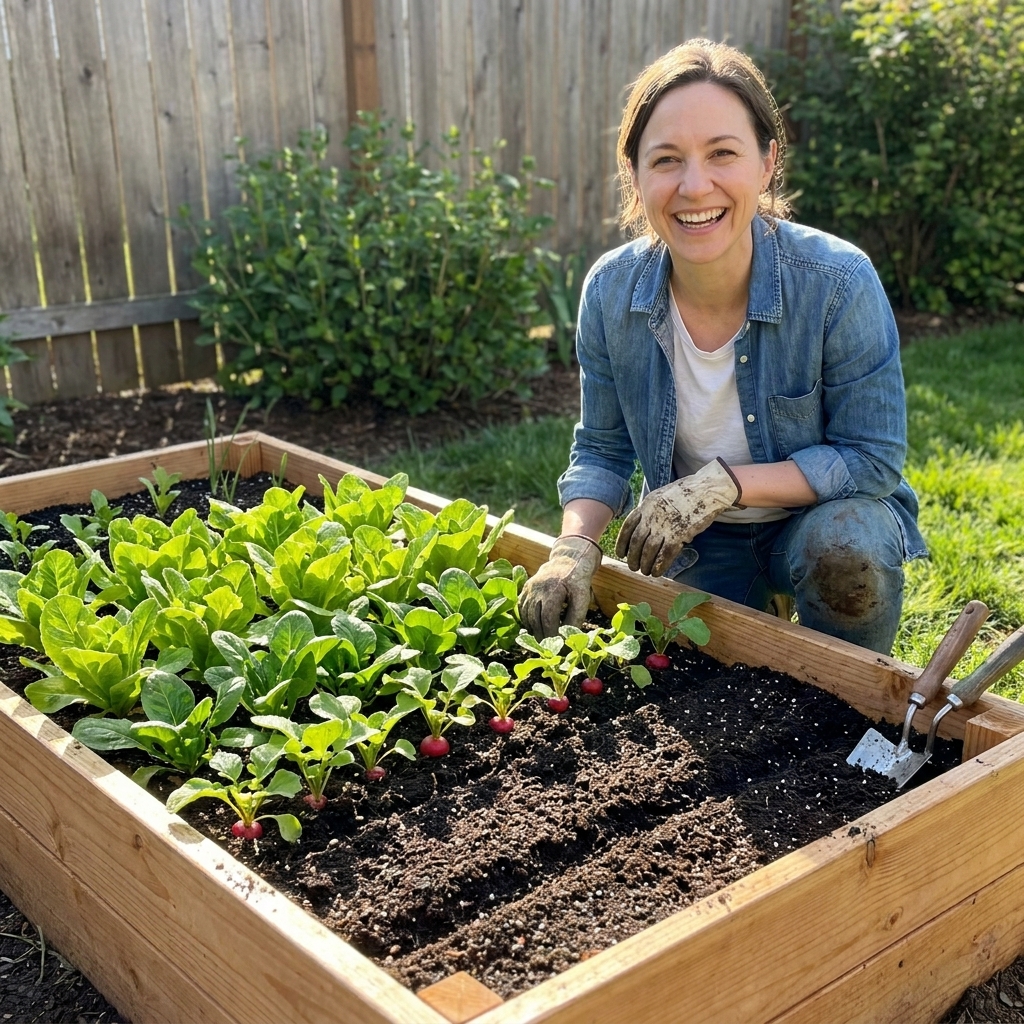
My go-to for the early weeks. They are ready fast, and harvesting them can lightly loosen the very top layer of soil, which helps water sink in instead of skating off a crusty surface.
- Where to place: 4 to 6 inches away from tomato or pepper stems.
- Typical harvest: 25 to 40 days, depending on variety and temperature.
- Note from experience: If radishes get too much shade and heat swings, they turn spicy and woody fast. Harvest promptly.
Leaf lettuce (baby leaf)
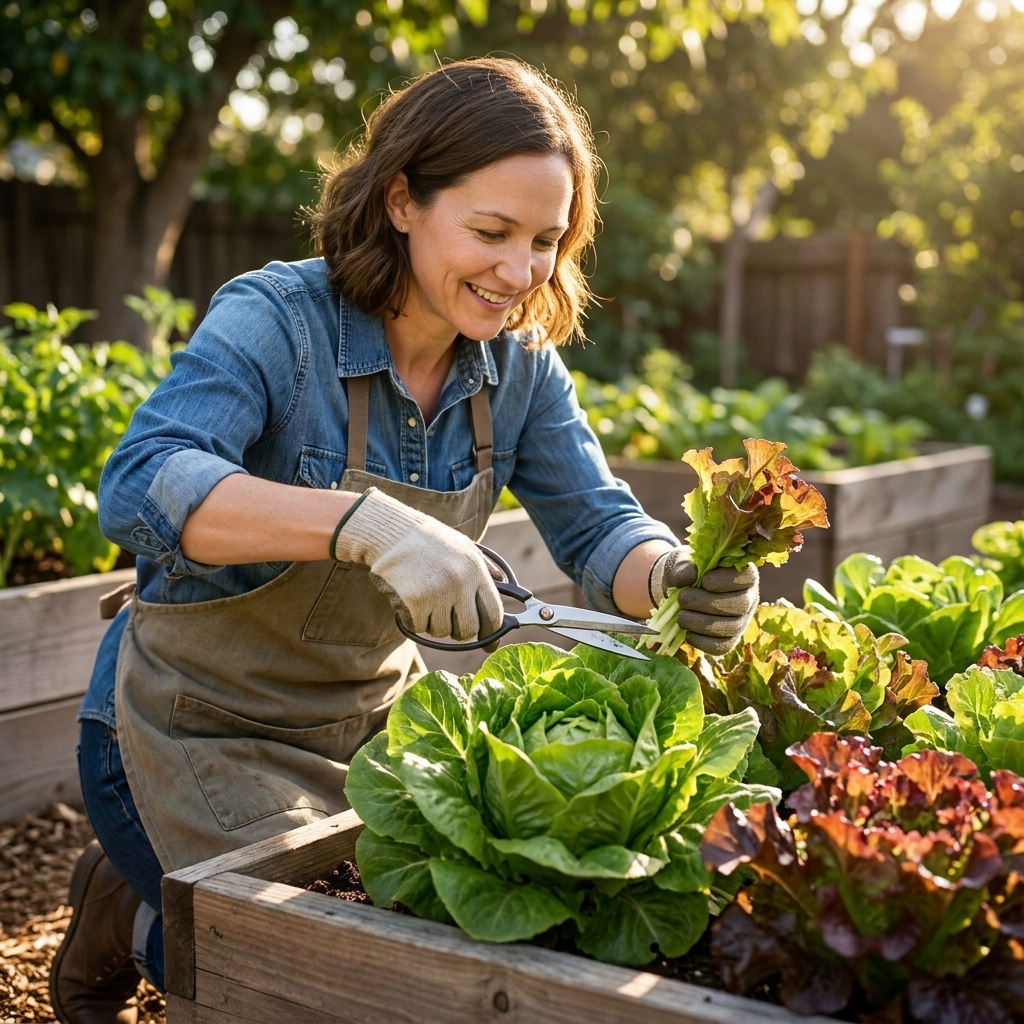
Leaf lettuce is a polite neighbor. You can snip outer leaves and keep it going until shade increases.
- Where to place: Bed edges and between plants early on.
- Harvest style: Cut baby leaves at 3 to 5 inches tall, then resow.
Arugula and spinach
These shine in the cool shoulder season when tomatoes are still small. In hot weather, they bolt, so they are best as an early interplant in many climates.
- Where to place: Morning sun zones, or spots that will get afternoon shade once tomatoes grow.
- Harvest: Baby leaves in 21 to 35 days.
Scallions (green onions)
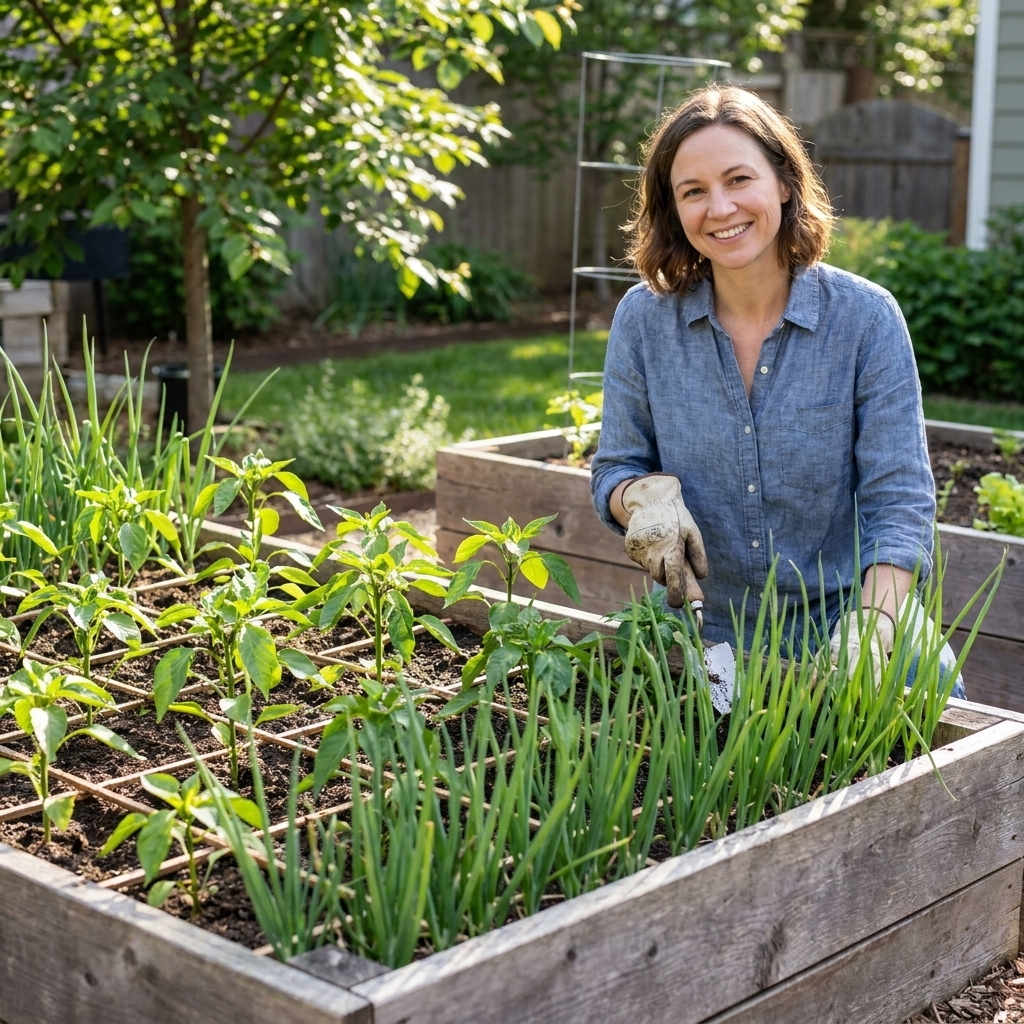
Scallions are underrated for interplanting because they stay narrow and do not compete much for light.
- Where to place: As a border around peppers or along bed edges.
- Timing: They can stay longer than greens if they are not crowding airflow.
Cilantro and dill (with a caution)
These can work as short-term fillers and bring in beneficial insects when they flower. The caution is bolting. Heat can push them to seed quickly.
- Where to place: Edge spots where you can pull them easily if they start flopping into the tomatoes.
Baby turnips (only if it is cool)
Baby turnips can be a nice gap filler in cooler weather, but they are less “set it and forget it” than radishes. They need thinning and steady moisture to size up quickly.
- Where to place: Open areas early in the season, not right against the tomato stem.
- Tip: Thin early, then harvest small and often.
Spacing basics
This is the part that saves interplanting from becoming a tangle.
Tomatoes
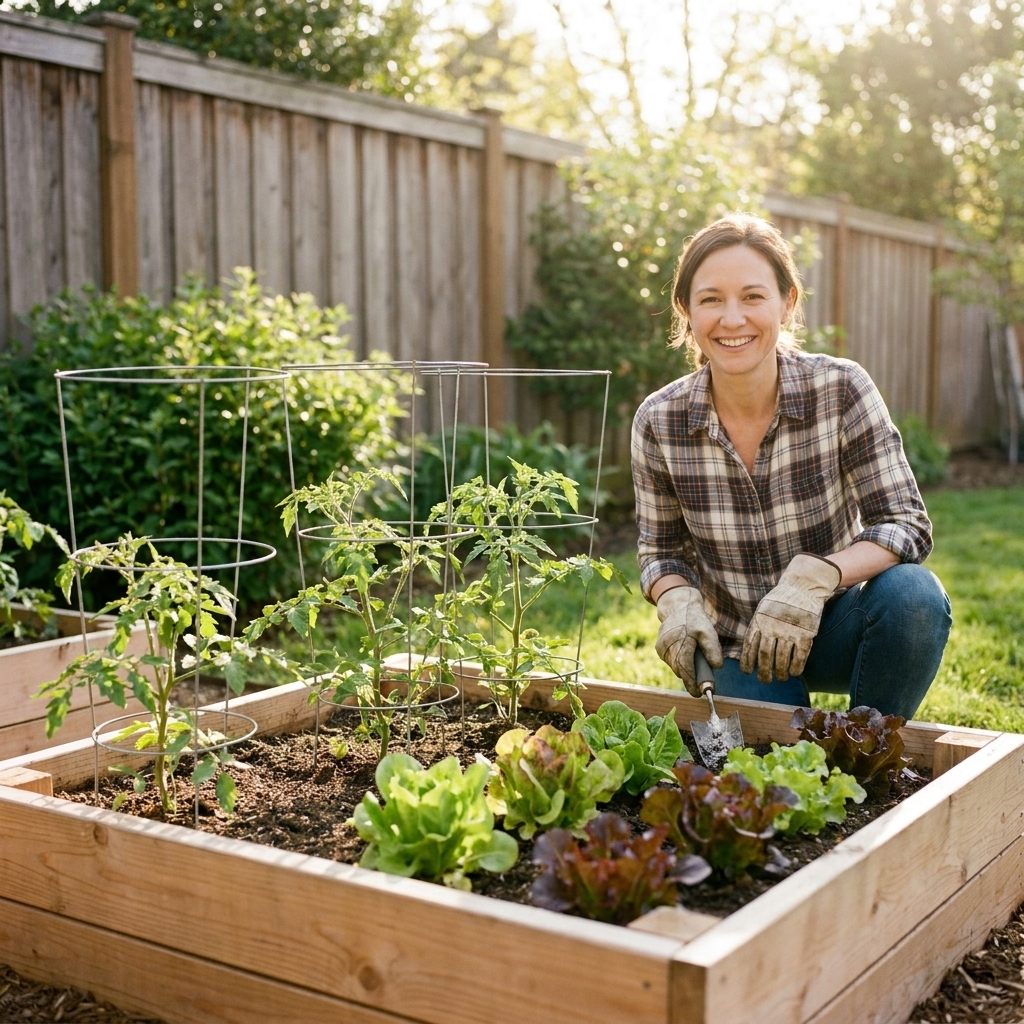
- Plan for final spacing first: Most indeterminate tomatoes do best around 24 to 36 inches apart, depending on variety vigor, disease pressure, and how you support them (single-stem trellis and pruning can be tighter, big cages usually need more room).
- Interplant in the in-between space: Think of it as a temporary nursery, not a permanent roommate situation.
- Leave a clear ring around the stem: I like a 4 to 6 inch open zone for watering and mulching, especially for tomatoes.
Peppers
- Typical spacing: Often 12 to 18 inches apart.
- Interplanting sweet spot: Peppers are slower to bush out than tomatoes, so they often have a longer gap-filling window.
If you are growing in a 4x8 bed, a common setup is two rows of tomatoes or peppers with a walkway strip between rows. That center strip is prime real estate for quick greens early, then later it becomes your access lane for harvesting tomatoes without stepping into the bed.
Easy planting patterns
1) The radish ring
After transplanting tomatoes or peppers, sow a loose circle of radishes around each plant, outside the 4 to 6 inch watering ring. You can harvest radishes one by one without disturbing the main plant.
2) Edge borders for cut-and-come-again greens
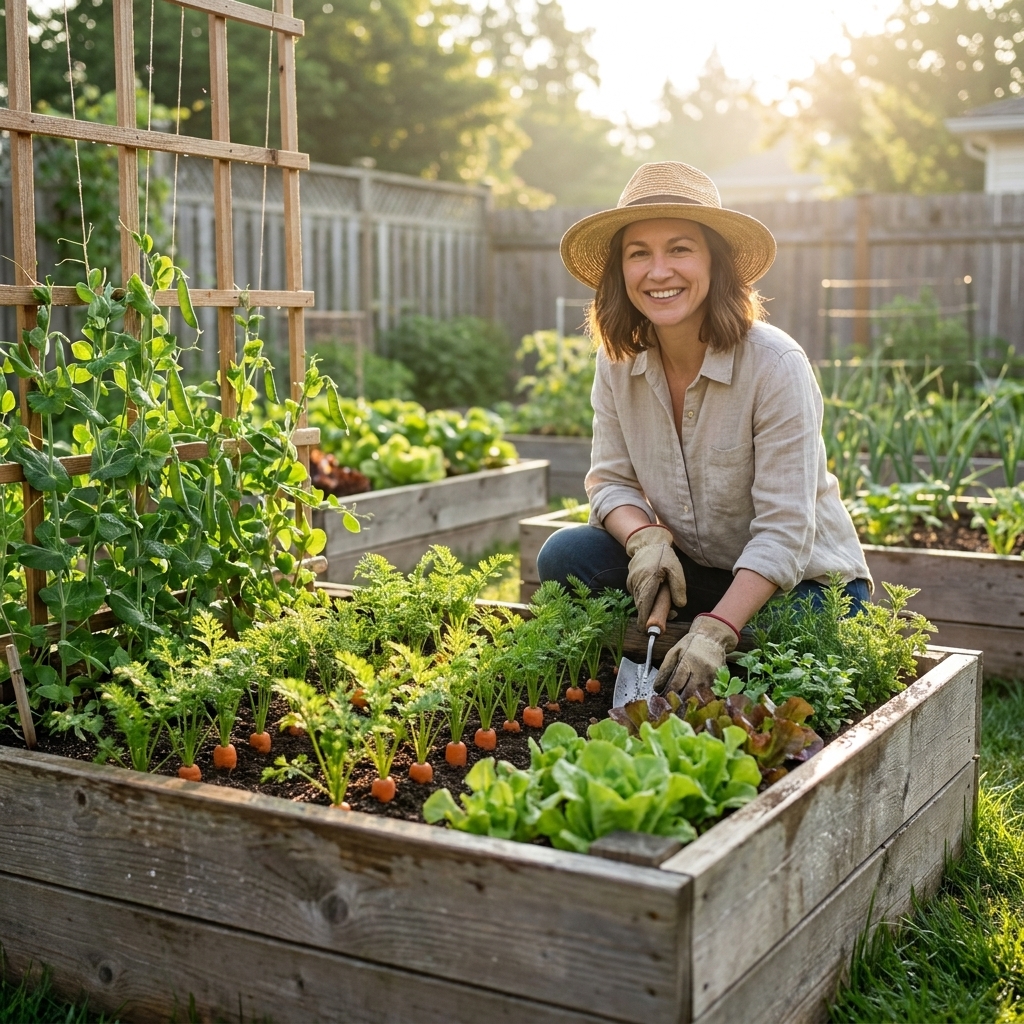
Sow lettuce or arugula along the bed edges. Even when tomatoes get big, edges often still get enough light for a few salads, and it keeps you from having to reach deep into the tomato jungle.
3) Short rows between supports
If you use cages, stakes, or trellis lines, plant quick crops in short rows that end before the support legs. This makes it much easier to weed, water, and later add mulch.
Soil and fertility
Interplanting can accidentally push you into one of my early mistakes: feeding the fast crops like they are the main event.
Here is a balanced approach that works in most raised beds:
- Build the bed for the slow crop: Tomatoes and peppers are the heavy feeders. Prioritize compost and a slow-release organic fertilizer at planting time.
- Keep extra nitrogen modest: Too much nitrogen can make tomatoes overly leafy and slow to fruit, and it can also make greens extra lush and more appealing to pests like aphids and slugs.
- Top-dress after you clear space: When you harvest your radishes or finish a round of lettuce, add a thin layer of compost in those spots and lightly scratch it in, without digging near tomato roots.
If your raised bed mix is already rich, you often do not need to add anything for the quick crops. They are basically living mulch that feeds you back.
Watering and airflow
More plants in the same space means you need to be intentional about moisture and airflow.
- Water at the soil line: Drip lines, soaker hoses, or careful hand watering helps keep tomato leaves dry.
- Thin fast crops early: Crowded greens trap humidity. A little thinning now beats powdery mildew later.
- Mulch once the fillers are gone: After you pull the radishes and greens, mulch the open soil around tomatoes to stabilize moisture.
If you are hand watering, give the tomato root zone priority, then bonus-water the greens only if needed. Shallow-rooted greens wilt fast, but they also recover quickly.
Root disturbance
Interplanting works best when you treat the tomato roots like a no-dig zone.
- Go easy on cultivation: Once tomatoes and peppers settle in, skip deep hoeing between plants. Disturbing roots can set them back.
- Surface sow when you can: Many greens and radishes do fine with a shallow sprinkle and a light cover of mix or compost.
- Harvest by cutting: For leafy fillers, snip at soil level instead of yanking when tomatoes are rooted in. For stubborn plants, cut them rather than tugging.
When to pull the fillers
This is the moment where interplanting either stays smart or turns chaotic. Pull or stop harvesting the fillers when:
- The slow crop is starting to shade them most of the day.
- You cannot comfortably reach in to prune or tie up tomatoes.
- Airflow is reduced and leaves stay wet longer.
- Pests move in because the canopy is too dense.
If you are emotionally attached to your lettuce, I get it. My compromise is to harvest hard for a final big salad, then clear the space, top-dress with compost, and mulch. Your tomatoes will thank you with fewer disease issues and better fruit set.
Pest and disease reality check
Interplanting is not inherently messy, but it can create more hiding spots and humidity if you let it go too long.
- Watch for slugs and earwigs: Dense, damp greens are basically a welcome mat. Check at dusk, set traps if needed, and thin aggressively.
- Keep lower tomato leaves off the ground: As tomatoes grow, prune the lowest leaves and keep mulch under them to reduce splash and disease pressure.
- Do not be sentimental about airflow: If it starts to feel like a fungus festival, it is time to clear space.
Pairings I like (and a few I skip)
Reliable combos
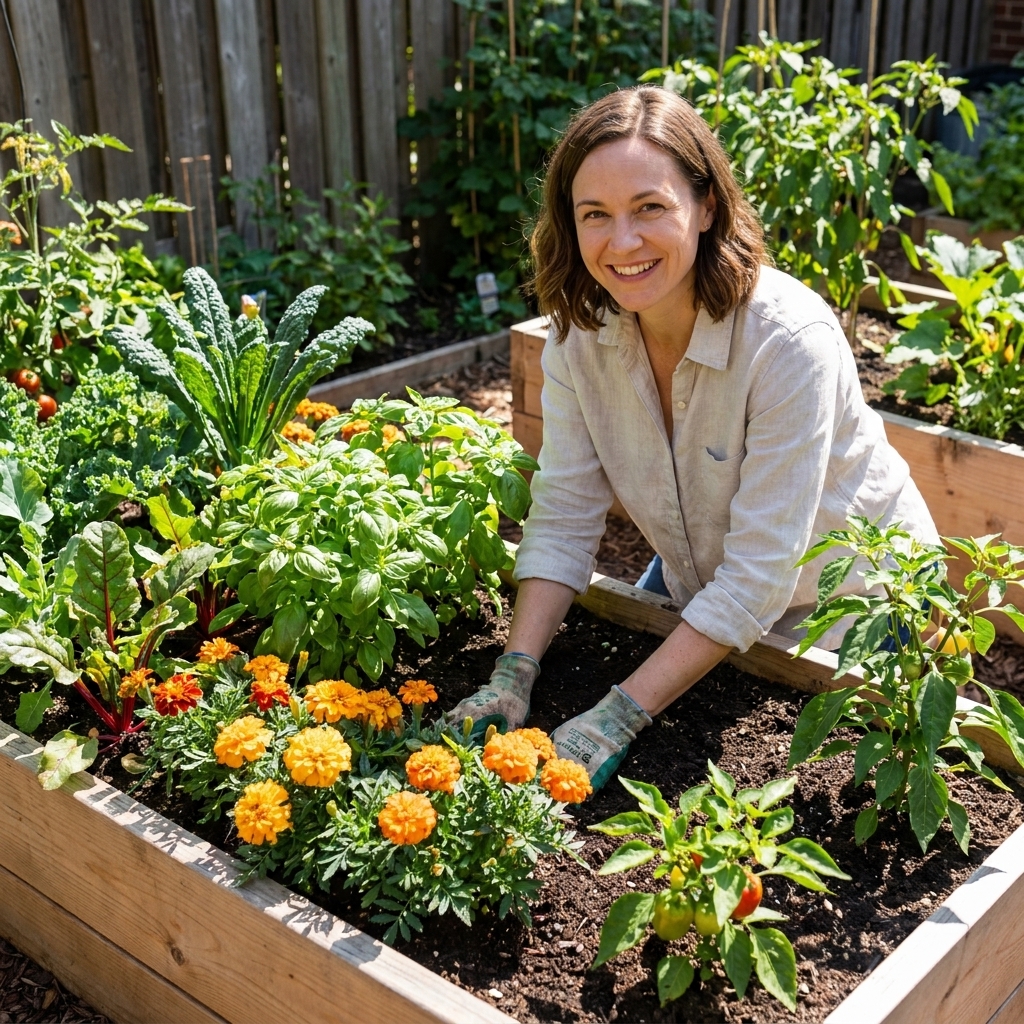
- Tomatoes + radishes: Quick harvest, minimal competition.
- Peppers + scallion border: Easy, tidy, and long-lasting.
- Tomatoes + baby lettuce on the edges: You get salads early, then the tomatoes take over.
- Eggplant + arugula early: Arugula finishes before eggplant gets wide.
Combos I skip in the same immediate space
- Tomatoes + big brassicas (broccoli, cauliflower): Both want room and long seasons. They can work in the same bed only if you plan distinct zones, not “in the gaps.”
- Tomatoes + sprawling cucurbits (cucumbers, squash) without a strict trellis plan: The vines will take every inch you offer.
- Tomatoes + dense herb clumps (mint, oregano): Perennials can become permanent squatters and make it hard to amend soil.
A simple tomato bed schedule
If you like having a concrete plan, here is a simple flow that works beautifully in many backyards:
- Planting day: Transplant tomatoes. Leave a clear watering ring around each stem.
- Same week: Sow radishes in the open spaces between tomatoes, plus a strip of baby lettuce along the bed edge.
- Weeks 3 to 5: Harvest radishes as they size up. Start cutting baby lettuce.
- Weeks 5 to 7: Finish the lettuce round or keep it only on the sunniest edge.
- After clearing: Top-dress with compost and mulch around tomatoes. Focus on staking, pruning, and consistent deep watering.
This rhythm gives you early wins while you wait for the first blush of red on your tomatoes, which is honestly when many new gardeners get impatient.
Troubleshooting
“My radishes are all leaves and no bulbs.”
Usually heat, crowding, or inconsistent moisture. Sow a bit earlier next time, thin them, and harvest promptly. Radishes are not a crop you can ignore for a week and expect perfection.
“My greens bolted before I got much.”
That is normal once days warm up. Treat greens as an early interplant only, or choose heat-tolerant varieties and sow them where they will get later shade from tomatoes.
“Everything looks crowded and I am seeing mildew.”
Clear the fillers immediately, prune tomato lower leaves, and improve airflow. Interplanting is meant to be temporary. It is okay to pull plants to protect your main harvest.
“I damaged tomato roots pulling out the fast crop.”
Next time, harvest by cutting at soil level for leafy crops, and pull radishes when the soil is moist. If you have a stubborn plant, snip it rather than yanking.
Quick FAQ
Can I interplant in a very shallow raised bed?
Yes, with a little restraint. Choose shallow-rooted quick crops like radishes and baby greens, and avoid anything that needs deep rooting or lots of time in place.
Do I need to rotate crops if I interplant?
As much as your space allows, yes. Think of the bed’s main crop as the one that drives rotation. If tomatoes are the anchor this year, try not to anchor tomatoes in the exact same bed next year if you can help it.
Is interplanting the same as companion planting?
They overlap. Companion planting is usually about plant relationships and pest management. Interplanting is mostly about timing and space. You can do both at once, but you do not have to get mystical about it for it to work.
The takeaway
If you remember one thing, make it this: give tomatoes and peppers their adult spacing, then borrow the empty sunlight early in the season with quick crops that are happy to leave the party by mid-summer.
Your raised bed will look full, your harvests will start earlier, and you will spend less time weeding bare soil while you wait for the big crops to kick in. That is a win I will take every season.