If your raised bed looked wonderfully full in spring and now it seems like someone pulled the plug, you are not imagining it. Mid-season settling is completely normal, especially if you filled with fluffy bagged mixes, lots of fresh organic matter, or a new wood core. The tricky part is fixing it when your tomatoes are already flowering and your carrots are sizing up.
I have topped off plenty of beds at the “oh no, my soil vanished” stage. The key is to add material in a way that supports soil life and moisture without burying plant crowns or packing the bed into a brick. Let’s walk through the safest options.
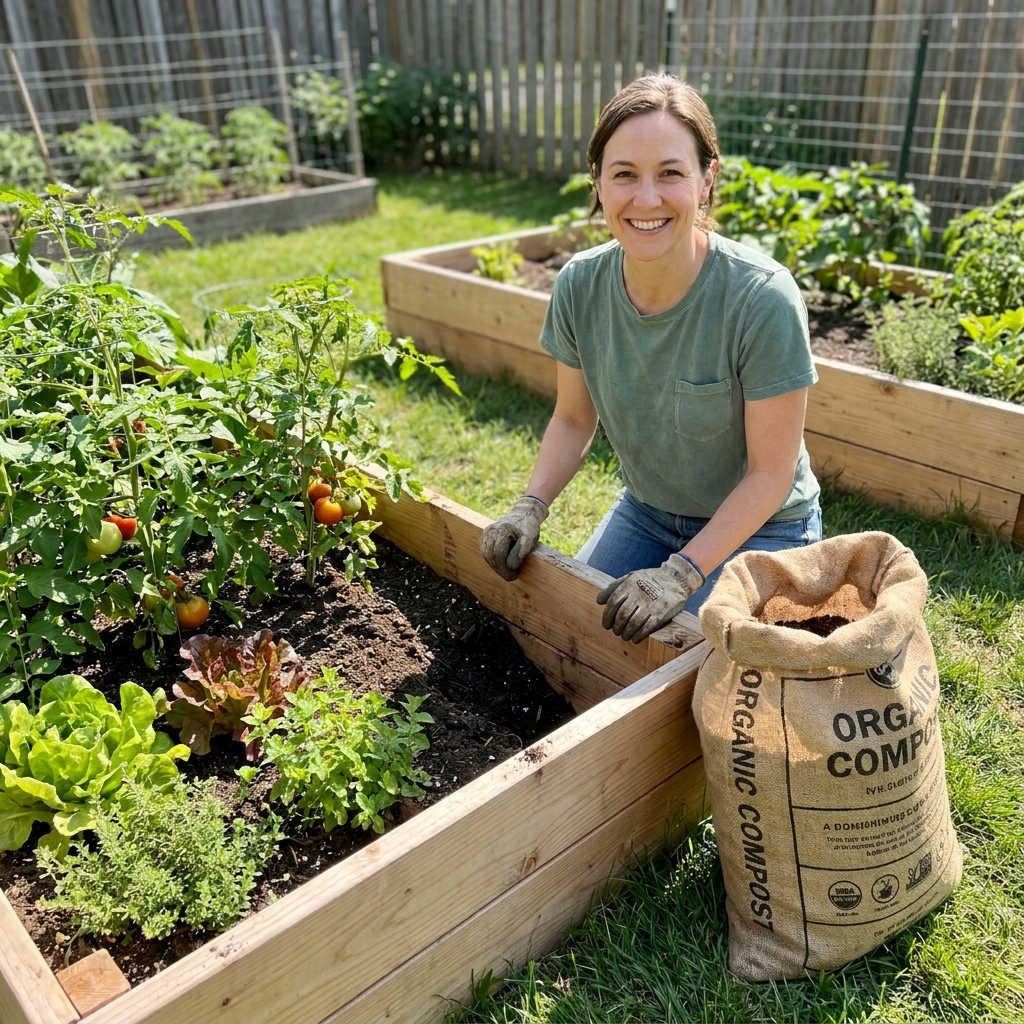
Why raised bed soil sinks (and why year one is the worst)
Soil settling is a mix of gravity, decomposition, and plain old physics.
- Air pockets collapse. New potting-style mixes are light and fluffy. Watering and time squeeze out air gaps, so the level drops.
- Organic matter breaks down. Compost, peat, leaf mold, and woody material continue decomposing. As they turn into finer particles, the volume shrinks.
- Worms and roots rearrange things. This is a good problem. Soil life is doing its job, but it can lower the surface noticeably.
- Heavy rain and frequent watering compact the top. Especially if bare soil gets pounded by overhead watering.
A little settling is normal. As a rule of thumb, I start paying attention when the soil line is about 3 inches or more below the bed edge, when irrigation is running off the sides, or when I see roots peeking out near the surface. (A shallow 8-inch bed will feel that drop more than a deep 24-inch bed.)
Before you add anything: a quick mid-season check
Take two minutes to check what you are dealing with. It will tell you which method below is safest.
1) Find the “do not bury” point
Look at the base of each plant:
- Most vegetables: Do not bury the crown where stems meet roots. It can invite rot.
- Tomatoes: You can bury stems and they will happily root along the buried section. Tomatoes are the exception I lean on when beds sink hard.
- Peppers, eggplant, cucumbers, squash: Prefer their original soil line. Keep added material a little away from the stem.
- Brassicas (broccoli, cabbage): Often do best with crowns kept clear, especially in cool or wet conditions where stem rot and pests are more likely. In drier climates, a light hill for stability can be fine, just do not bury the growing point.
- Onions, garlic: Don’t mound high up the neck. Bulbs can stay partly exposed.
2) Check if roots are exposed
If you see fine feeder roots near the surface, plan to add material gently and water it in rather than scraping or mixing aggressively.
3) Confirm it is settling, not erosion
If soil is lower mainly on one side, you might have washout from a hose, drip line blowout, or a low spot where water exits the bed. Fix the water issue first or you will be topping off forever.
The safest ways to top off soil mid-season
There is no single “right” approach. I choose based on how much the bed sank and what is currently planted.
Option A: Compost-only top dressing
If plants are close together or you are nervous about stem rot, do a gentle compost top dress.
- Use finished compost that looks dark and crumbly, not chunky or actively heating.
- Spread 1/2 inch to 1 inch over bare soil areas.
- Leave a 1 to 2 inch gap around plant stems (a little donut-shaped “no compost zone”).
- Soak it in well so it settles into place.
This will not raise the bed edge-to-edge quickly, but it improves structure, feeds microbes, and helps prevent the surface from crusting or drying out.
Option B: Soil blend tuck-in
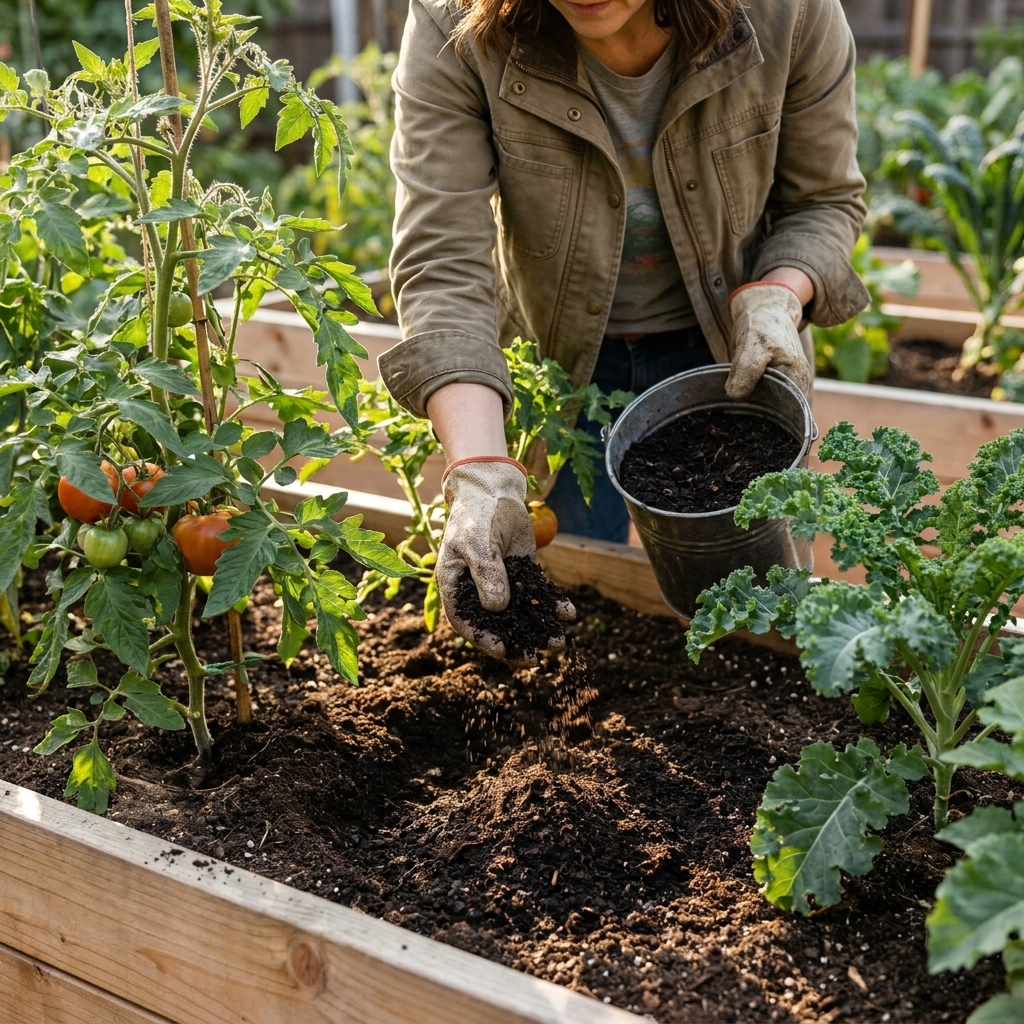
When a bed has dropped a lot, compost alone can take too many applications to catch up. This is when I bring in a light soil blend and tuck it into open spaces.
My mid-season top-off blend:
- 2 parts finished compost
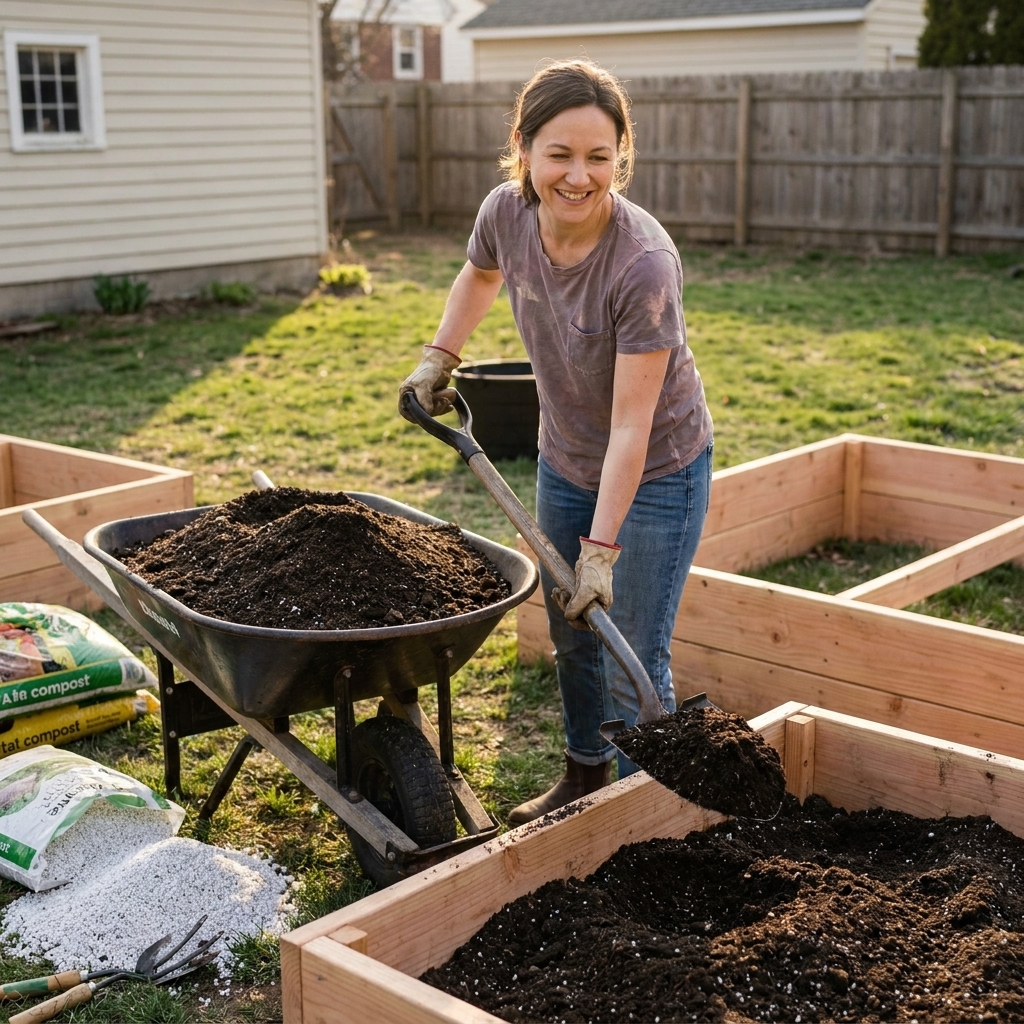
- 2 parts screened topsoil or raised bed mix
- 1 part coconut coir or peat (optional, for water holding if your mix is very sandy)
By “screened topsoil,” I mean soil that has been sifted to remove clods and debris, and ideally sourced for gardens (not heavy, sticky subsoil or mystery fill dirt).
How to apply without burying stems:
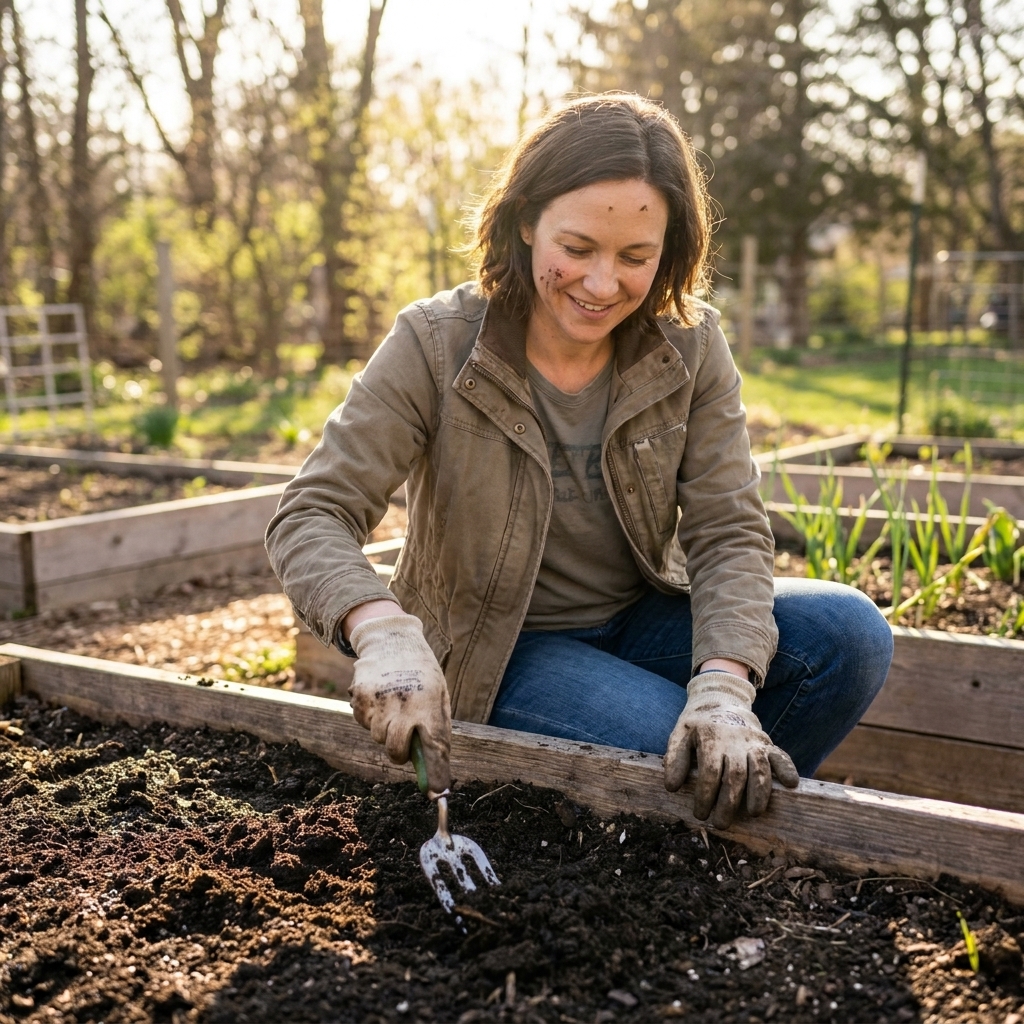
- Loosen only the top inch of bare soil with your fingers or a hand cultivator, avoiding roots.
- Add the blend in small lifts, about 1 inch at a time.
- Pull soil toward gaps, not up against stems. Maintain that donut gap around crowns.
- Water between lifts so it settles naturally instead of you pressing it down.
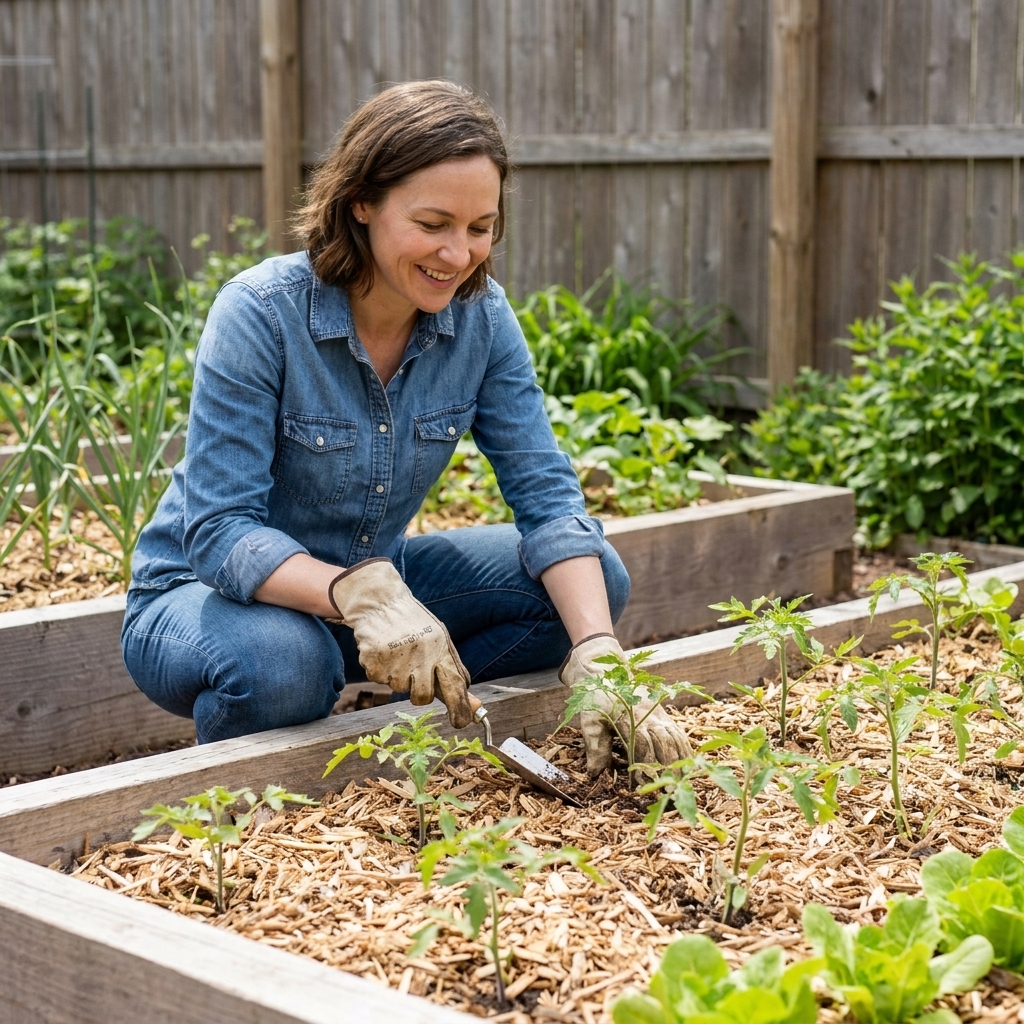
- Mulch after (straw, shredded leaves, or untreated grass clippings) to reduce future settling and splash.
If you need to raise the whole surface by 3 to 4 inches, do it over two sessions a week apart. Plants handle gradual change better than a sudden burial.
Option C: Targeted hilling
Some crops actually like being hilled.
- Potatoes: Hill with a soil-compost blend, covering lower stems as the plant grows. This prevents sun-greened tubers.
- Leeks: Hill gradually to blanch the stems.
- Corn: A light hill can improve anchoring, but don’t pile high against the stalk base in wet climates.
- Some brassicas: In drier conditions, a modest hill can help with stability. In wet climates, keep the crown open and focus on mulching instead.
Hilling is not the same as topping off a whole bed. Think “targeted mounds where appropriate” rather than raising everything.
Option D: The tomato trick
If your bed is mostly tomatoes, you can use their superpower.
- Add your soil-compost blend to raise the level around tomato stems by a couple inches.
- Remove any leaves that would be buried so you do not trap moisture against foliage.
- Water deeply to encourage new rooting along the buried stem.
This is one of the few times I am happy about a sunken bed. Tomatoes generally respond with stronger root systems and improved drought tolerance.
How much can you add at once?
Here is the rule I follow to avoid stressing plants and compacting the bed.
- 1 inch at a time is gentle for almost everything.
- Up to 2 inches can be okay if you keep material away from crowns and soak it in well.
- More than 2 inches should usually be split into multiple sessions unless you are intentionally burying tomato stems or hilling potatoes.
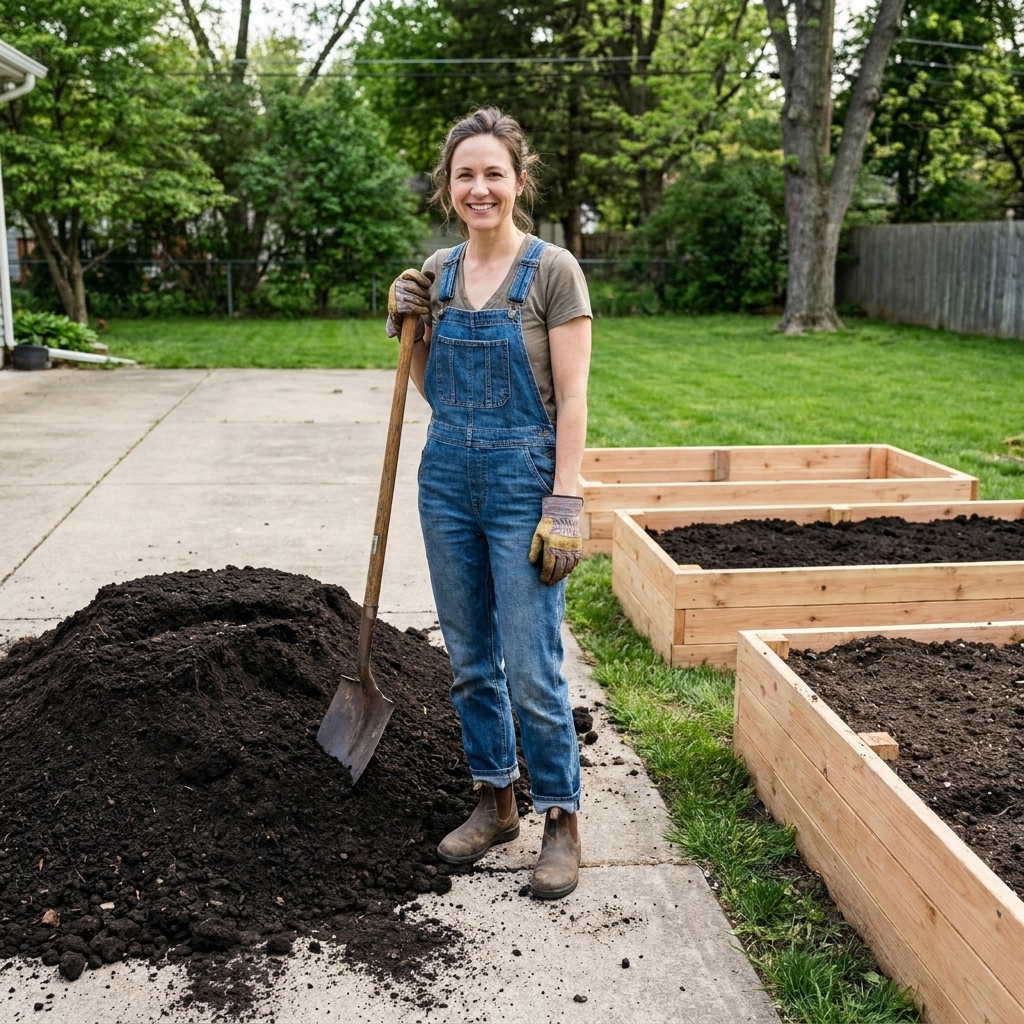
If you are staring at a 6-inch drop, do not panic-dump a wheelbarrow in one go. Layer it over time and lean on mulch to help hold moisture while you rebuild depth.
What to use (and what to avoid)
Best materials
- Finished compost: The safest, most universally helpful amendment.
- Screened topsoil or raised bed mix: Adds body and mineral content that compost alone cannot provide.
- Worm castings: Excellent in small amounts mixed into compost for a quick plant-friendly boost.
- Leaf mold: Great for moisture retention and fungal life, especially around perennials and fall crops.
Materials to be careful with
- Fresh manure: Too hot and can burn plants. Save it for fall or compost it fully.
- Unfinished compost: If you can identify food scraps or it smells sour, it is still breaking down and can tie up nitrogen.
- Peat (and sometimes coir) used as a dry layer: Peat is notorious for resisting re-wetting once it dries. Coir is usually easier to rehydrate, but any dry, fibrous layer can shed water at first. Pre-moisten and mix thoroughly instead of using either as a standalone cap.
- High-wood “forest products” mixes: These can keep decomposing and sink again quickly. Nitrogen tie-up is most likely when the material is not well composted and used in a high proportion.
A quick word on source quality
For edible beds, use compost and soil from reputable sources. Avoid unknown fill and suspect “free dirt.” Persistent herbicide residues and urban contaminants are rare, but they are not fun surprises when they show up.
How to top off without compacting
Compaction is the sneaky downside of “fixing” a low bed. A few habits keep your soil springy.
- Never stomp it in. Let water do the settling.
- Add in layers. Apply a thin lift, then soak it in, then apply the next lift if needed.
- Use a gentle rake or your hands. Avoid heavy tamping tools mid-season.
- Mulch after topping off. Mulch reduces surface crusting and slows future settling from heavy rain and irrigation splash.
- Stay off the bed. If you ever find yourself stepping into a raised bed to reach the middle, consider adding a narrow access board temporarily or redesigning paths next season.
When topping off causes problems
Stem rot and crown burial
If your climate is humid or you water in the evening, piled-up soil against stems can stay wet. Keep that small gap around sensitive plants and consider mulching with straw instead of pushing compost right to the stem.
Slugs and pill bugs moving in
Fresh, damp organic matter is cozy slug real estate. If you have slug pressure:
- Top off in the morning so the surface dries by night.
- Keep mulch pulled slightly back from plant stems.
- Water at soil level, not overhead.
Nitrogen dip after woody mixes
If your top-off mix is high in bark fines or partially decomposed wood, plants may pale as microbes use nitrogen to break it down. Stick to compost plus soil for mid-season fixes. If you suspect a nitrogen dip, a light feeding with fish emulsion or a balanced organic fertilizer can help.
My mid-season top-off routine
If you want the quick version, this is the routine I use most often in productive beds that have settled 3 to 5 inches.
- Pick the right moment. Avoid mid-day heat and do this in the cool morning or evening, especially if plants are already stressed.
- Moisten the bed first. Moist soil is less disruptive to roots than dry soil.
- Pull mulch aside and set it on a tarp or in a bucket.
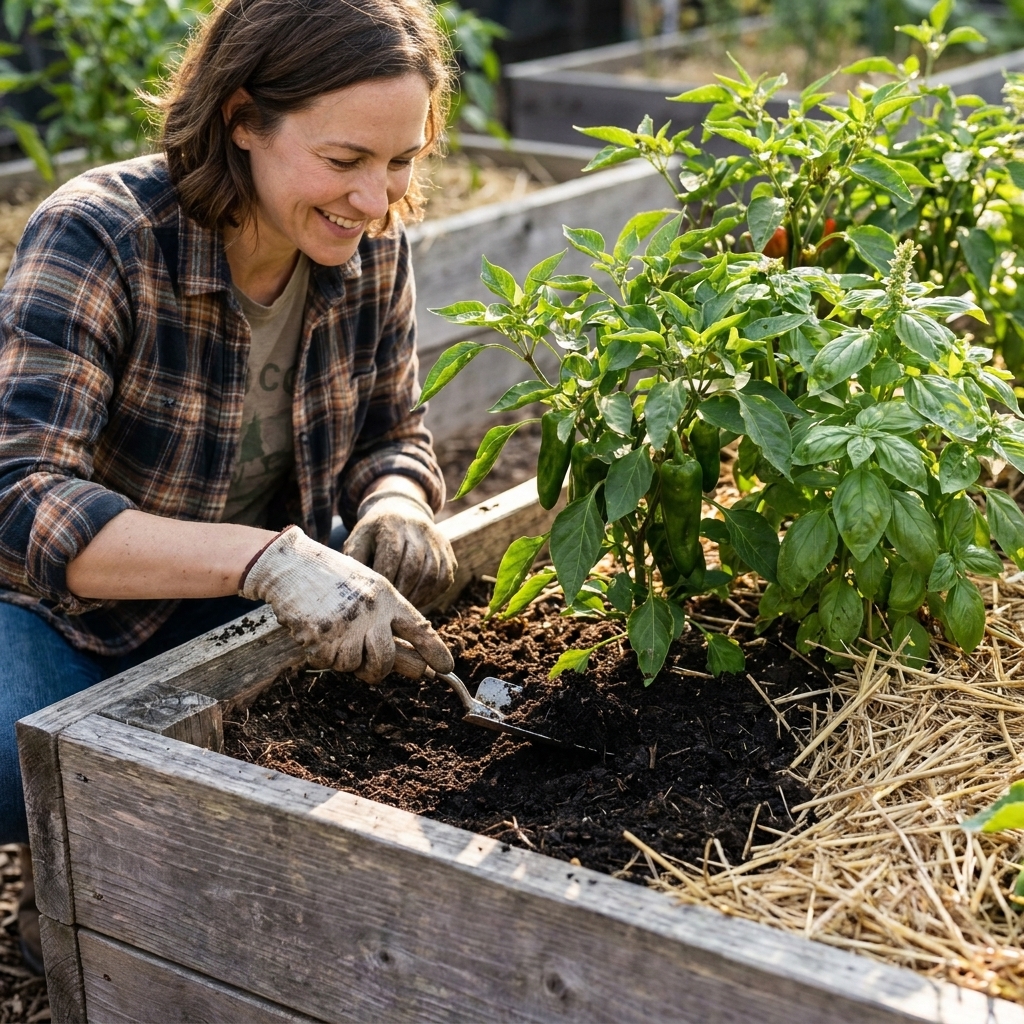
- Add a 1-inch layer of a compost plus soil blend, keeping a gap around plant stems.
- Soak it in. This settles material into air pockets without compressing it.
- Repeat once more in 5 to 7 days if you still need height.
- Return mulch and top up mulch thickness to 1 to 2 inches for summer beds.
Preventing big settling next season
Some settling is healthy. Drastic settling is usually a sign the original fill was too fluffy or too woody.
- Start with more mineral soil. A mix that includes real topsoil settles less than potting-style blends.
- Pre-moisten and pre-settle new fills. If you build a new bed, fill it, water it heavily a few times, and top it off again before planting day.
- Go easy on fresh wood. Hugelkultur-style cores can work, but they almost always cause big settling year one. If you use wood, expect topping off as part of the plan.
- Mulch early. Mulch cushions the soil surface and reduces crusting and erosion.
- Add compost every season. A consistent 1 to 2 inches in spring or fall keeps structure stable and feeds your soil food web.
- Test occasionally. You do not need a soil test just to top off a bed, but if you add compost every year, nutrients (especially phosphorus) can build over time. A periodic test keeps you honest.
FAQ
Can I just pour new soil over everything?
I would not, unless you are only adding a thin layer and you keep it off stems. Dumping a thick layer across the bed is a fast way to bury crowns, trap moisture against stems, and stress shallow feeder roots.
Should I mix the new compost into the existing soil?
Mid-season, I treat the bed like it is full of hidden roots. I do minimal disturbance. A gentle scratch-in at the surface is fine in open areas, but avoid deep mixing around established plants.
My bed sank and now my drip line is exposed. What do I do?
Lay the line back on the soil, top off around it, then pin it in place with landscape staples. Keep emitters on the surface or only lightly covered with soil or mulch, and follow your specific dripline and emitter specs (many are designed to work with shallow burial).
What if the soil is low and the plants are already tall and floppy?
Top off with a soil-compost blend, then add support right away. Tomatoes, peas, and pole beans often benefit from re-tightening ties after you raise the soil line. For peppers and eggplant, staking can prevent wind rock while roots re-settle.
The bottom line
A sunken raised bed is not a failure. It is a sign your organic matter is breaking down and your bed is maturing. Top off gently, keep soil and compost off sensitive crowns, soak each layer in instead of packing it down, and finish with mulch. Your plants keep growing, and your bed ends the season with better structure than it started.